

TL;DR: Dashboard → Language → Select regulation → Edit fields in target language column → Save Changes.
Translate banner content into each enabled language for your site.
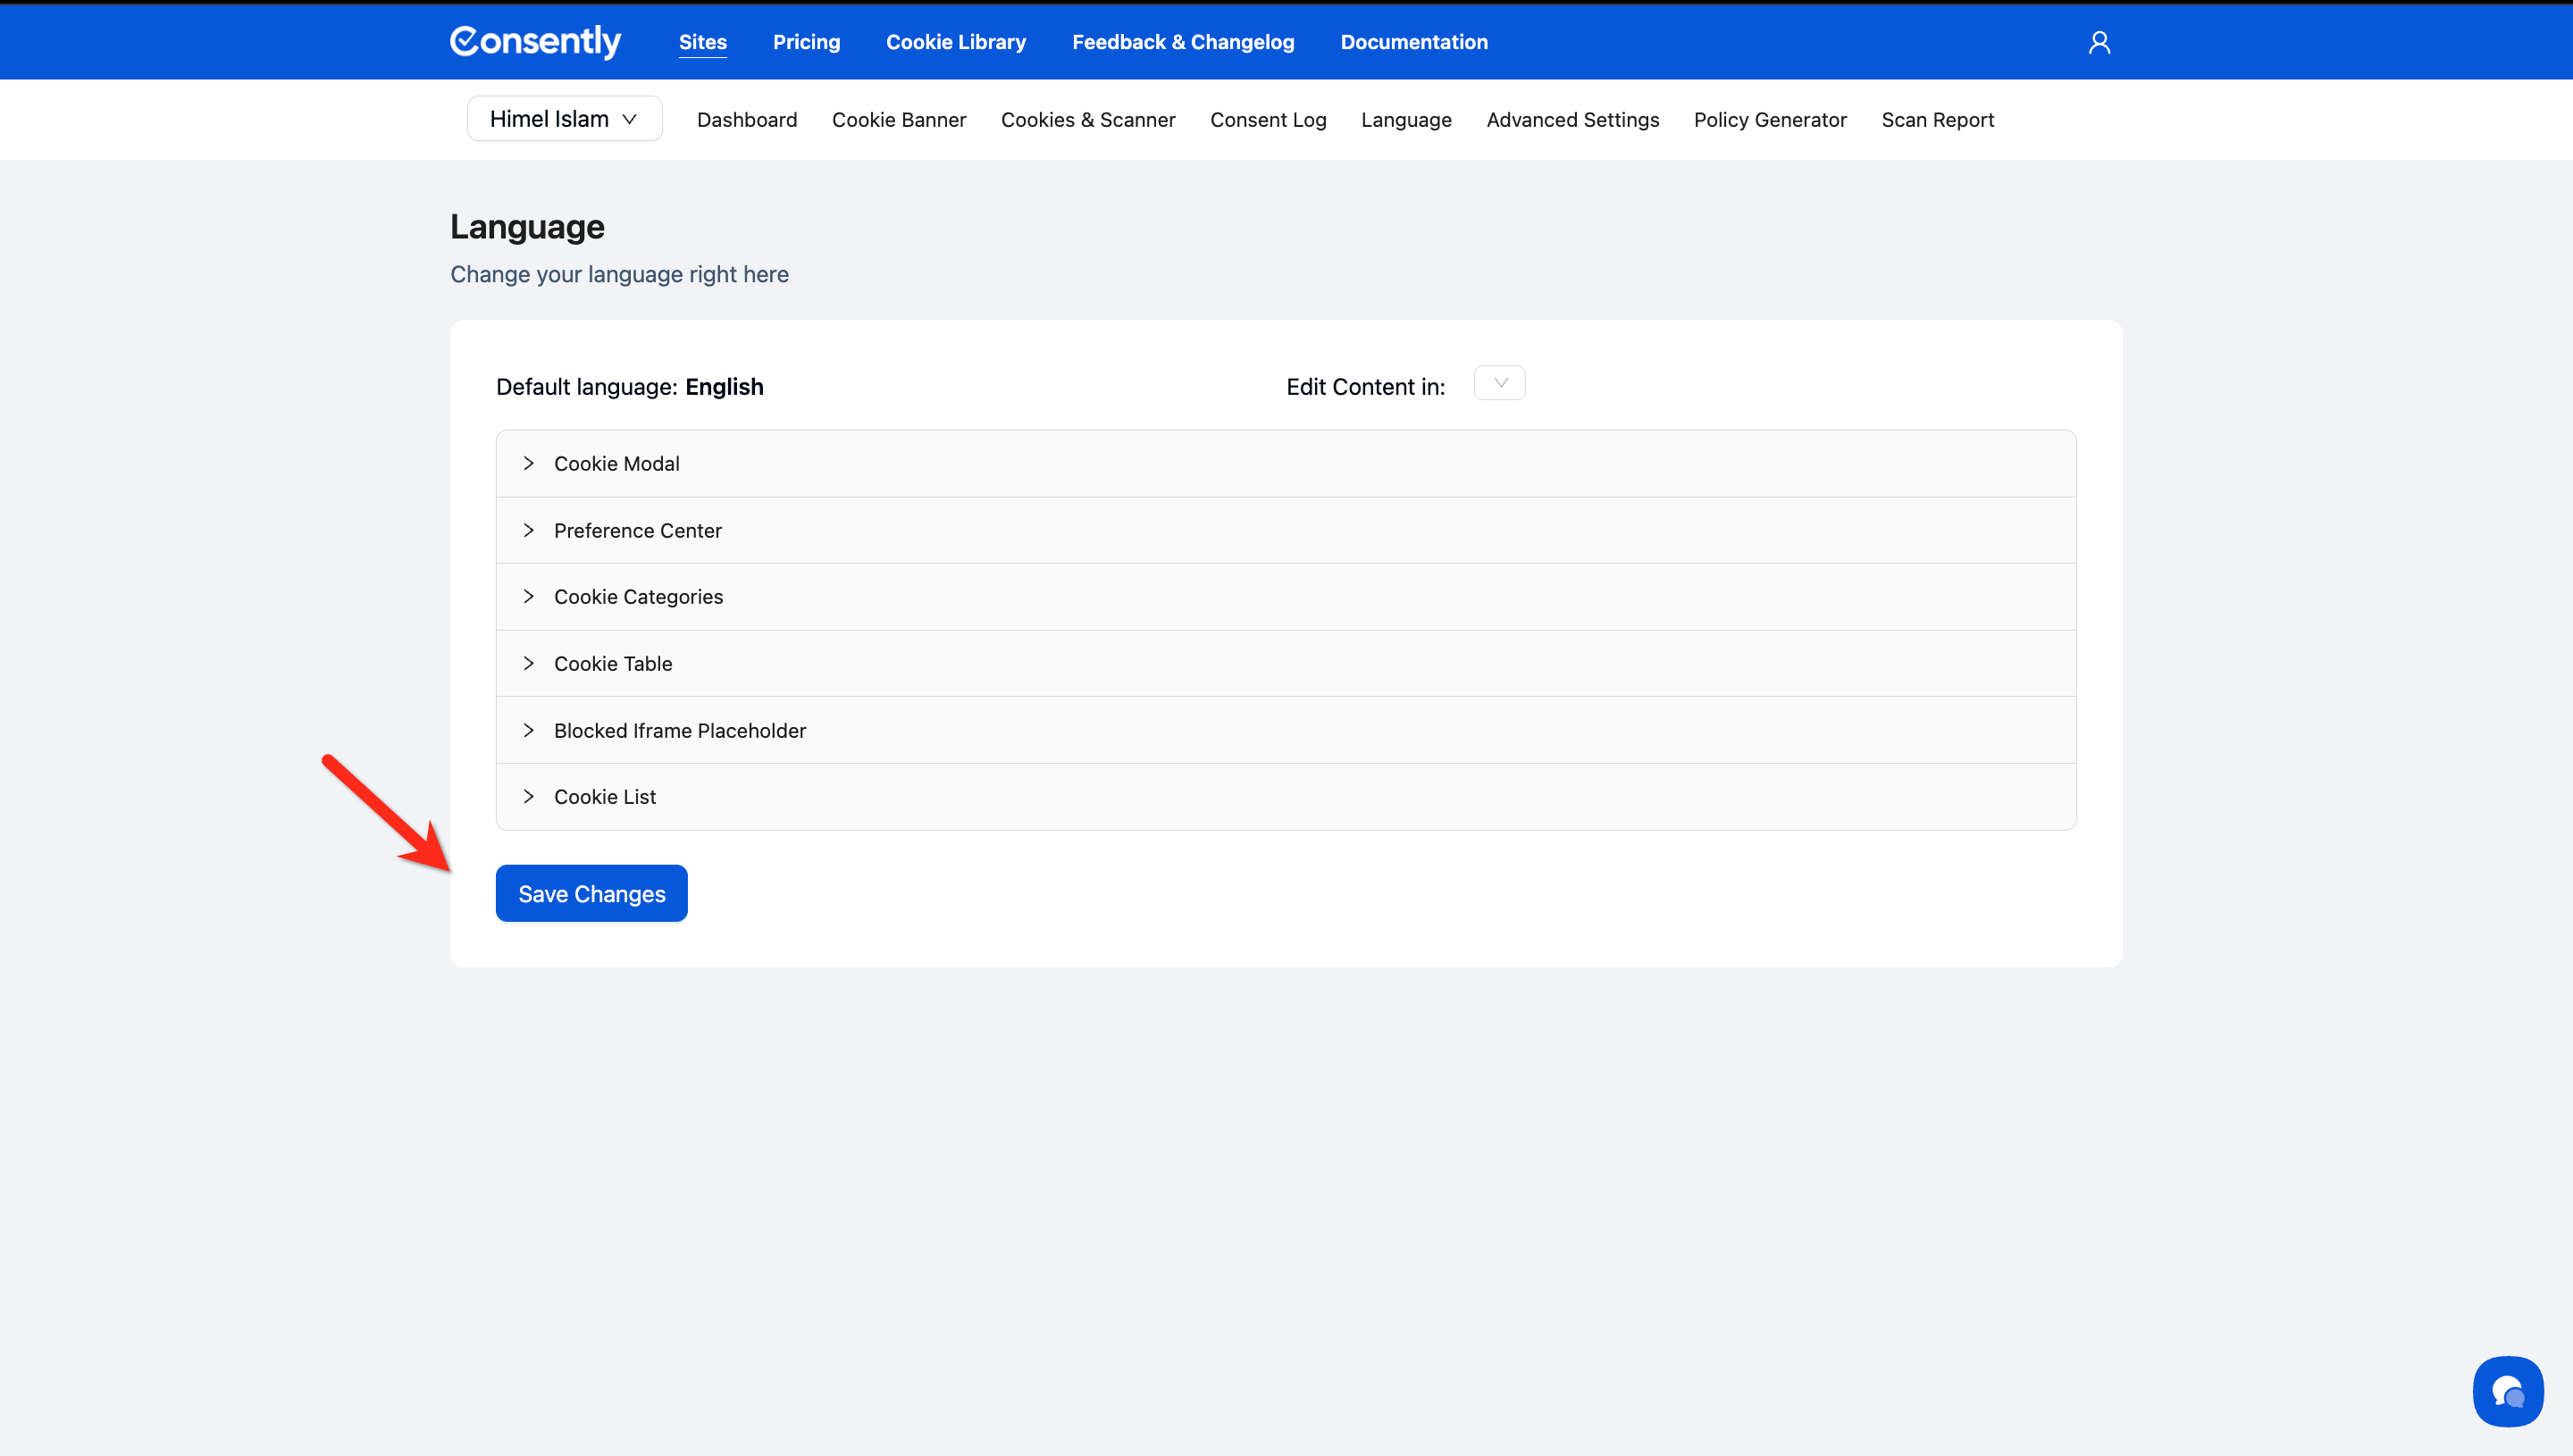
Overview
The language editor translates your consent banner into different languages using a side-by-side interface. The left column shows your default language content for reference while you edit translations in the right column.
Before You Begin
Make sure you have:
Added the languages you want to translate to your site
Access to accurate translations (manual translation recommended over machine translation for legal accuracy)
Time required: About 15-30 minutes per language
How to Translate Banner Content
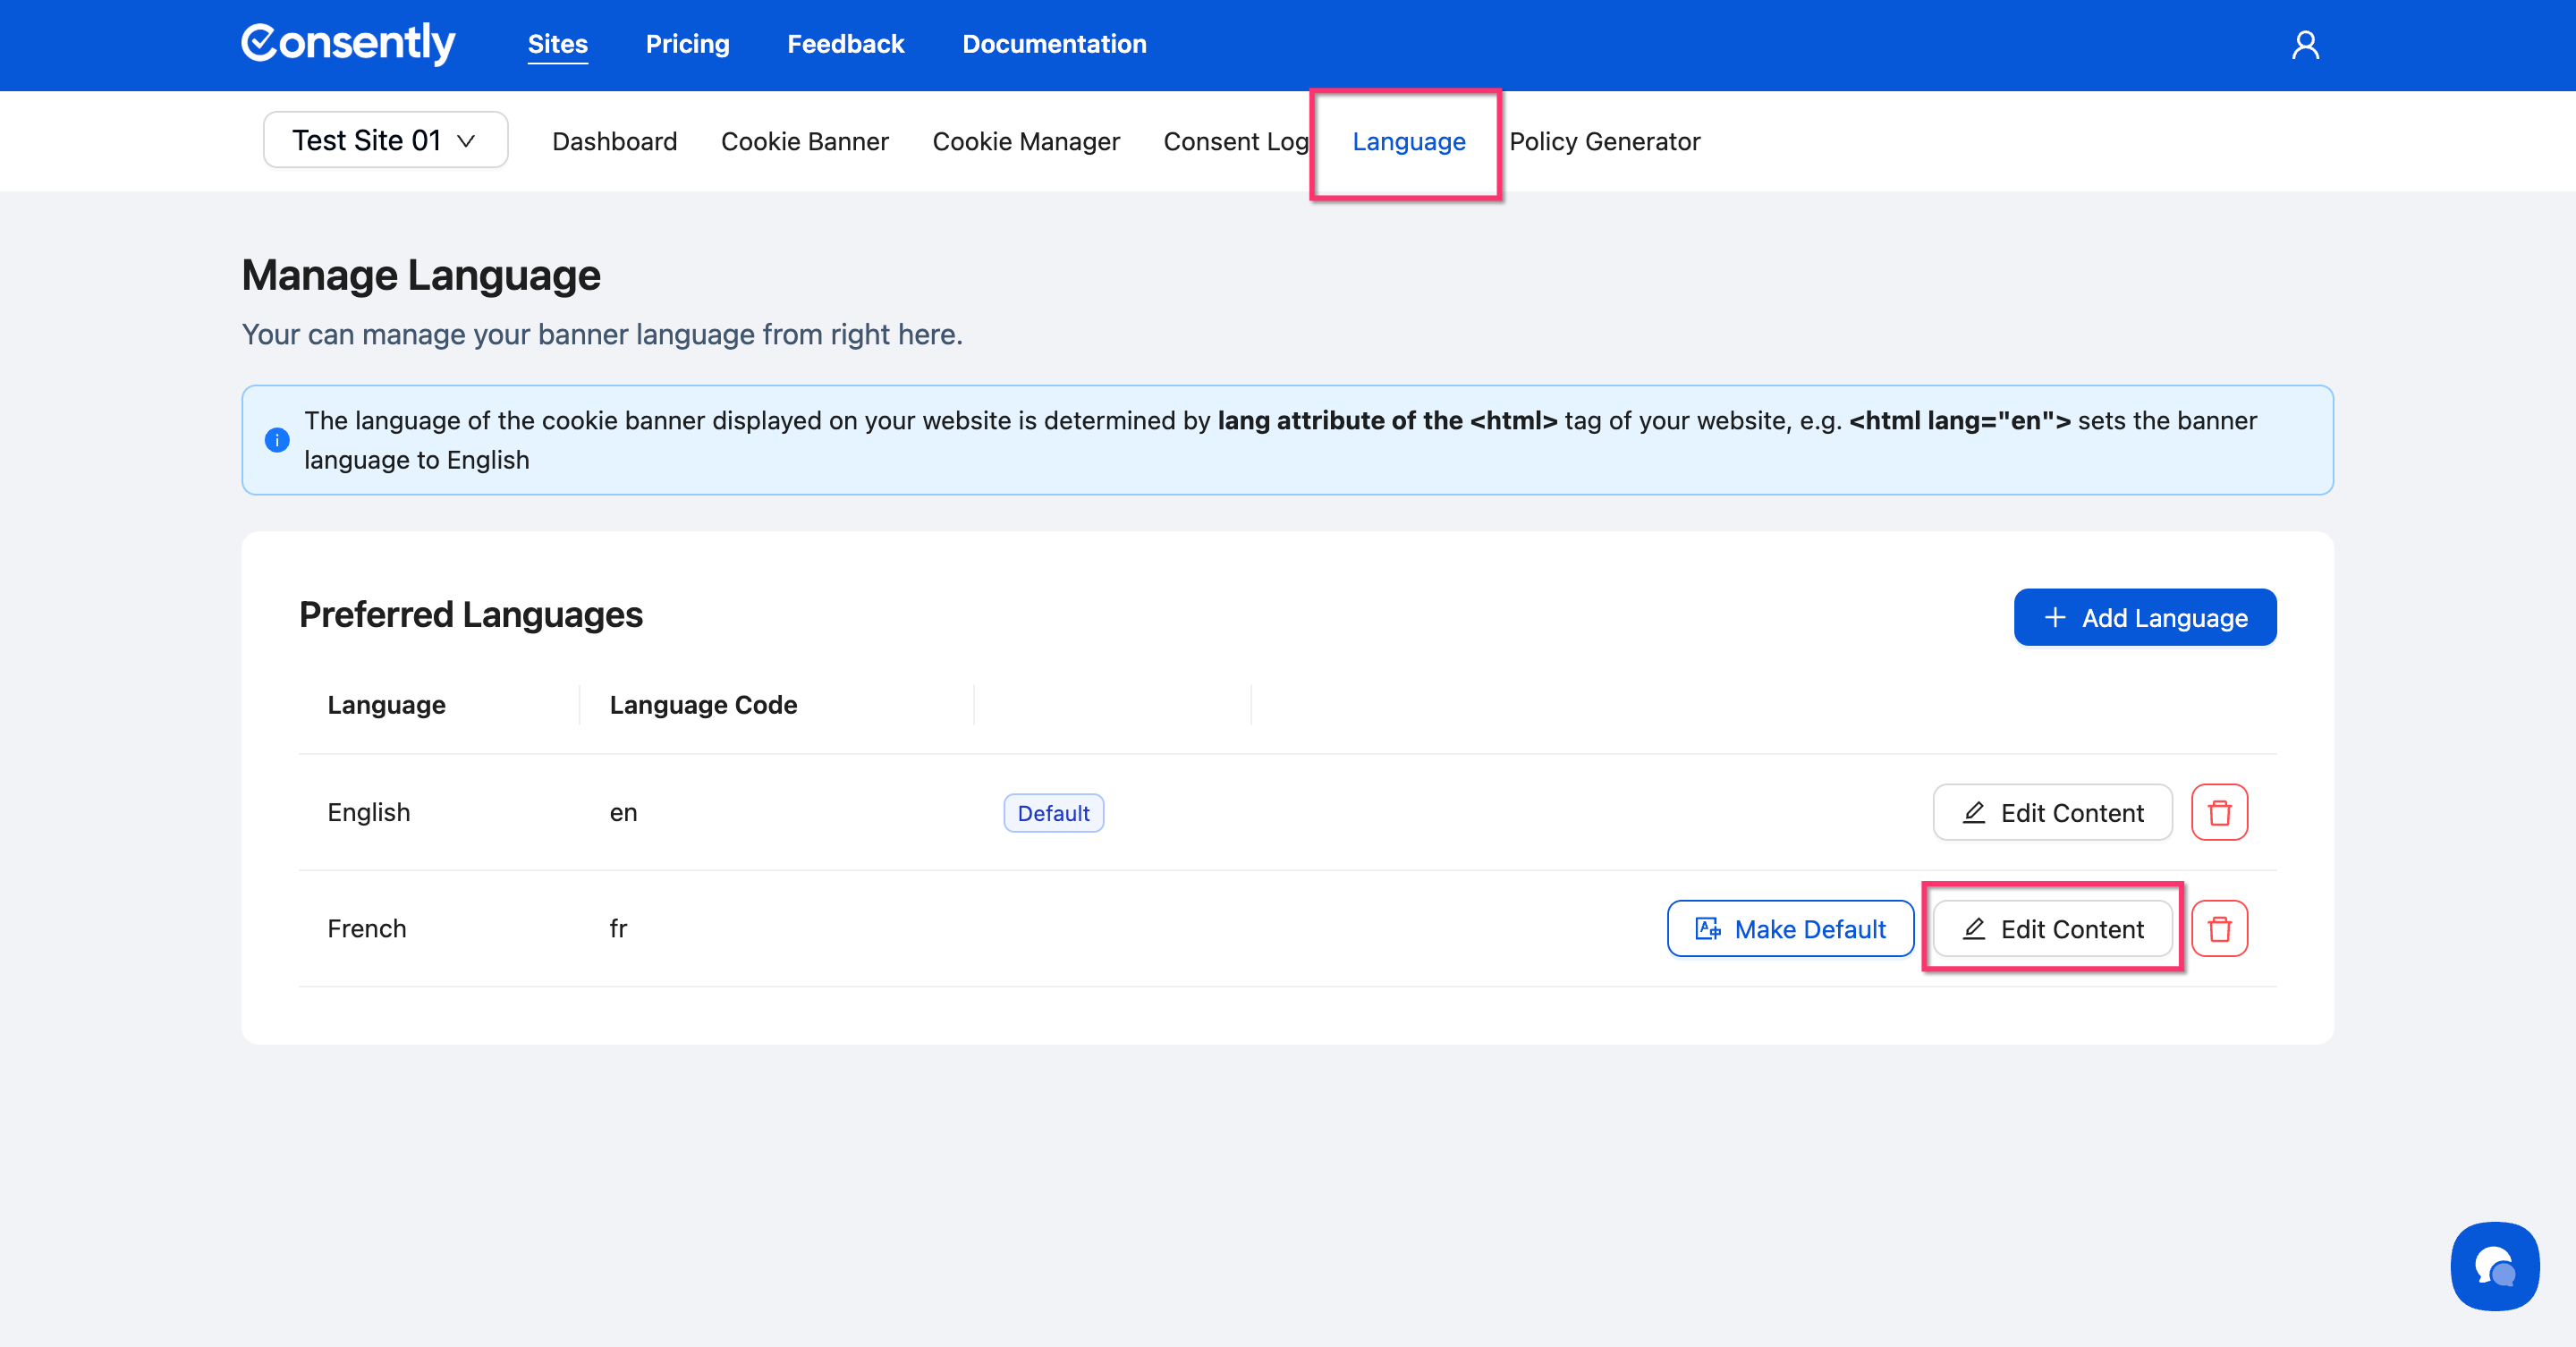
Step 1: Access the language editor
Navigate to Language in your site dashboard, then click Edit Content next to the language you want to translate.
Step 2: Select the regulation template
Choose which language consent template to translate from the Edit Content dropdown at the top.
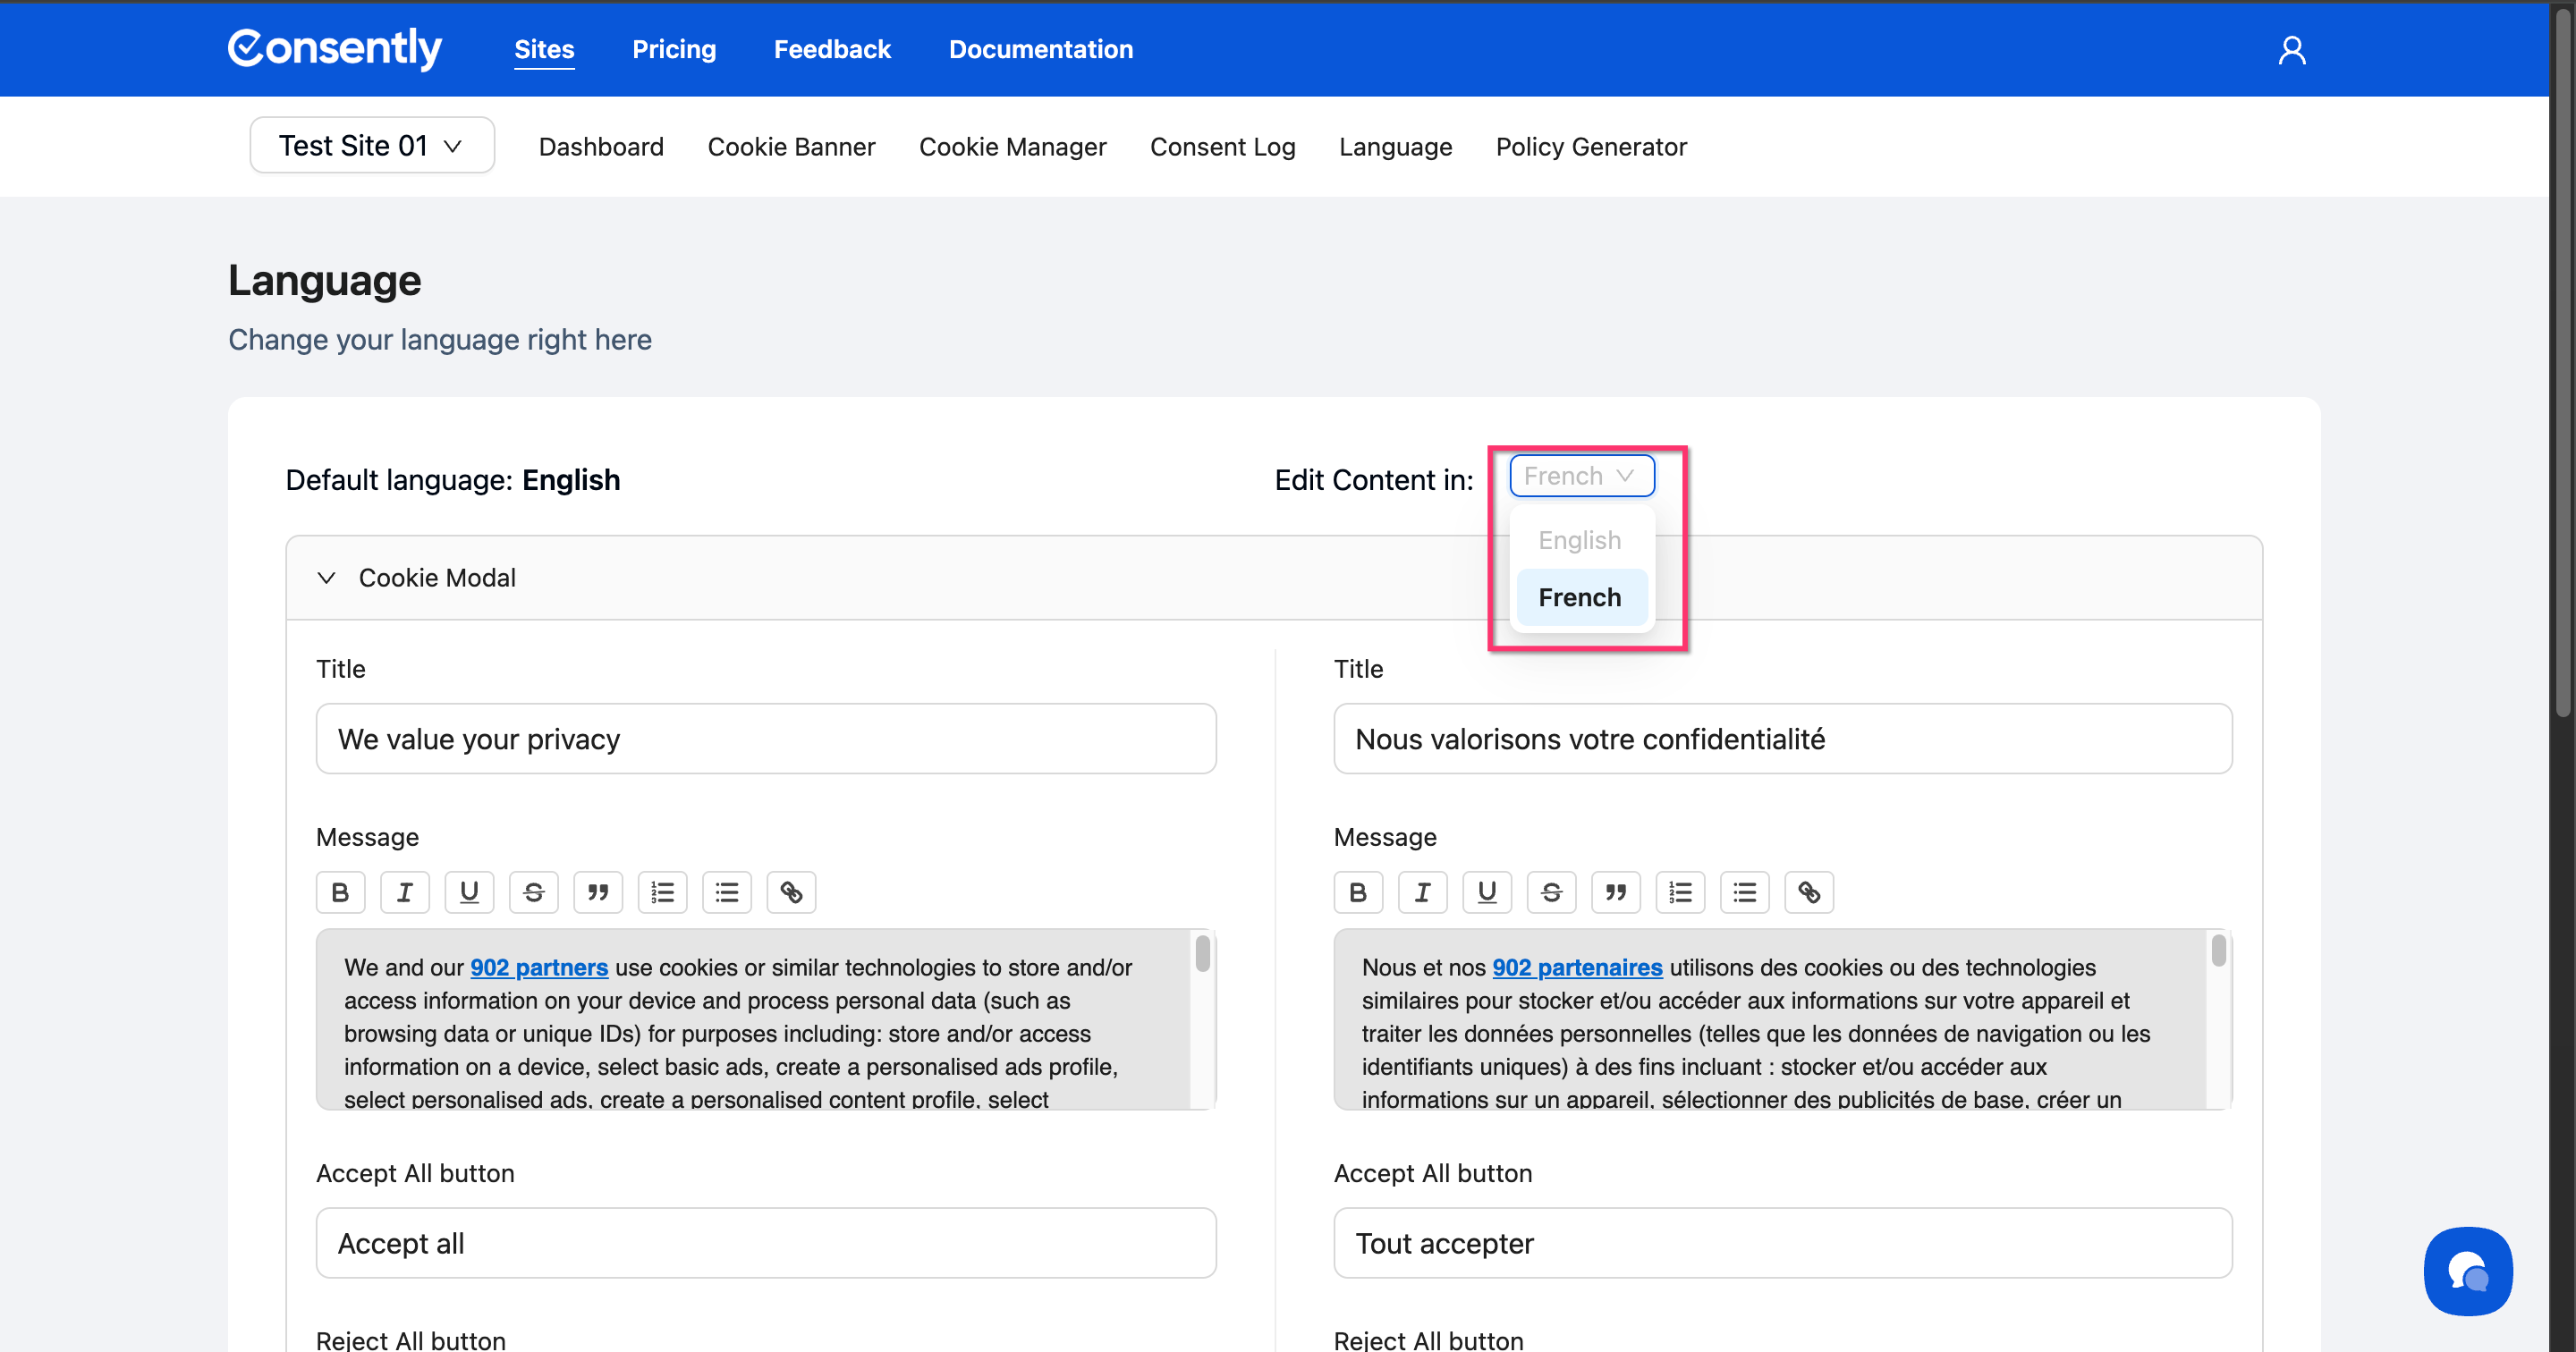
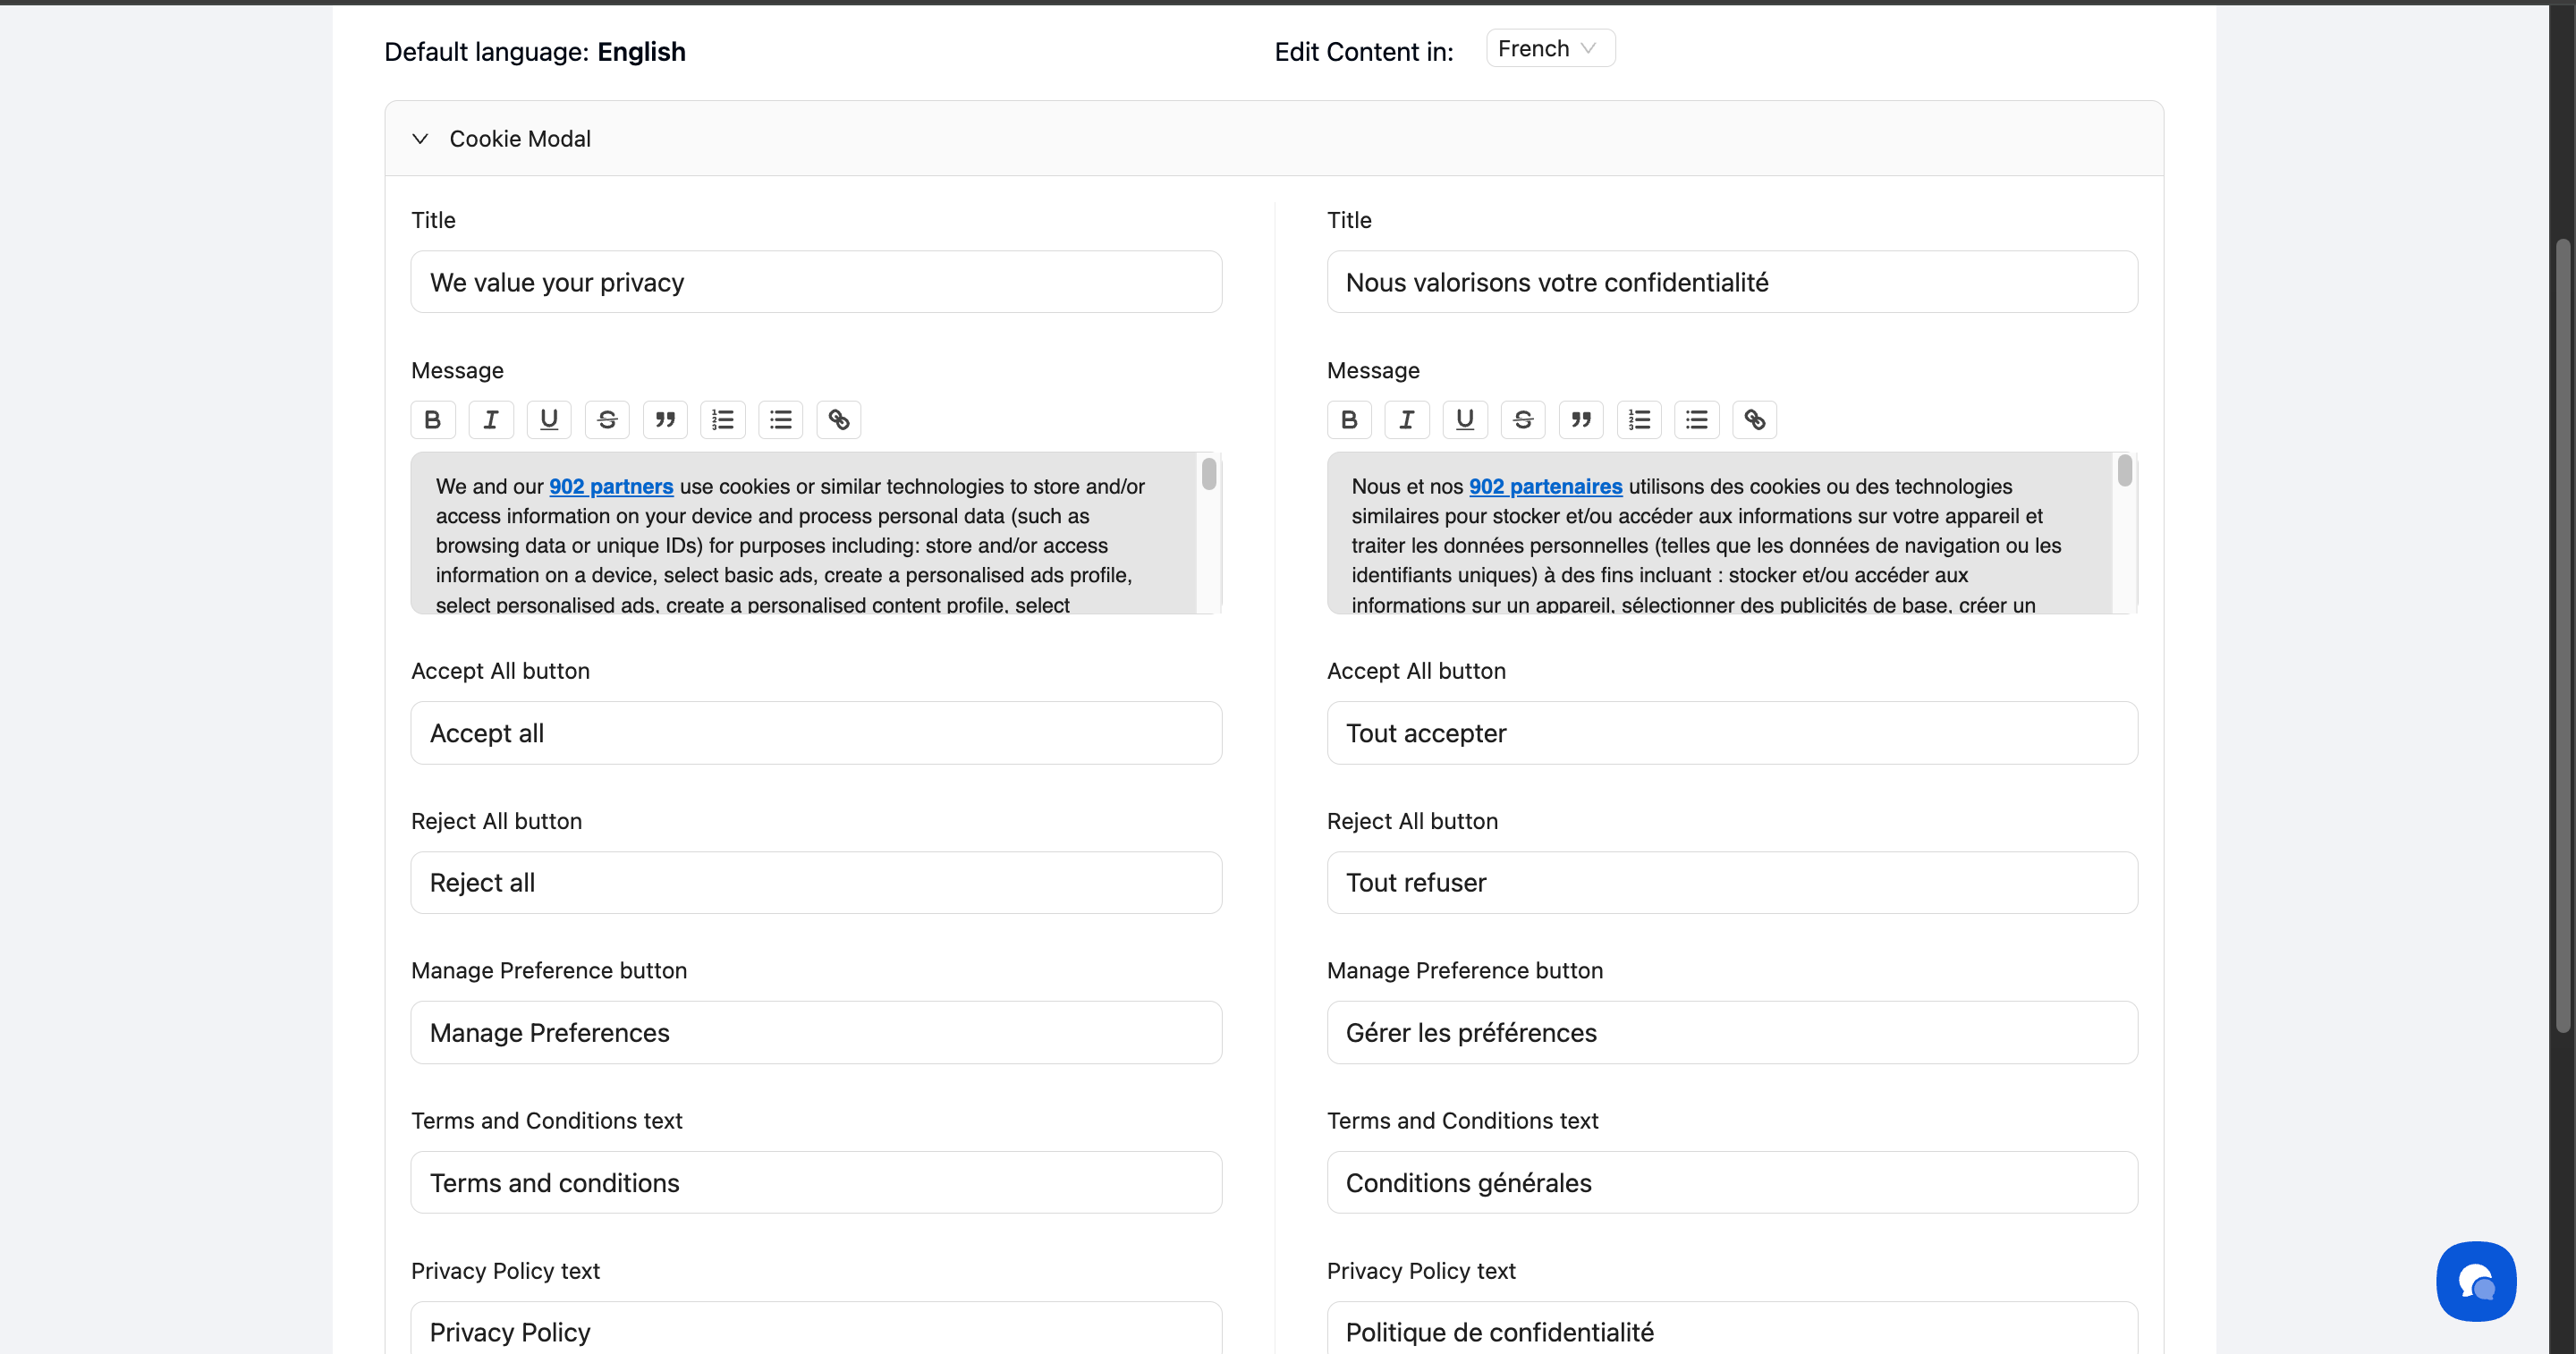
Step 3: Translate Cookie Modal content
Scroll to the Cookie Modal section and translate each field:
Title (e.g., "We value your privacy")
Message description text
Accept All button text
Reject All button text
Manage Preference button text
Terms and Conditions link text
Privacy Policy link text
The left column shows your default language as a reference—edit only the right column.
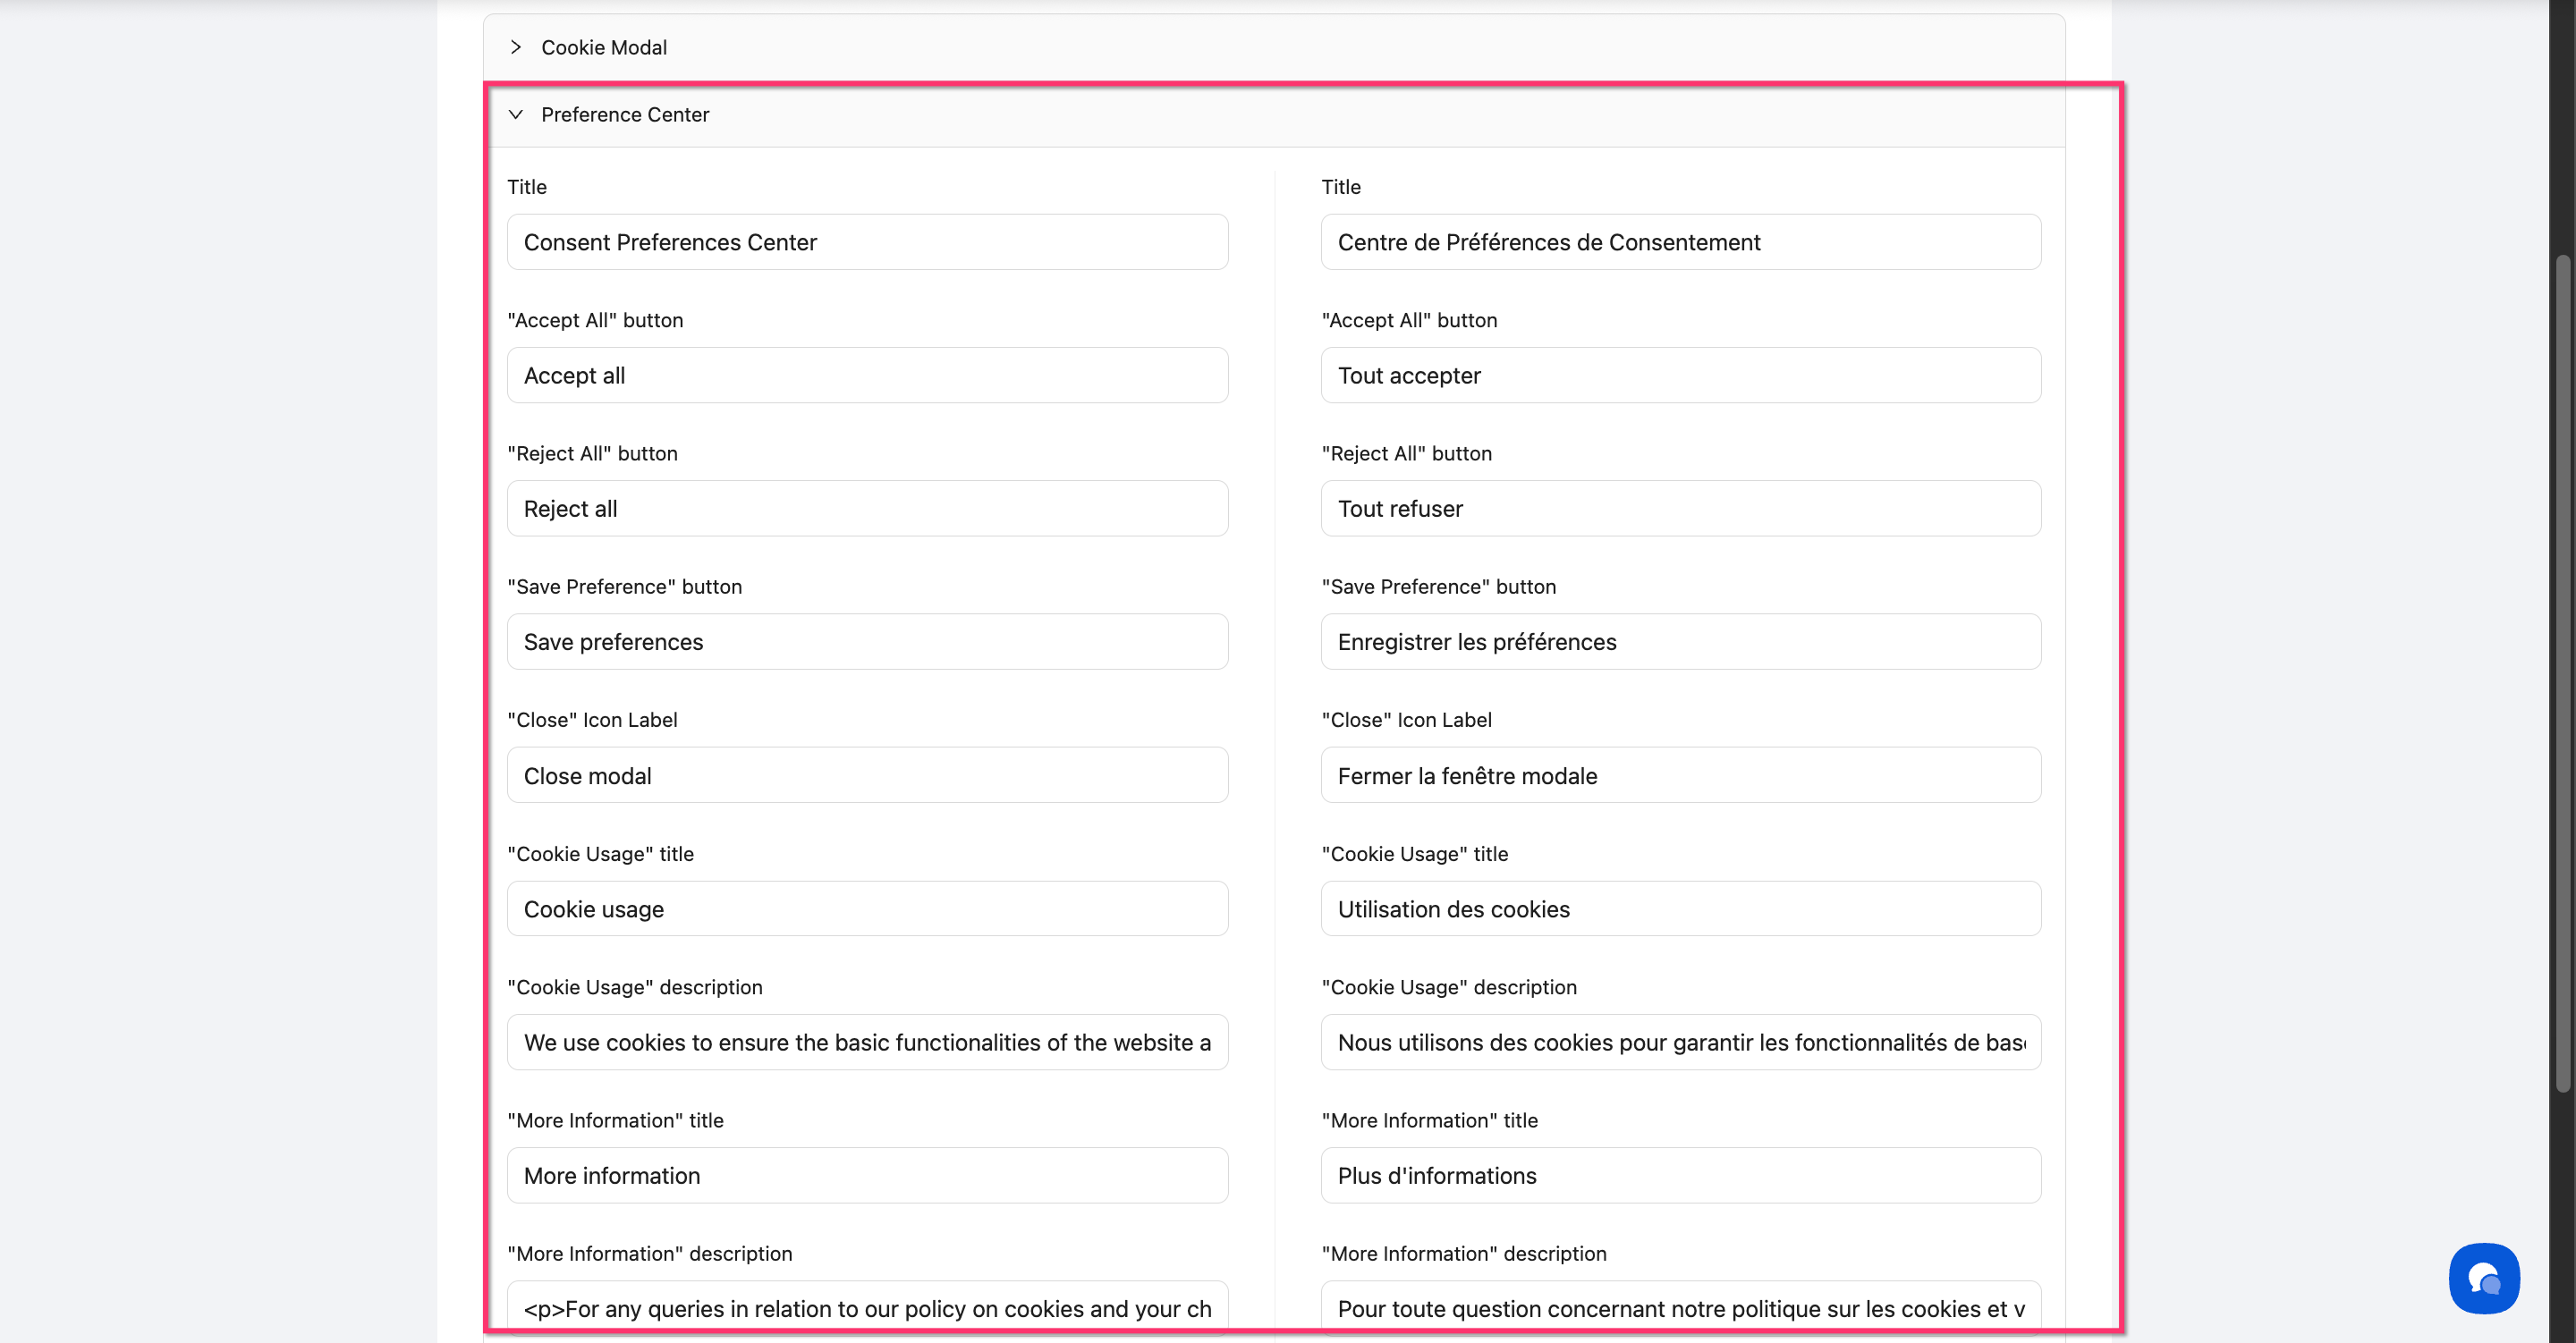
Step 4: Translate Preference Center content
Scroll to the Preference Center section and translate:
Title (e.g., "Consent Preferences Center")
Save Preferences button text
Accept All button text
Reject All button text
Close Icon Label
Cookie Usage title and description
More Information title and description
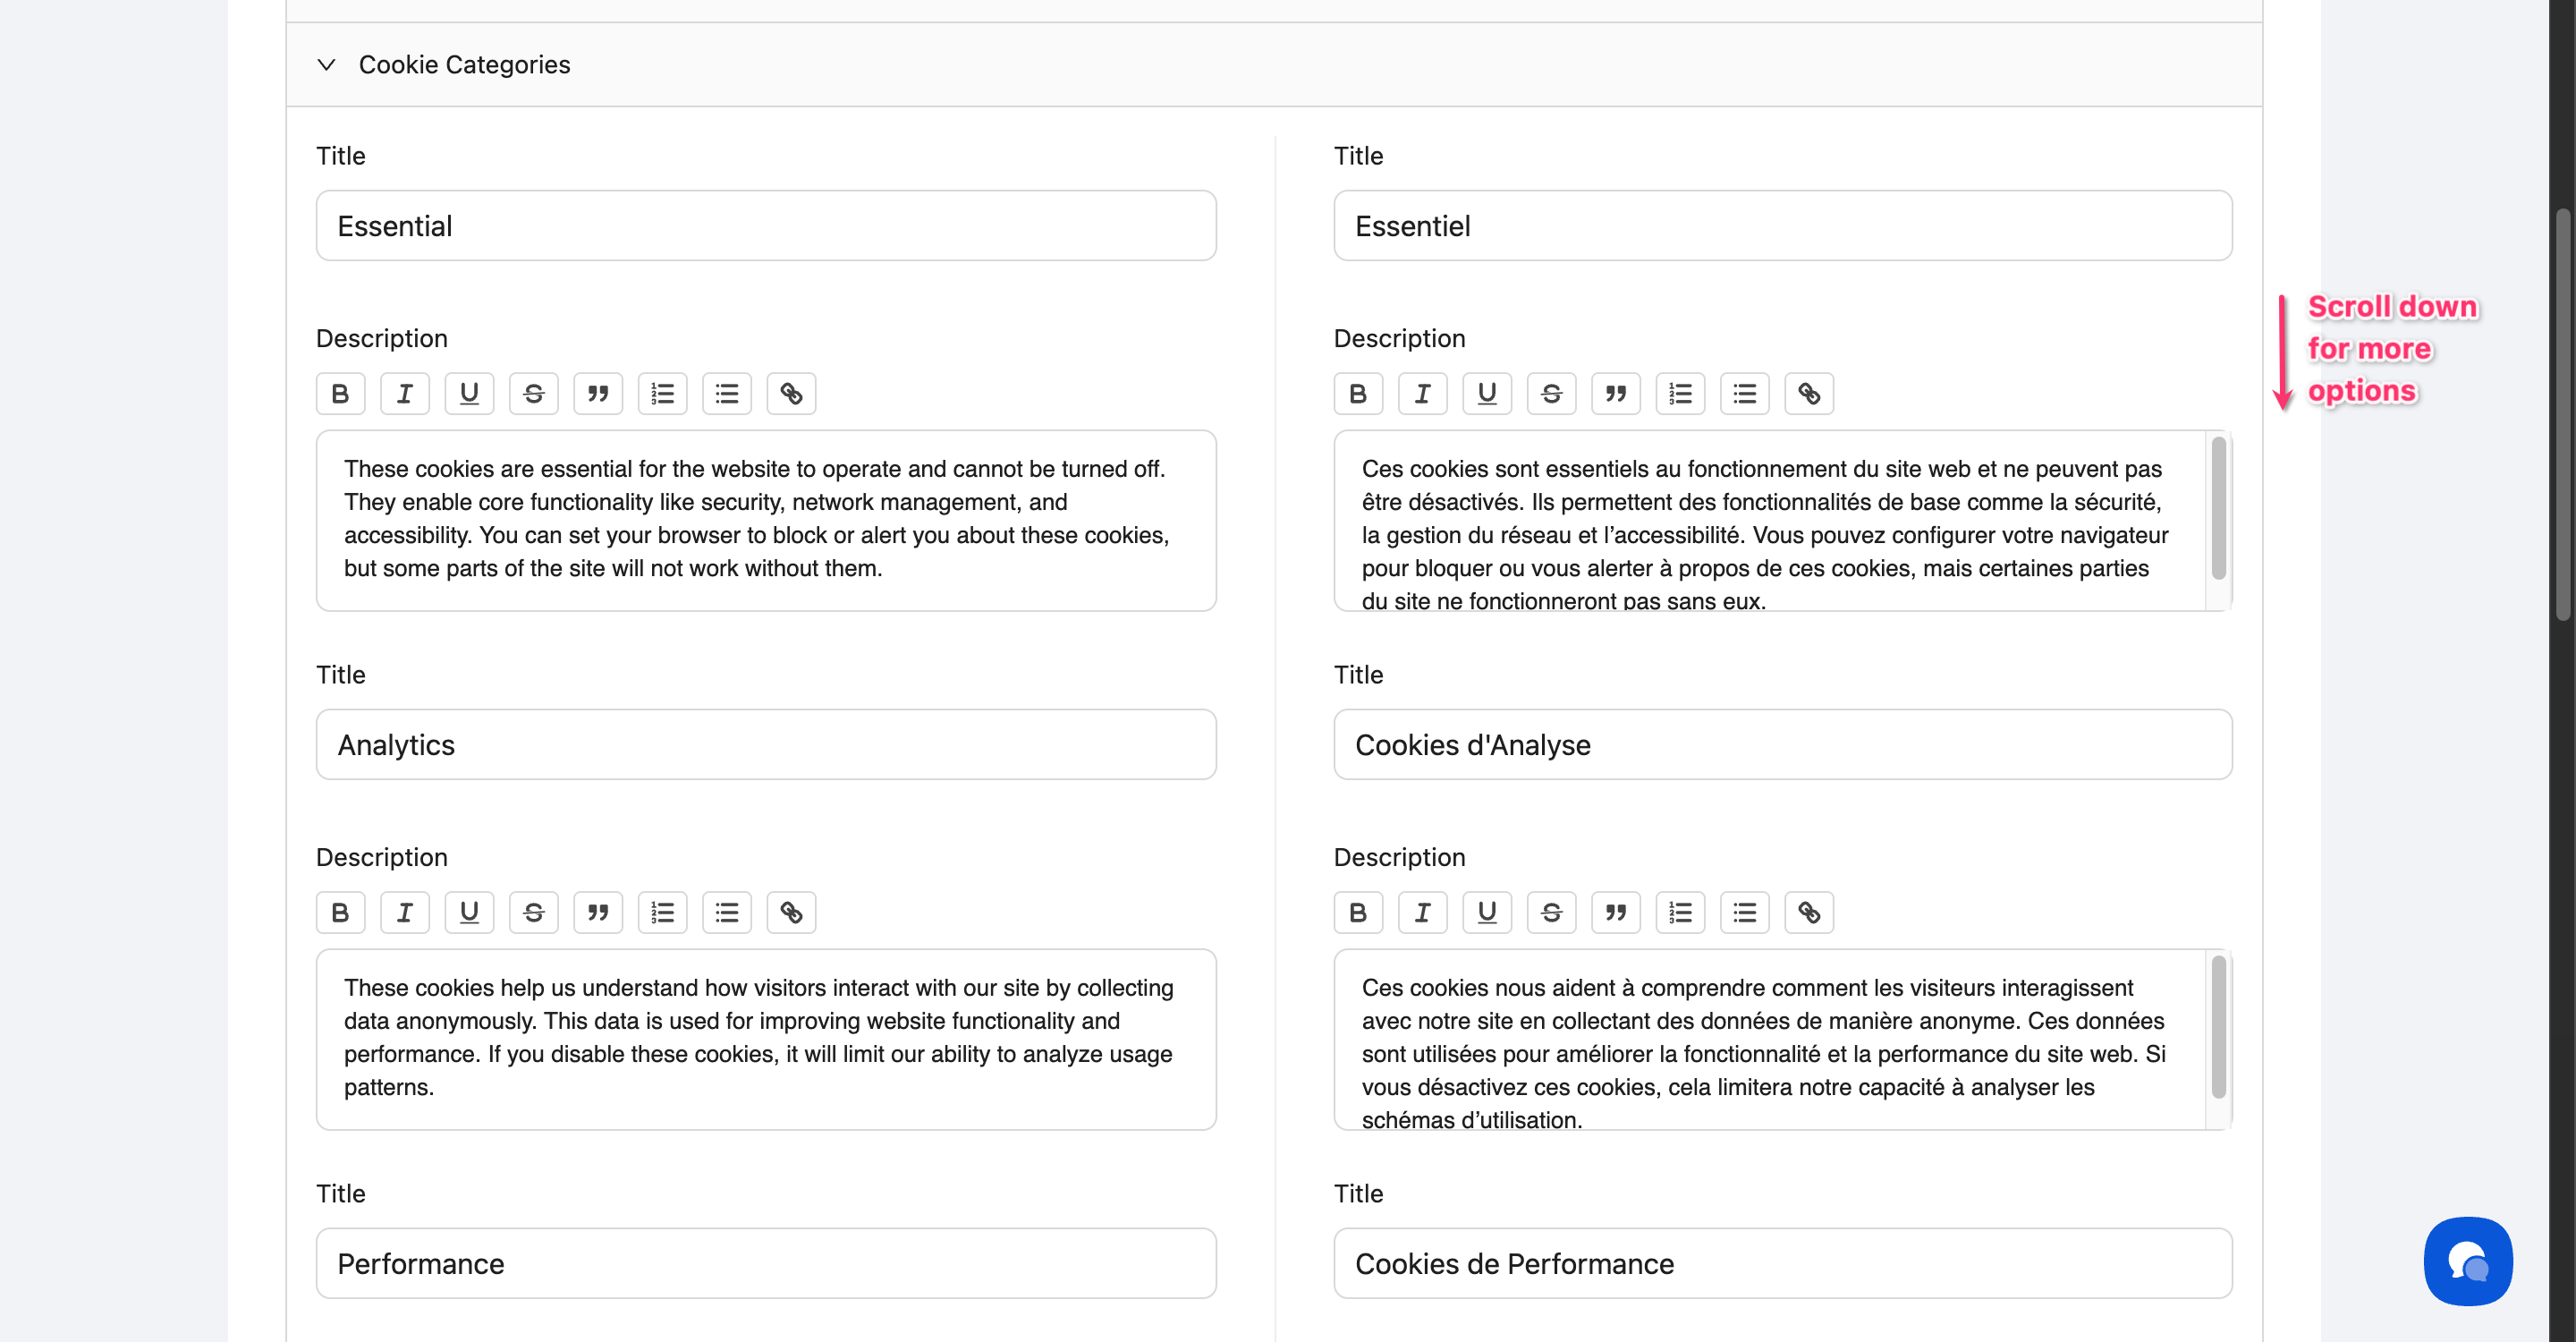
Step 5: Translate Cookie Categories
Translate the title and description for each of the six categories:
Essential
Analytics
Performance
Advertising
Social
Unclassified
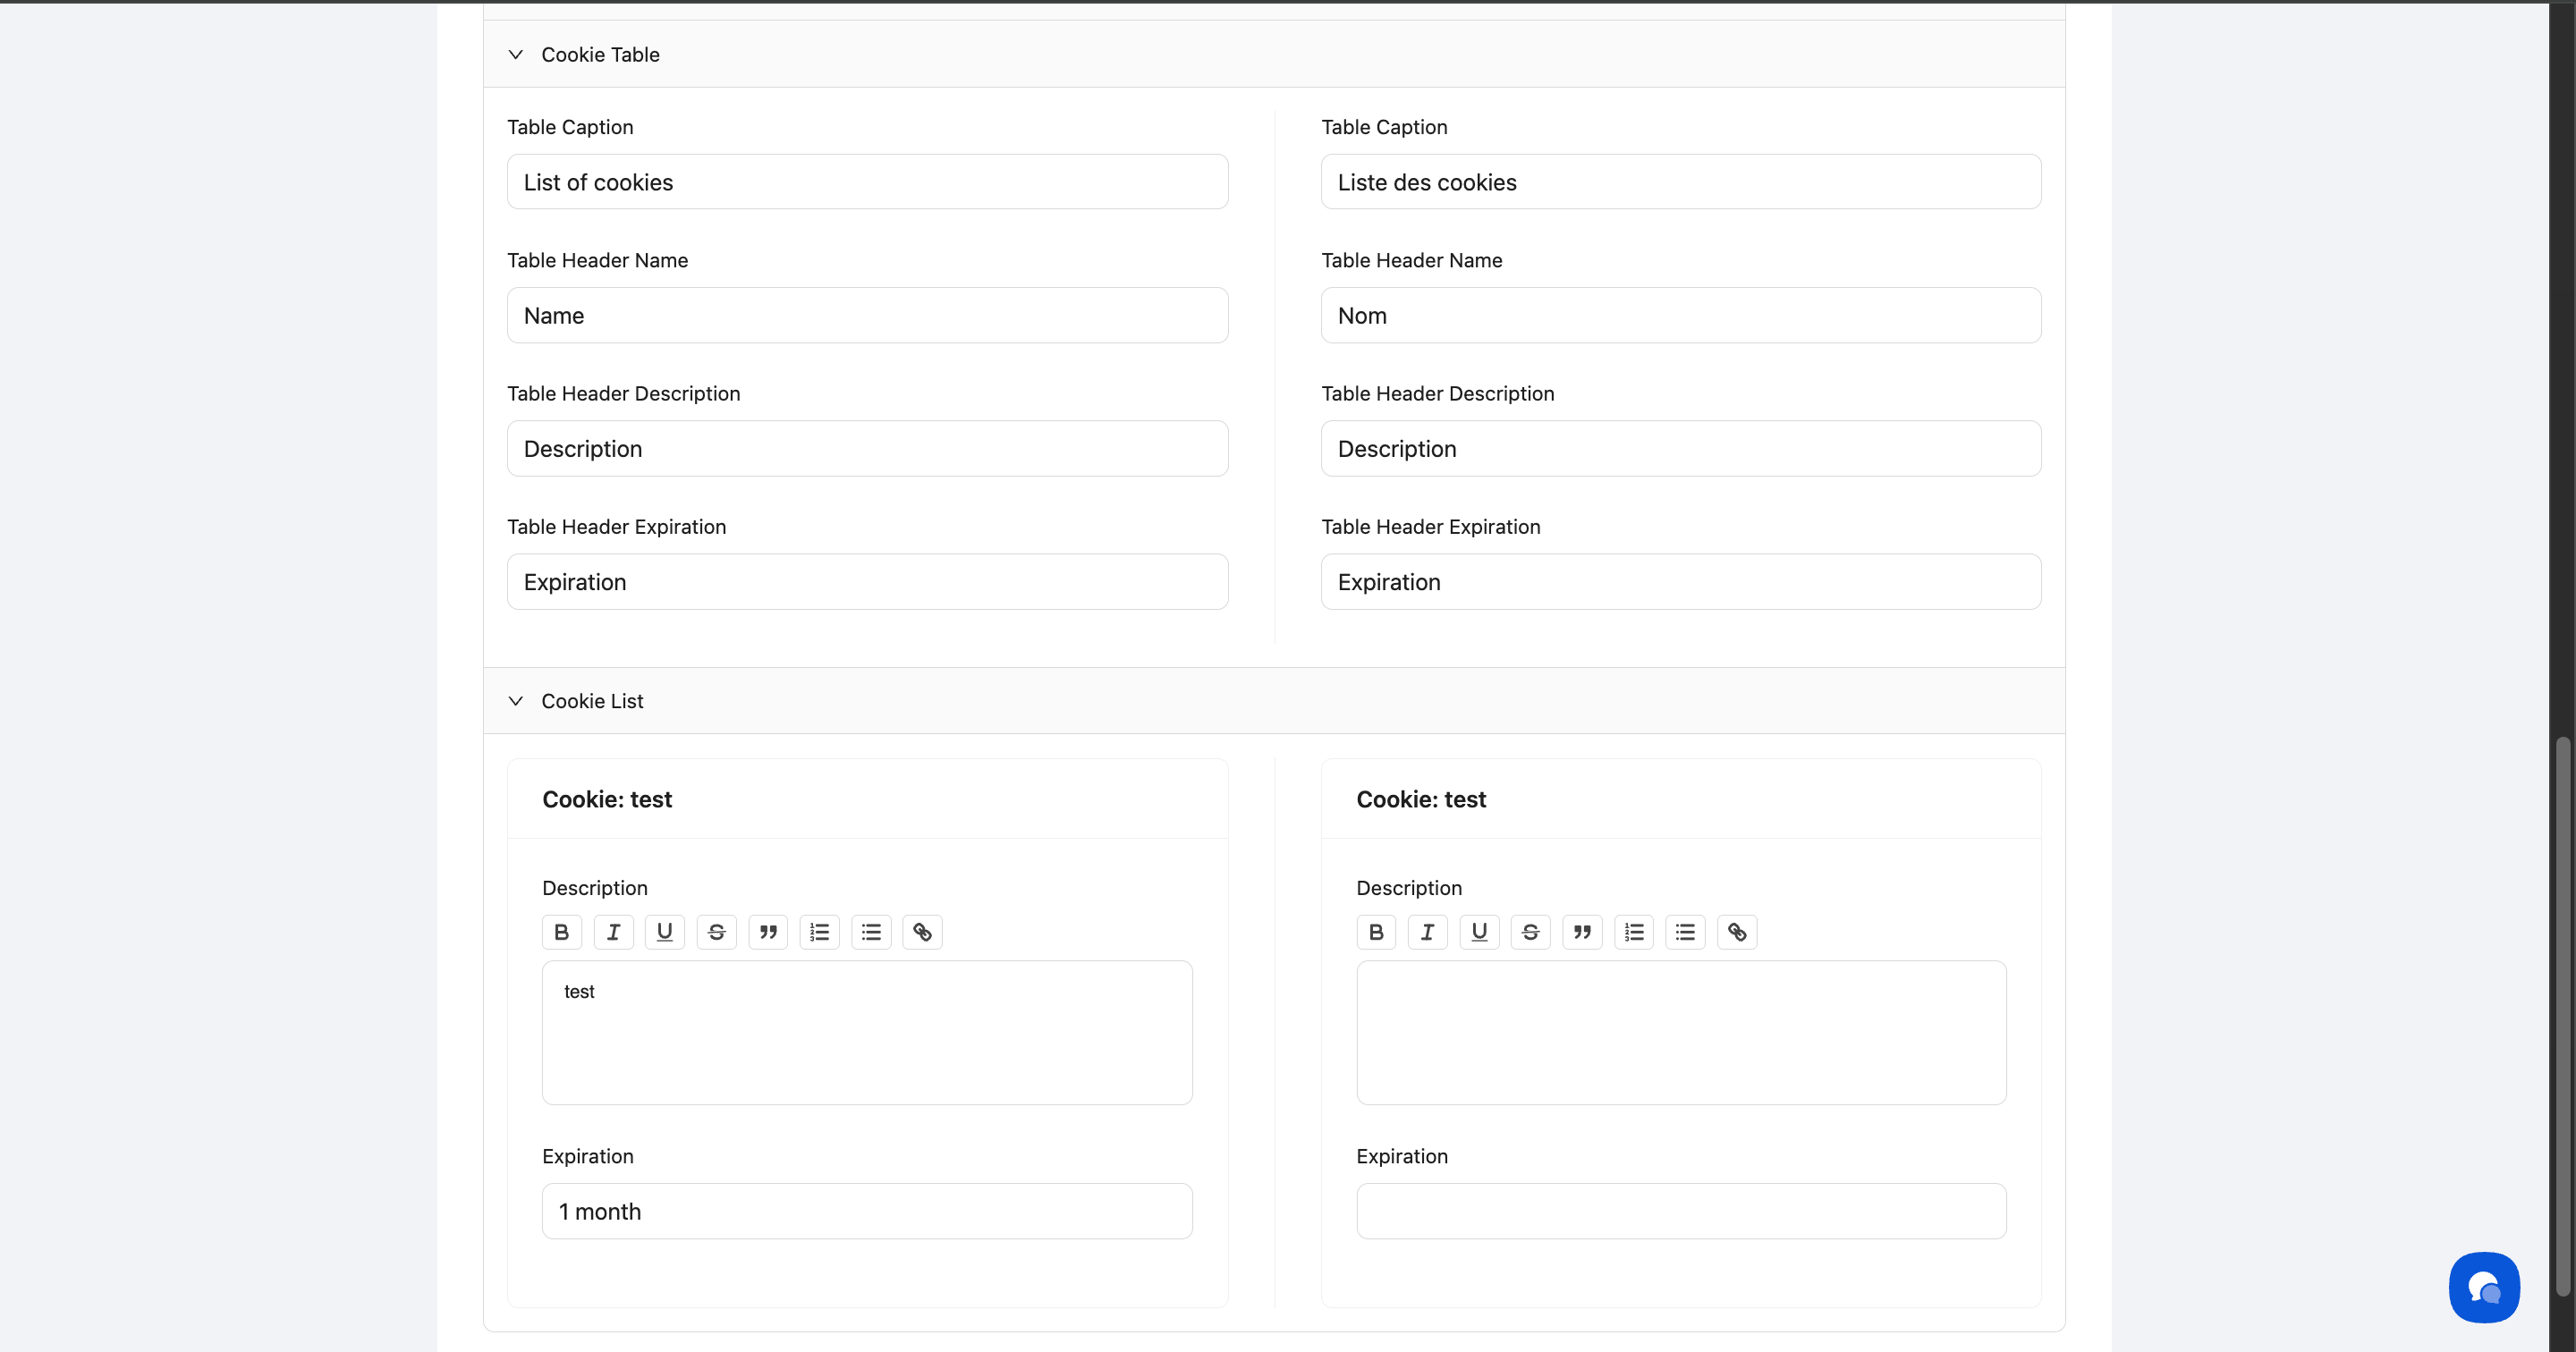
Step 6: Translate Cookie Table labels
Click Cookie Table to expand the section and translate the column headers and detail labels used in the cookie information table.
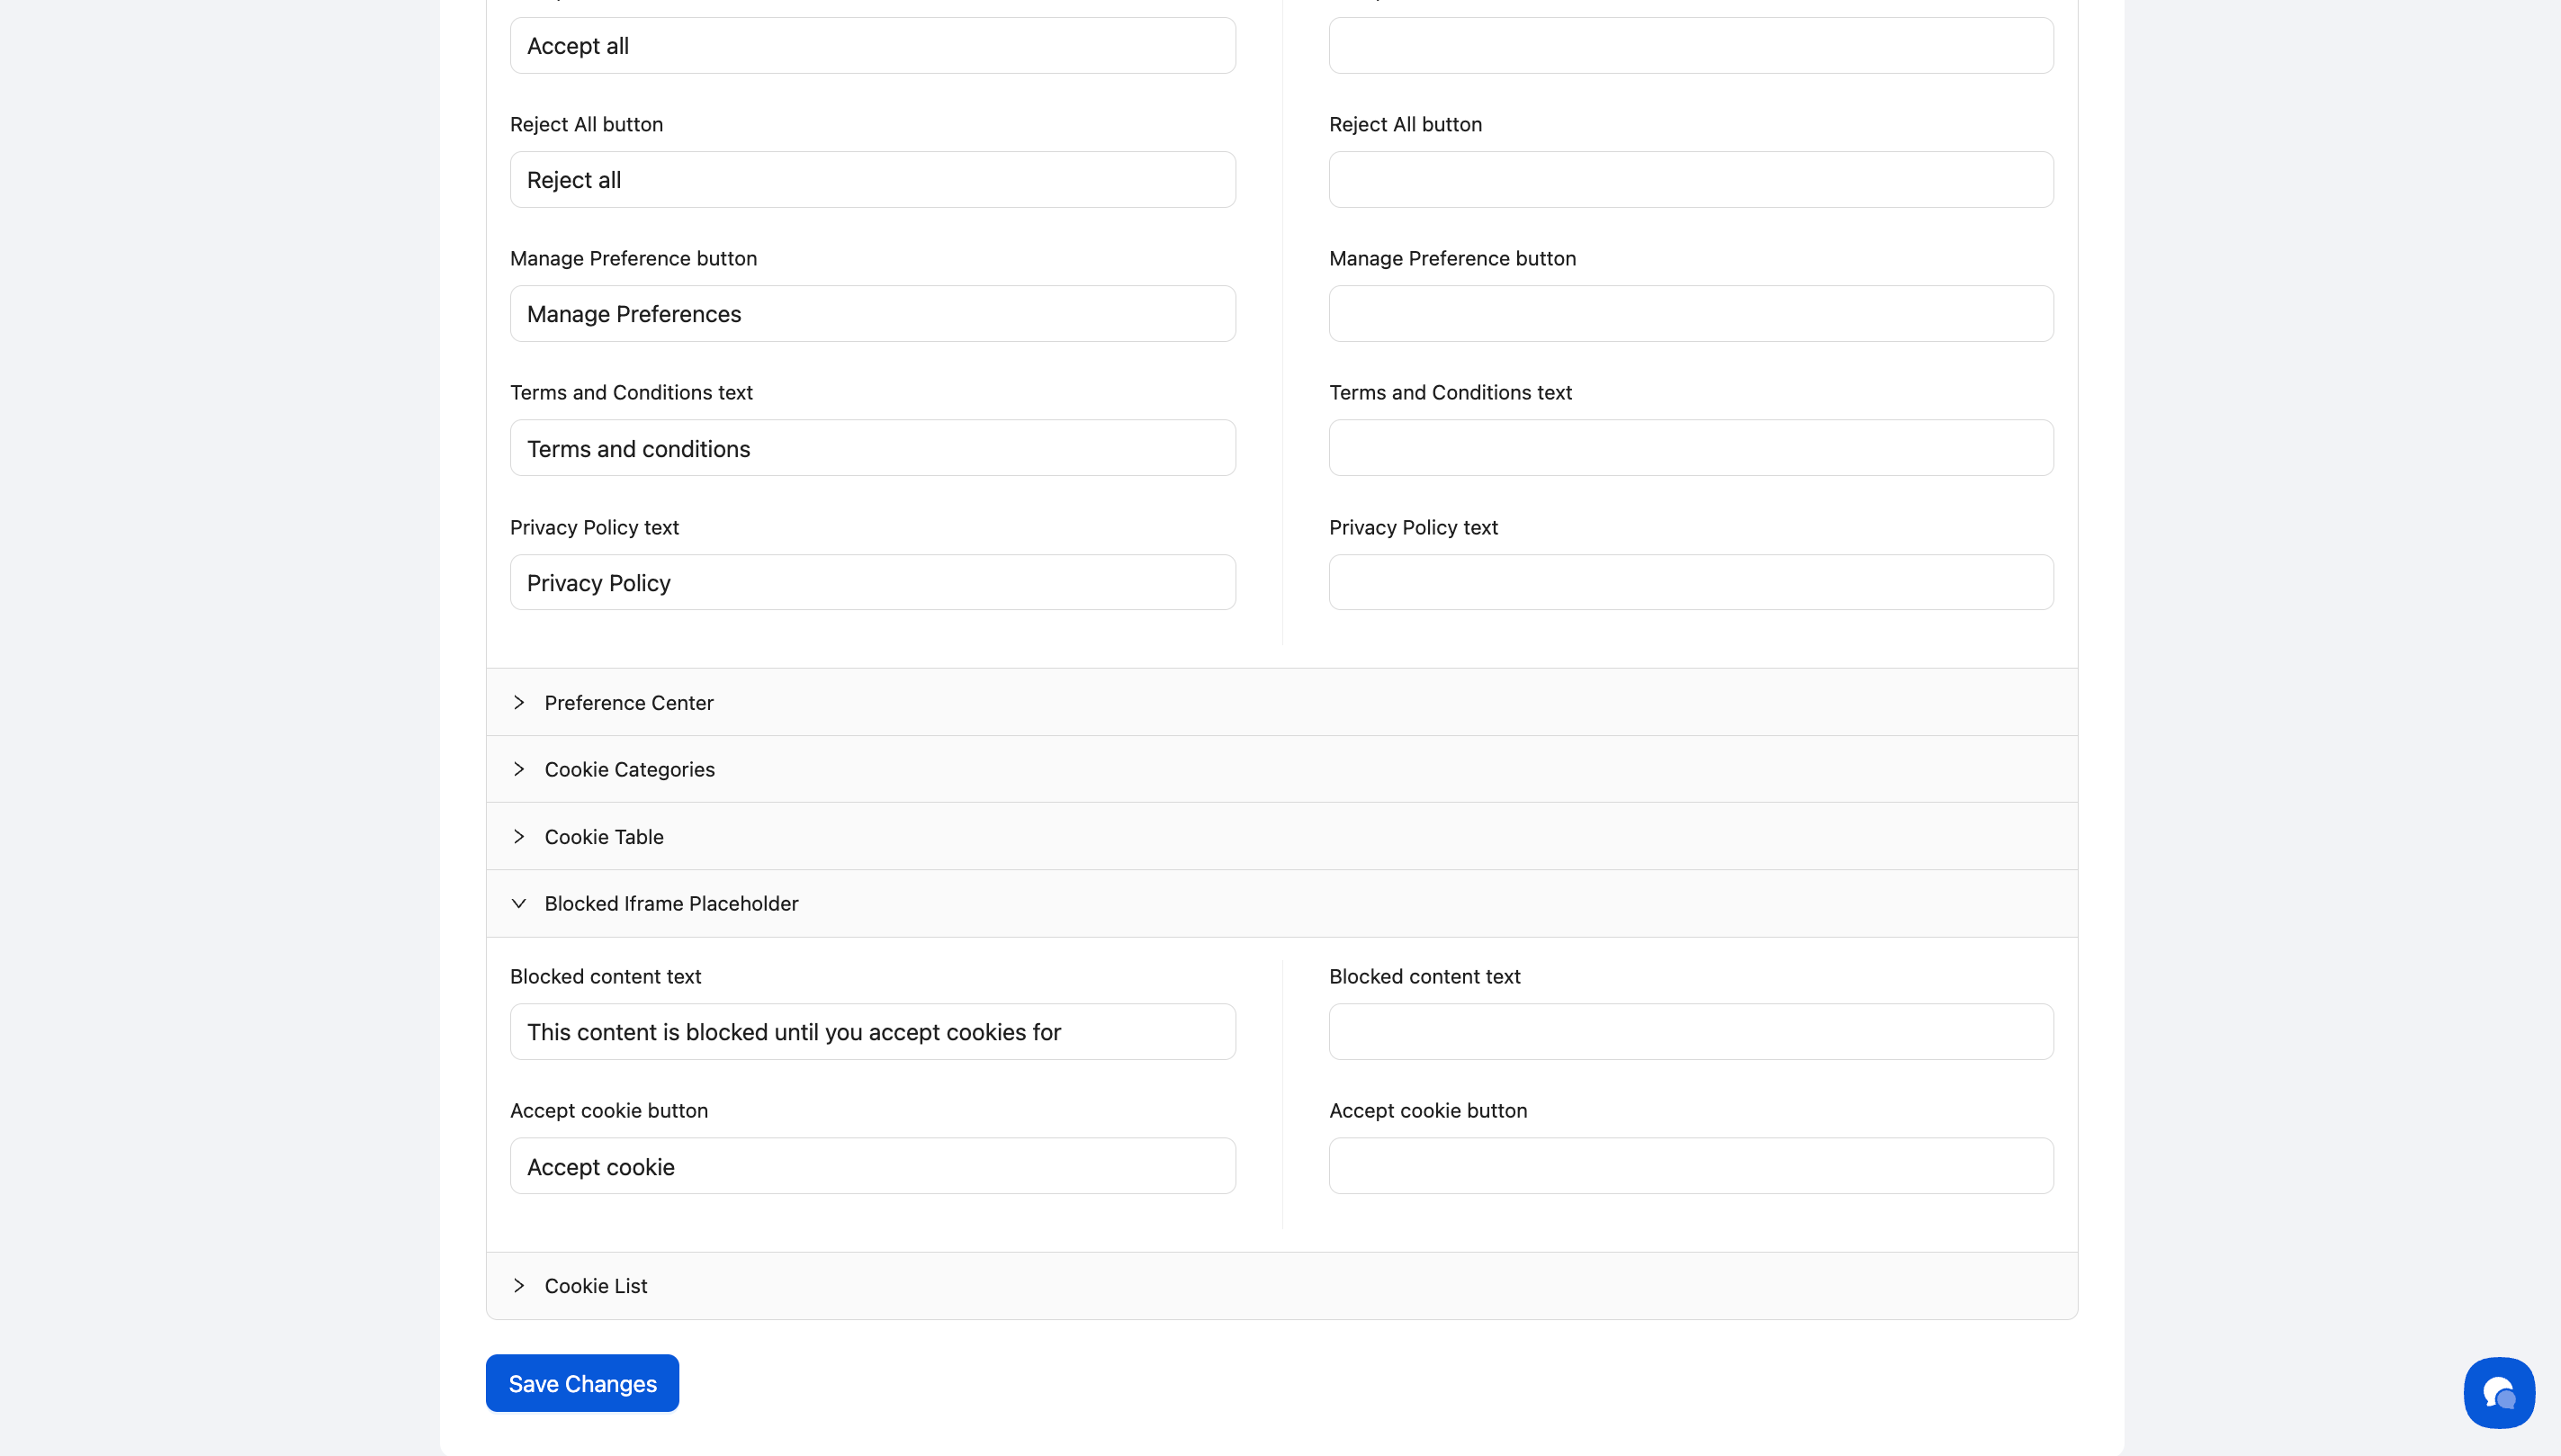
Step 7: Translate Blocked Iframe Placeholder text
Click Blocked Iframe Placeholder to expand the section and translate:
Blocked content text — the message shown when embedded content is blocked pending consent (e.g., "This content is blocked until you accept cookies for")
Accept cookie button — the button visitors click to unblock the content (e.g., "Accept cookie")
This text appears on iframes and embedded content blocked by cookie auto-blocking.
Step 8: Translate Cookie List labels
Click Cookie List to expand the section and translate the display text used in the cookie list view.
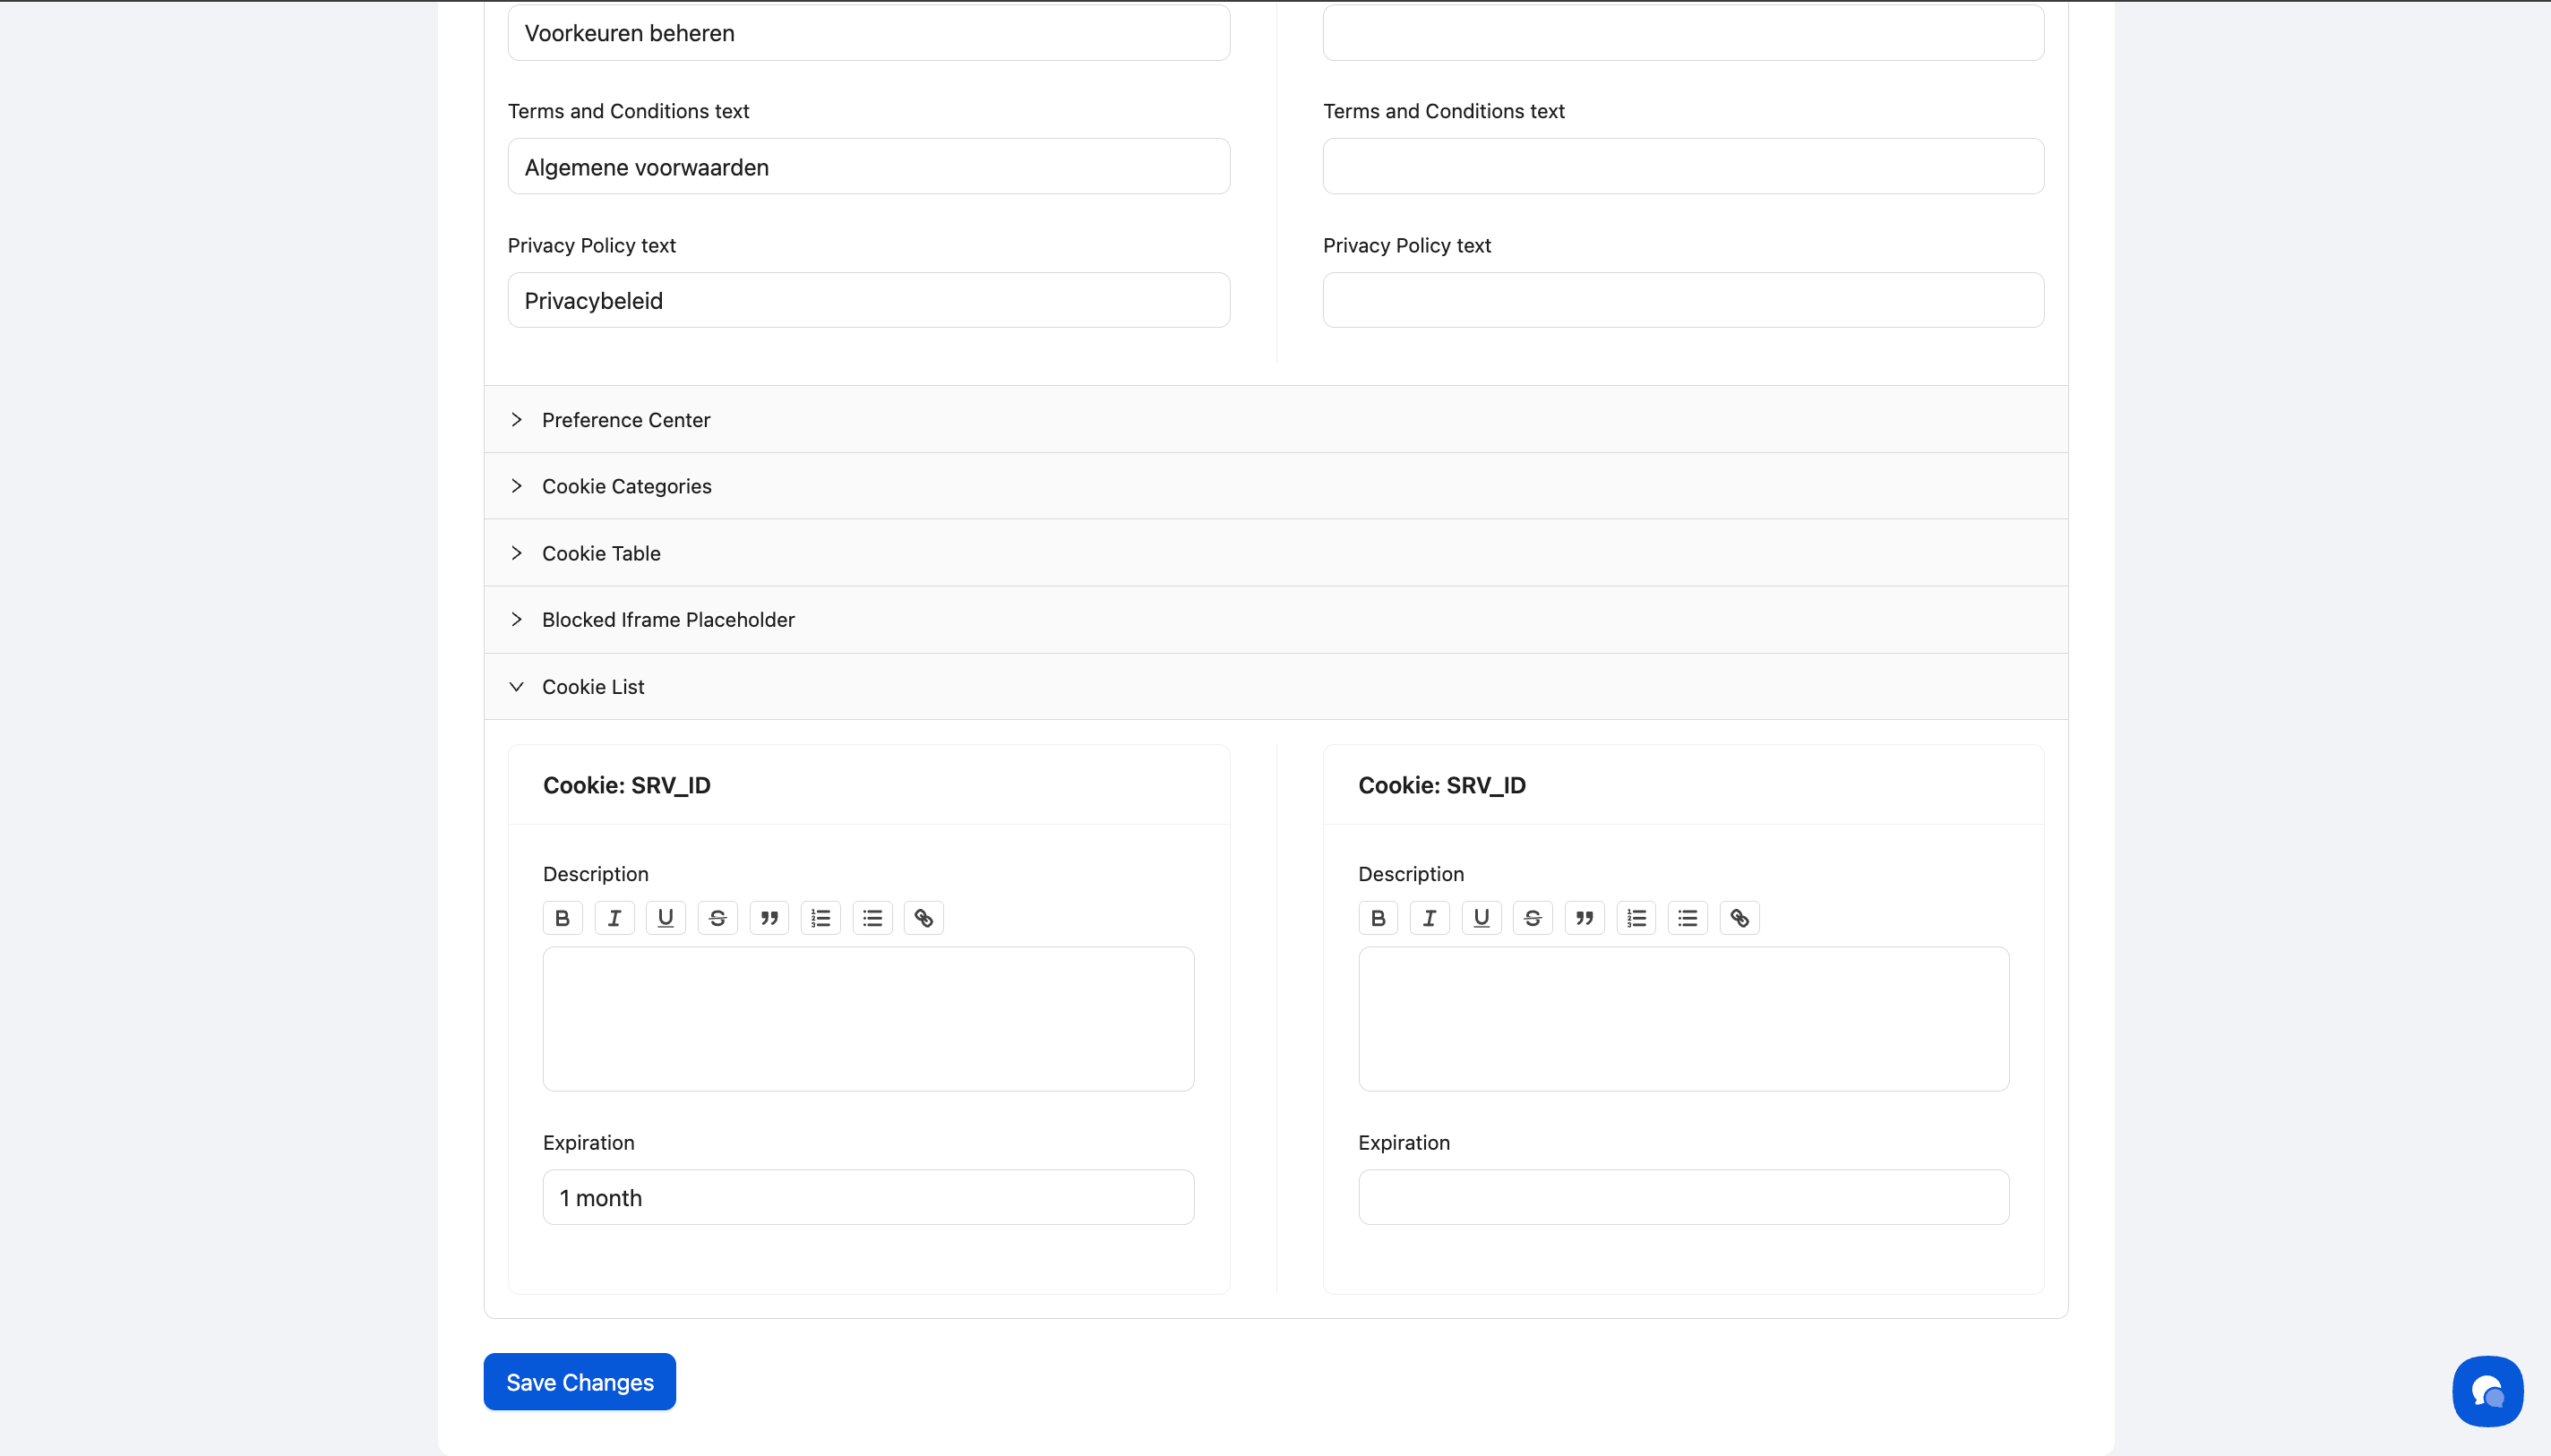
Step 9: Save your translations
Click Save Changes at the bottom of the page.
✅ Success indicator: You'll see a confirmation message that says "Cookie successfully updated!"
Translation Best Practices
Use professional translation: Legal consent text requires accuracy—avoid relying solely on machine translation
Maintain tone consistency: Match the formality level of your default language
Keep button text concise: Shorter translations work better for button labels
Review on mobile: Test how translations display on smaller screens
Cultural adaptation: Adjust phrasing to be culturally appropriate, not just literally translated
What's Next
After translating your banner content, you should:
Test the banner in the translated language on your website
Repeat the translation process for additional languages if needed
Troubleshooting
Changes aren't appearing on my website
Why this happens: Language detection relies on the lang attribute in your website's HTML.
Solution:
Verify your website's
<html>tag includes the correct language code (e.g.,<html lang="fr">for French)If the
langattribute is missing or incorrect; update it in your website's templateClear your browser cache and refresh the page
Some fields show placeholder text instead of my translations
Solution: Return to the language editor and verify you've filled in all required fields. Empty fields will display default language content as a fallback.
Rich text formatting disappeared after translation
Solution: Use the formatting toolbar (B, I, U, lists, links) in the editor to reapply formatting to your translated text. Formatting doesn't automatically carry over from the default language.