

TL;DR: Select your site from the dropdown → Configure banner, cookies, languages, and policies individually per site.
Each website in your account can have completely unique settings.
Overview
Every site in your Consently account can have its own banner design, cookie configuration, language settings, and policies. This allows you to tailor the consent experience for each website while managing everything from a single dashboard.
Before You Begin
Make sure you have:
Time required: About 5-10 minutes per site
How to Access Site-Specific Settings
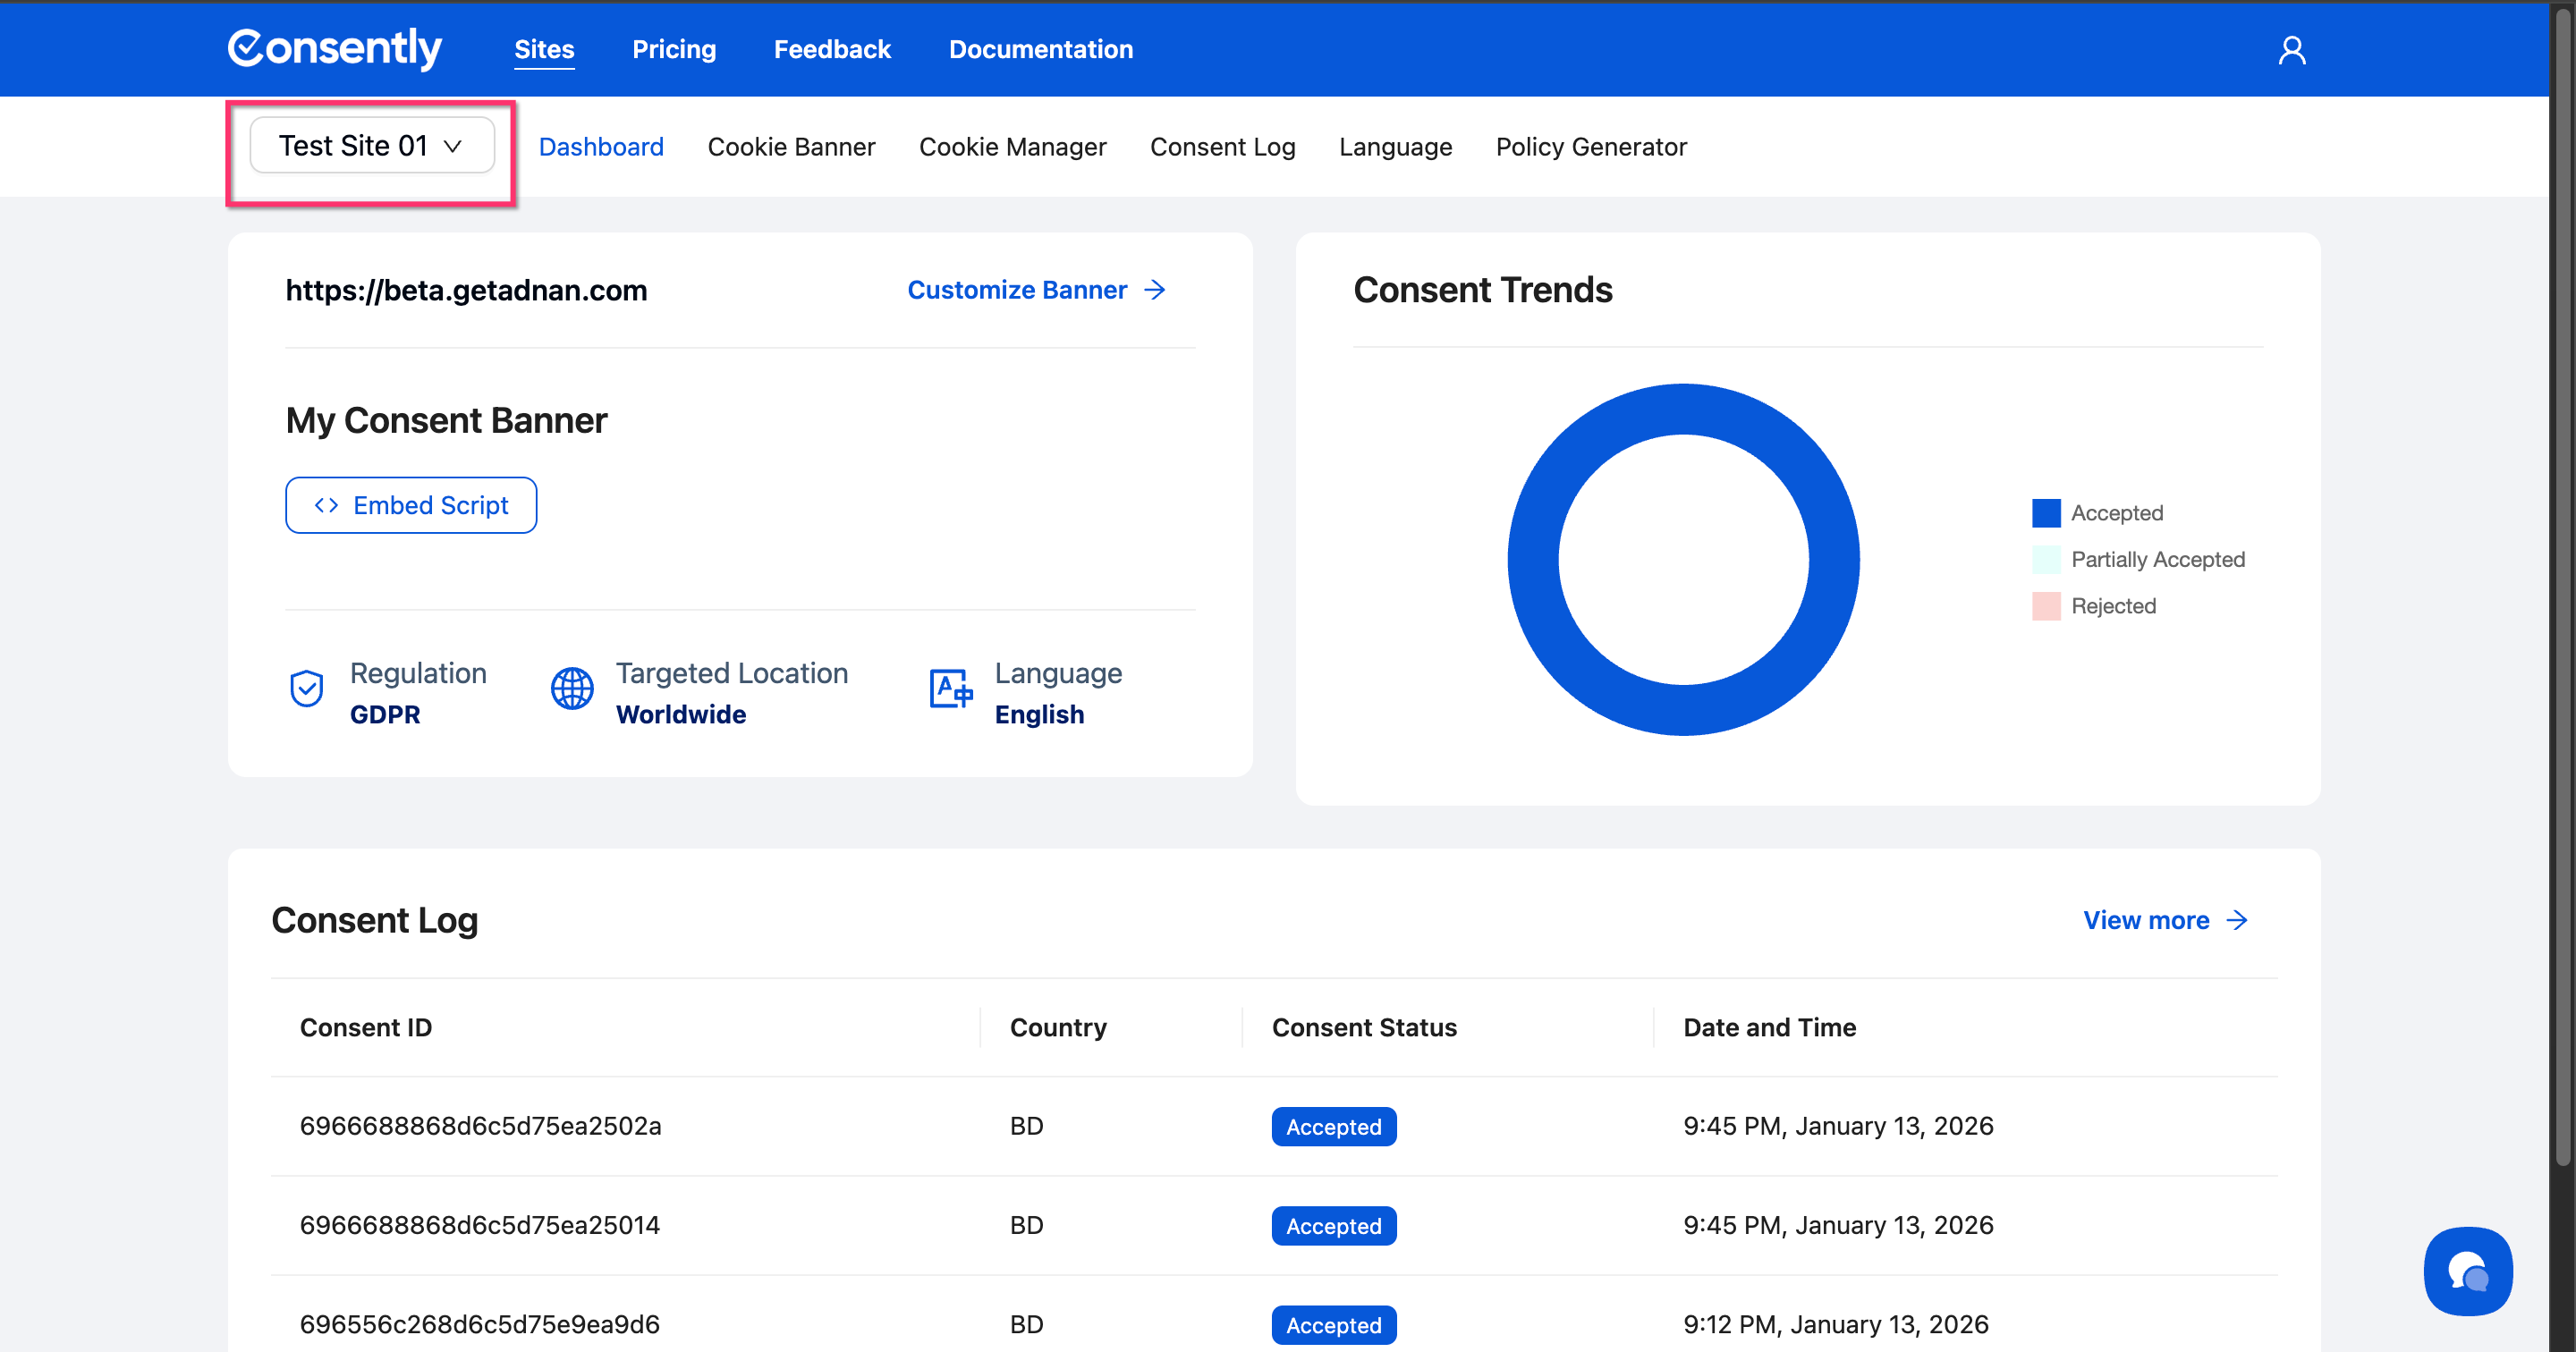
Step 1: Select your site
Click the site selector dropdown in the top navigation bar and choose the website you want to customize.
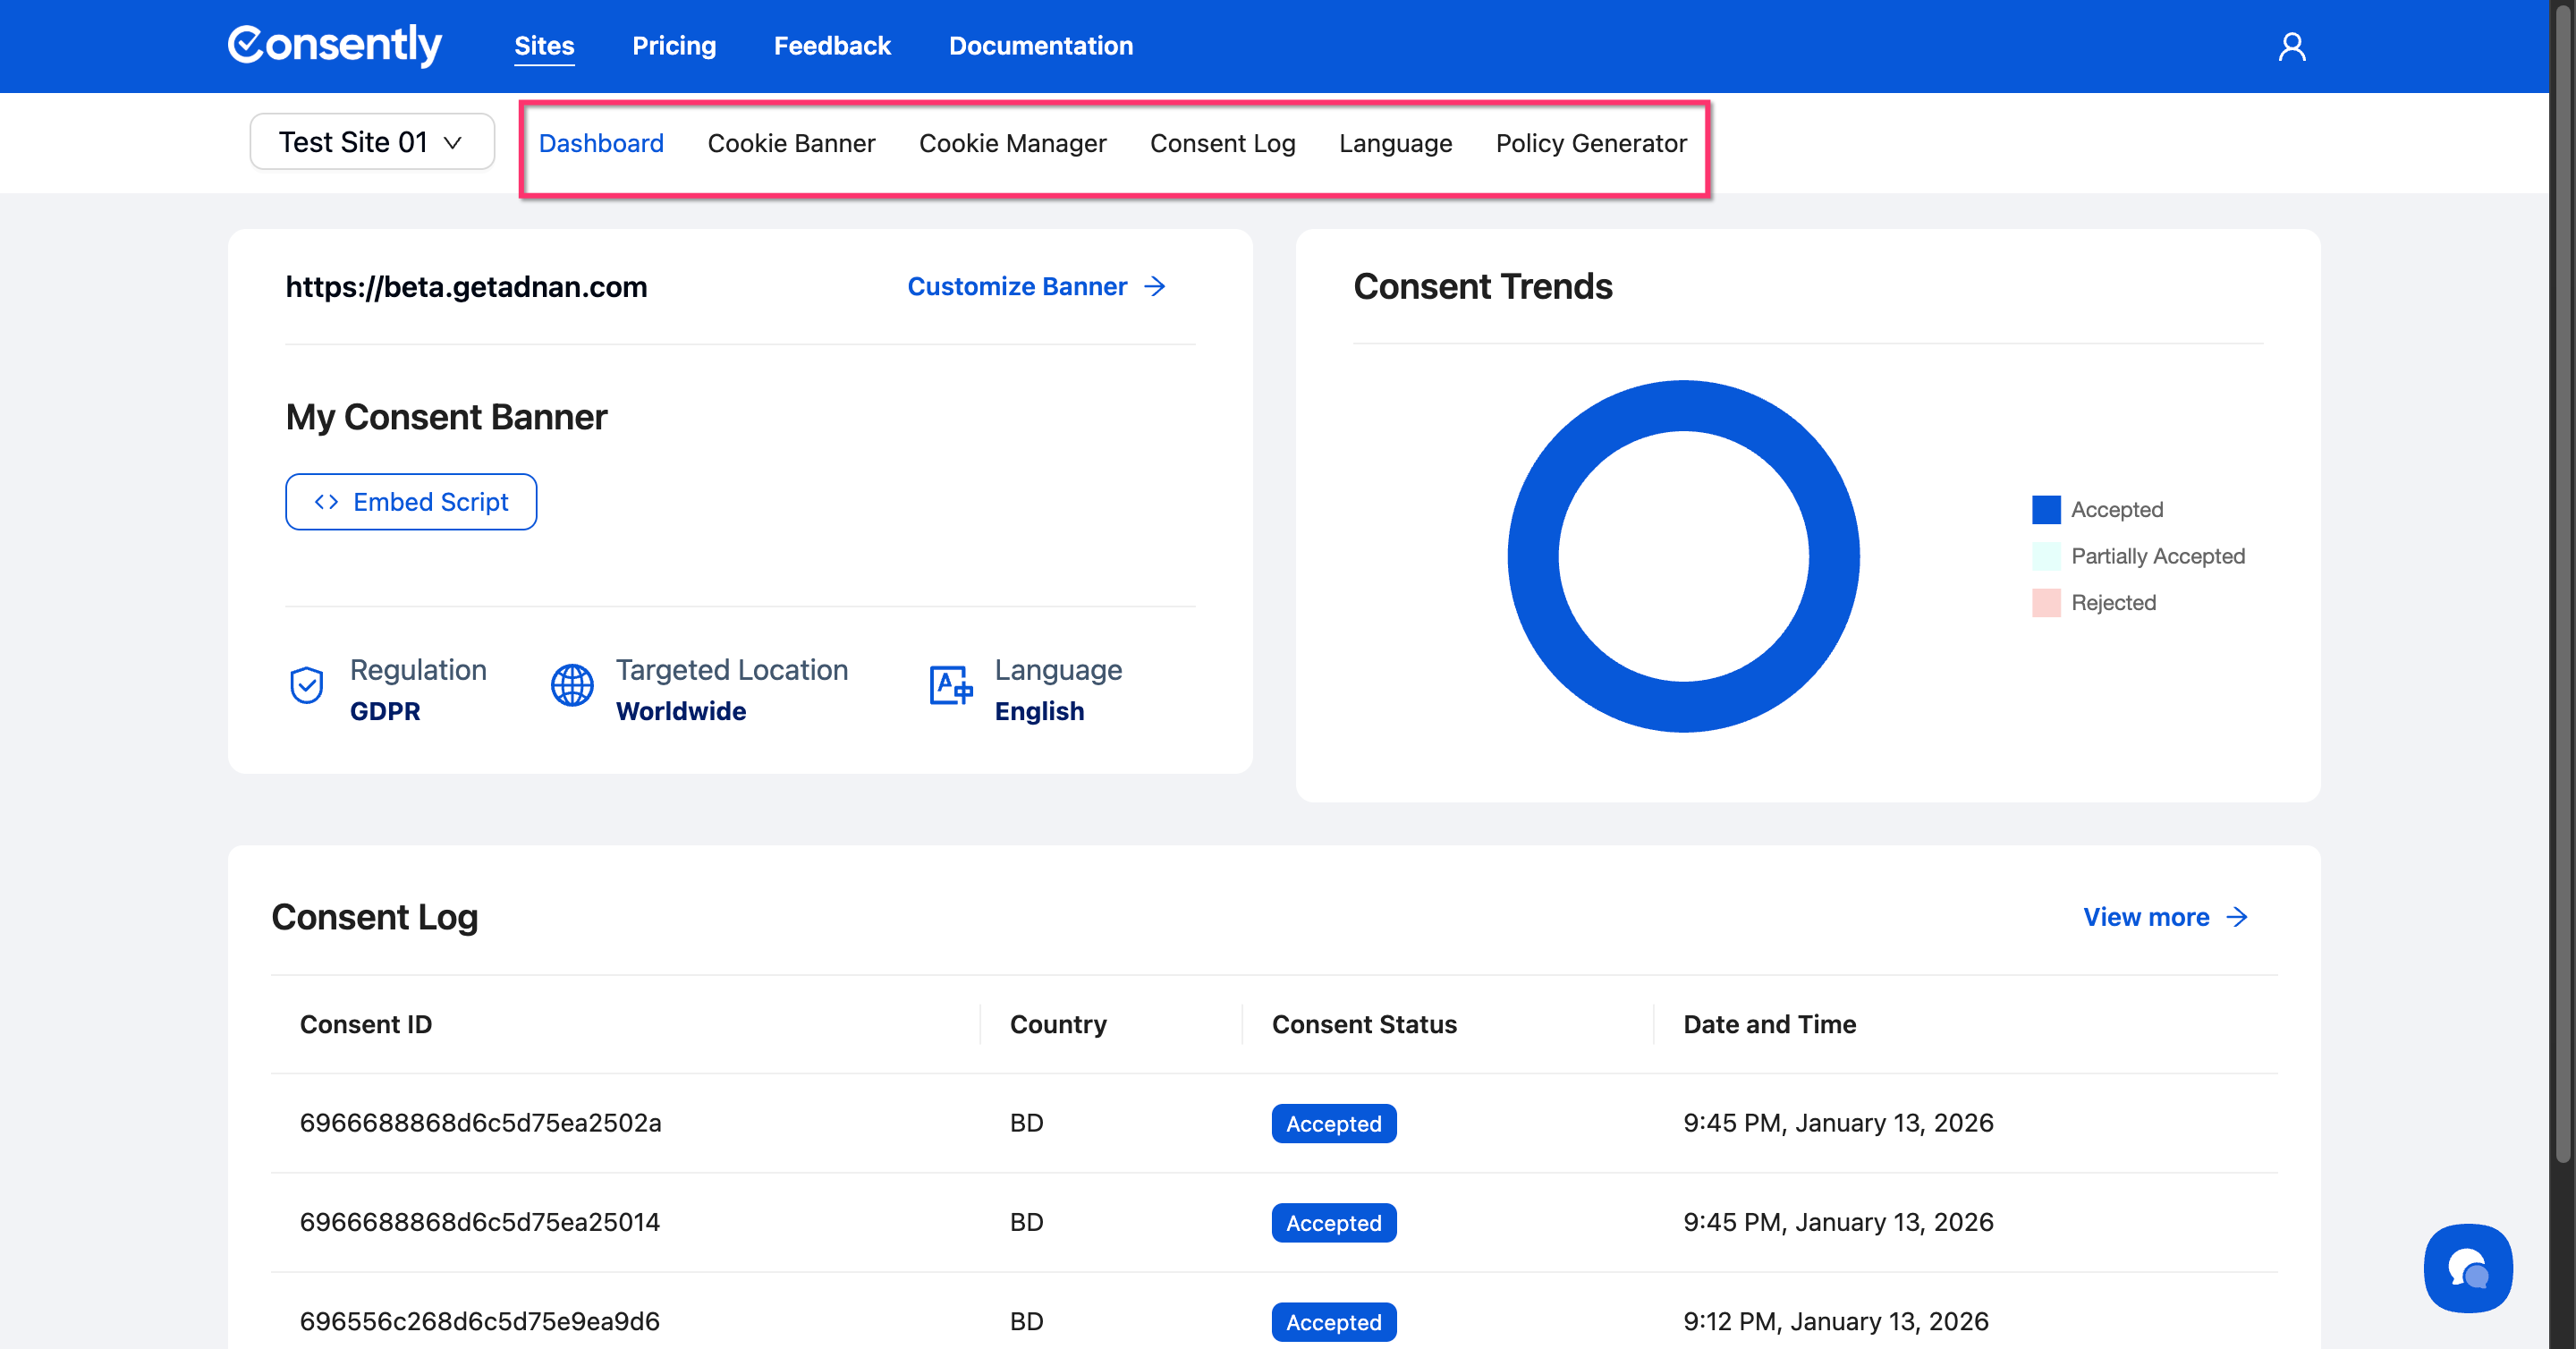
Step 2: Navigate to the setting you want to customize
Use the tabs to access different configuration areas: Dashboard, Cookie Banner, Cookie Manager, Consent Log, Language, or Policy Generator.
Customizable Settings Per Site
Banner Configuration
Each site can have a unique consent banner with its own design, content, and compliance template. Customize your banner by navigating to the Cookie Banner tab and following the steps in Cookie Banner Overview.
Cookie Scanning and Management
Cookie scans run independently for each site, detecting cookies specific to that website. Access cookie management through the Cookie Manager tab—see Cookie Manager Overview for details.
Language Settings
Set different languages for each site based on your audience. A site targeting French visitors can view French as the default, while another targeting US visitors can view English. Configure this in the Language tab-see Multi-Language Overview for details.
Policy Generation
Generate separate privacy policies, cookie policies, and terms & conditions for each website. Access the Policy Generator tab to create site-specific legal documents-see Policy Generator Overview for details.
Switching Between Sites
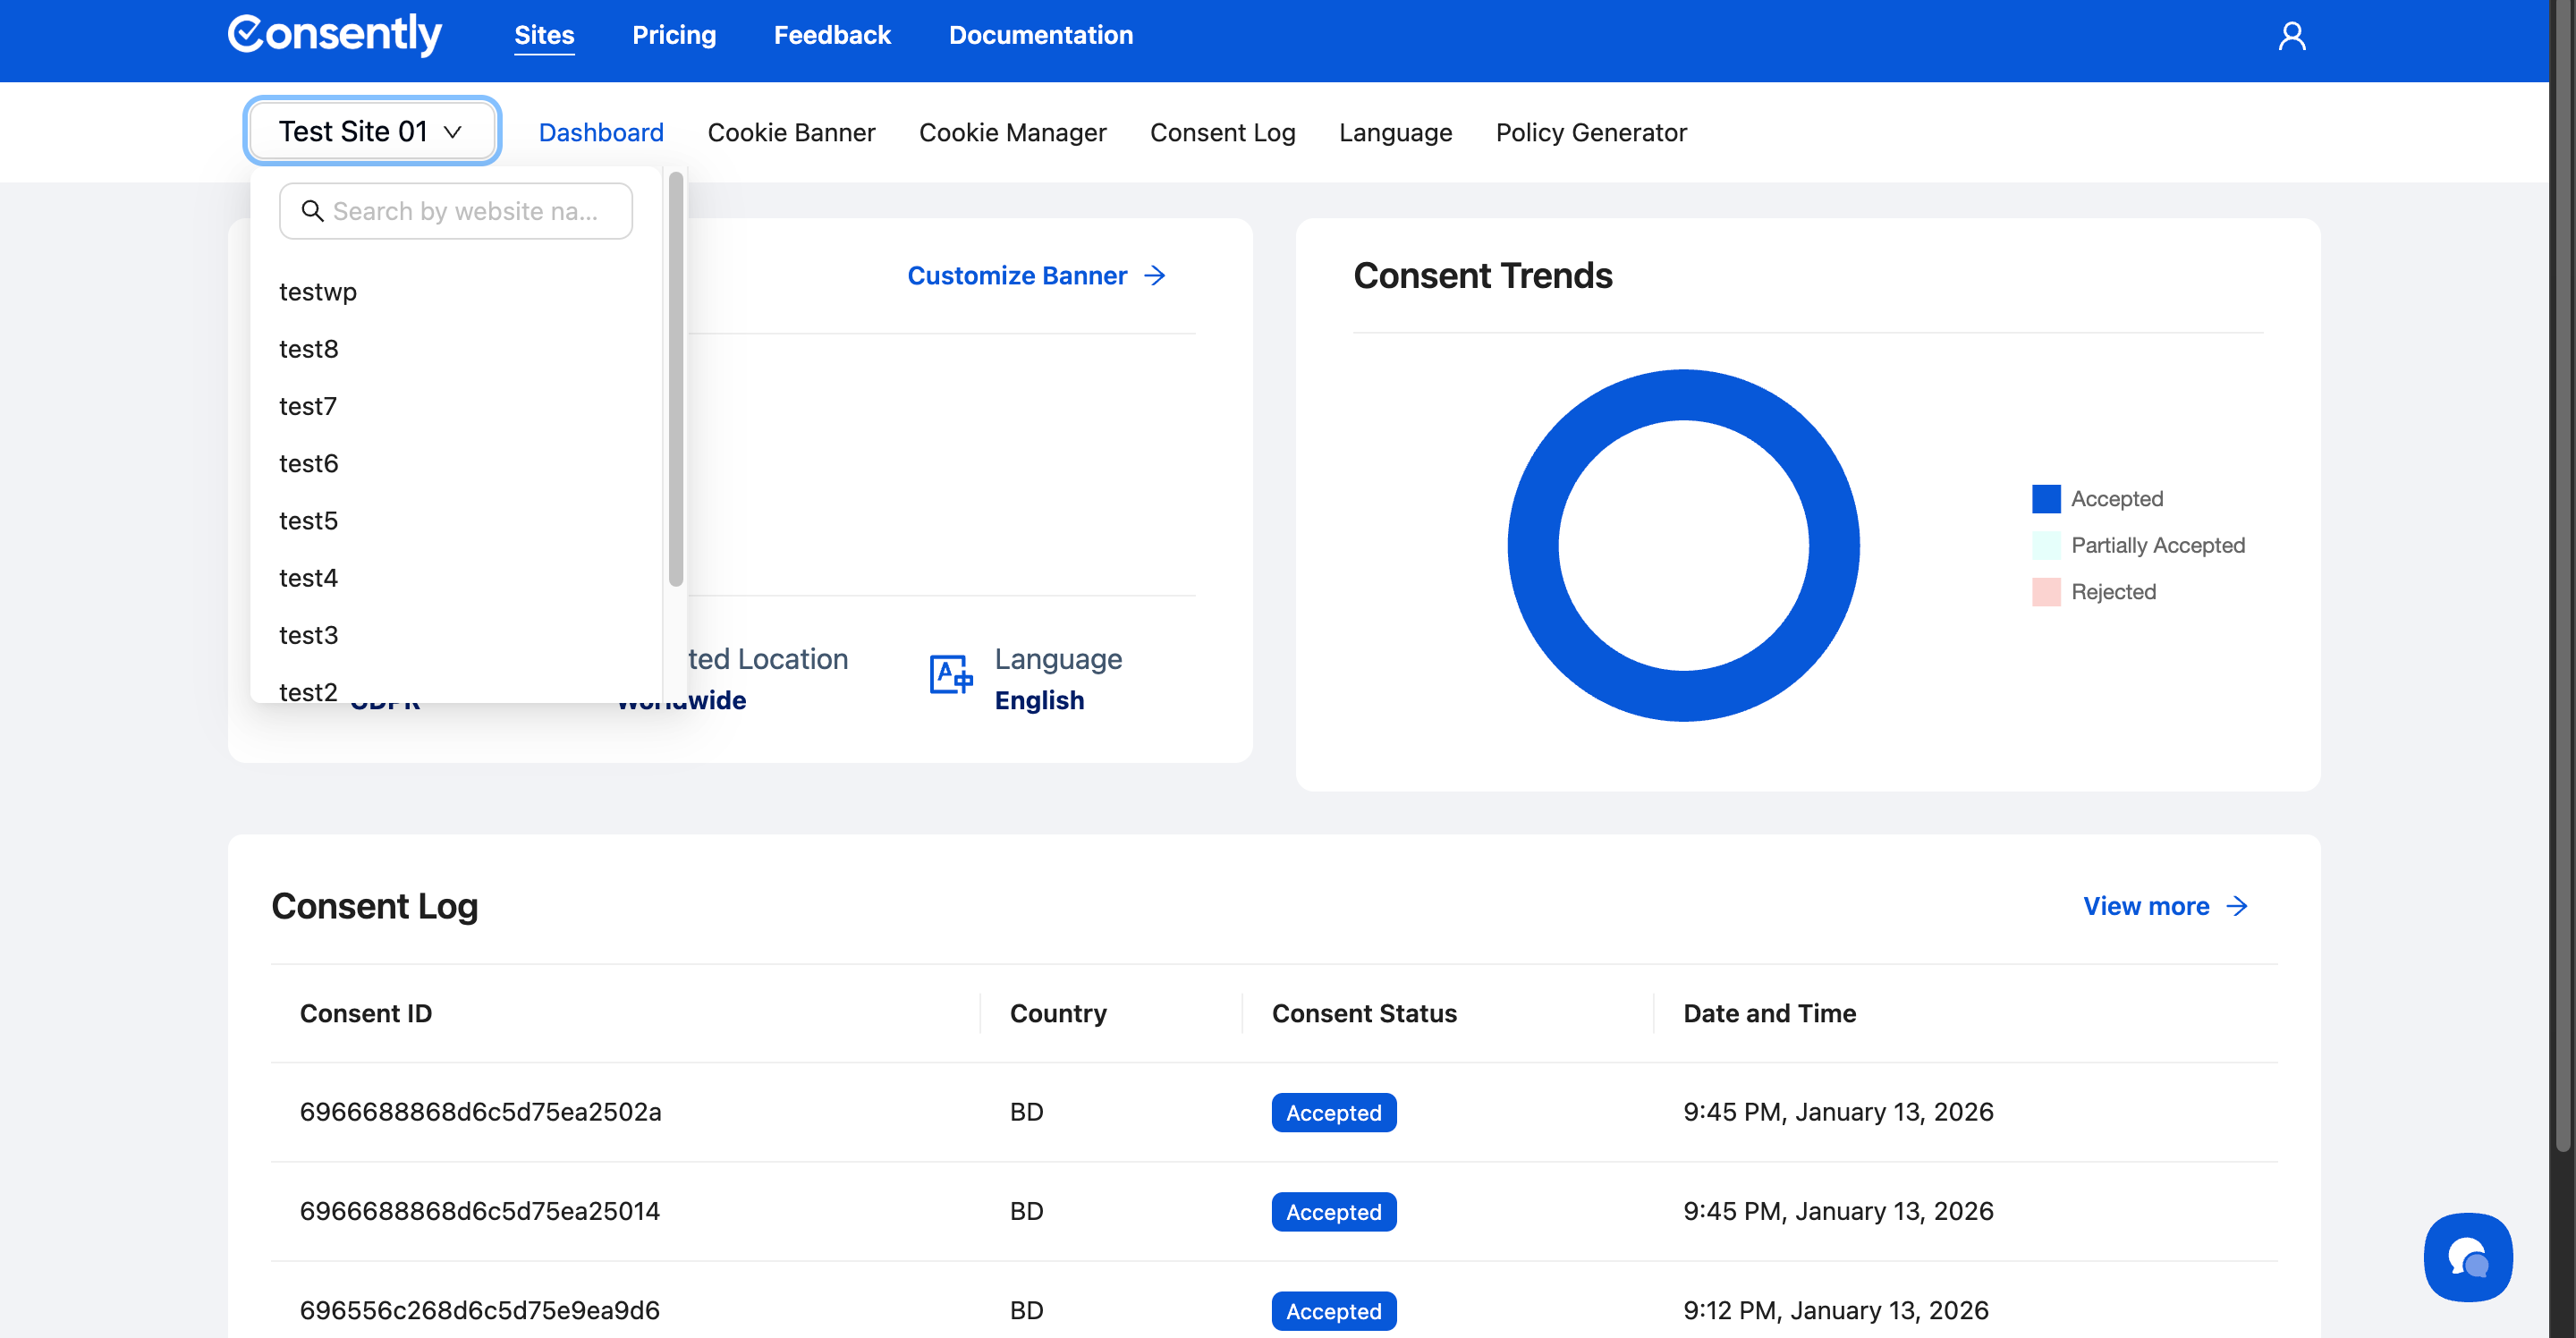
To change which site you're viewing:
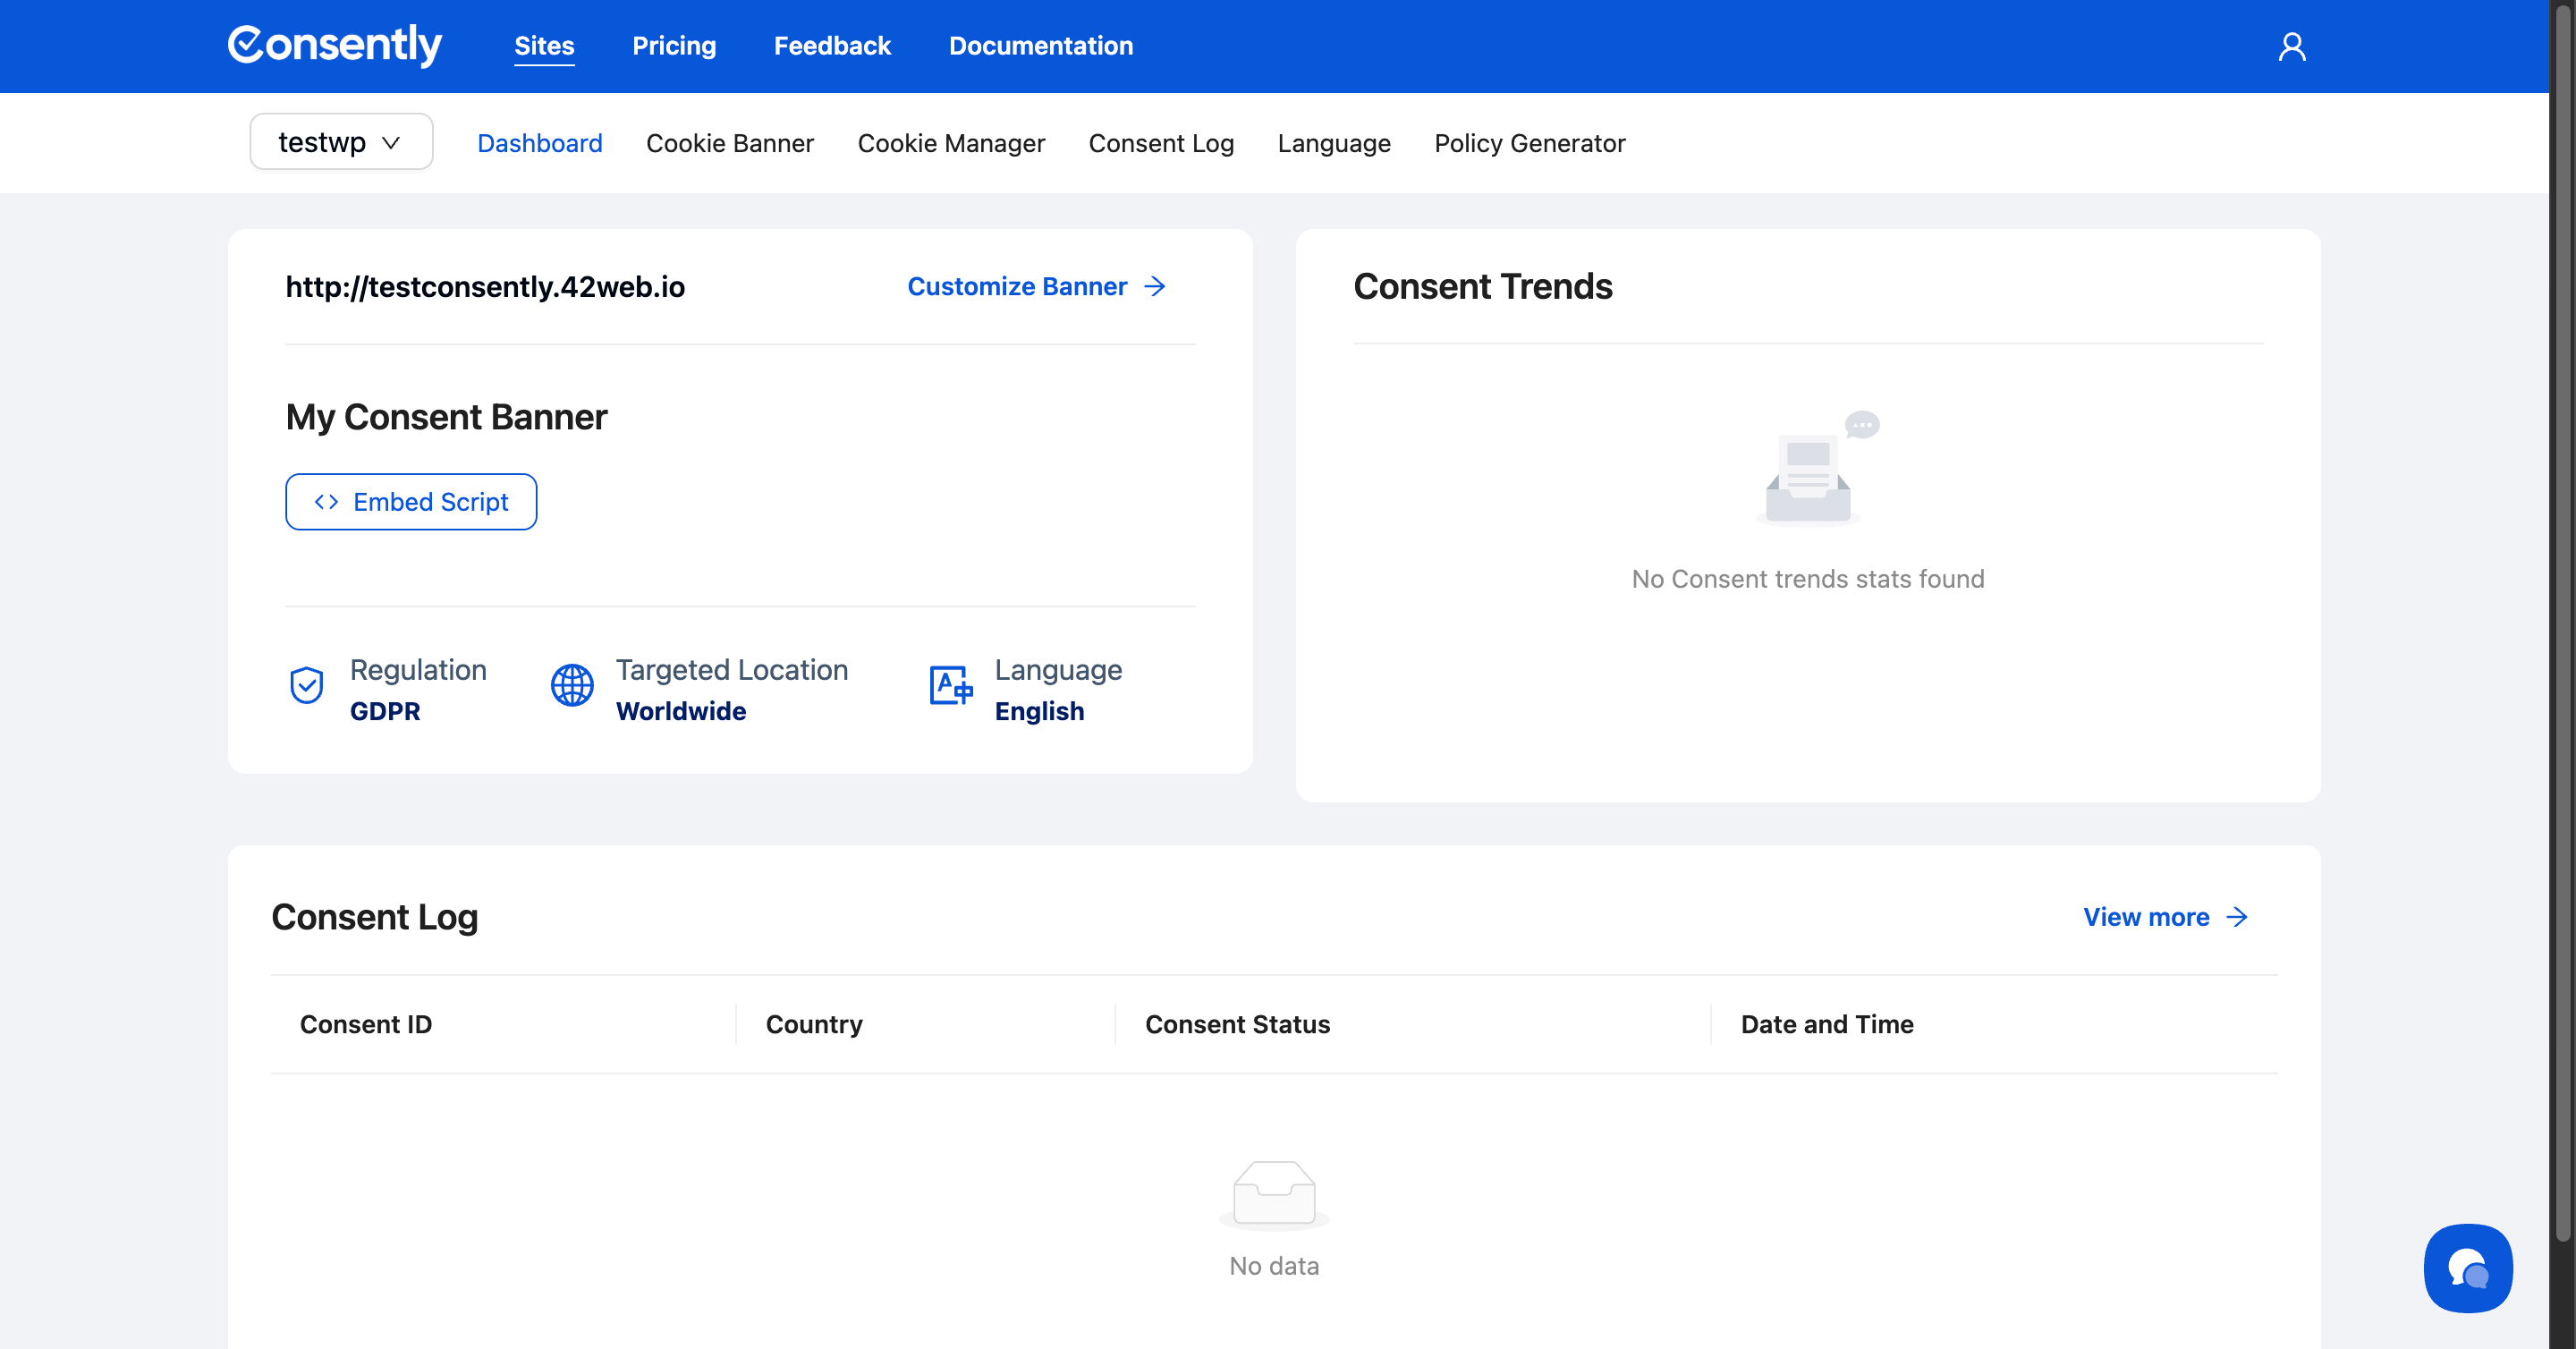
Click the site selector dropdown in the top navigation and select a different website. All settings will immediately update to show that site's configuration.
💡 Tip: The dashboard always displays the currently selected site's consent trends and recent logs.
Before:
After:
When to Use Shared vs Unique Settings
Use unique settings when:
Sites target different geographic audiences (different compliance requirements)
Sites have different branding or visual identity
Sites use different cookie types or third-party services
Sites are in different languages
Use consistent settings across sites when:
All sites represent the same brand
All sites target the same audience and jurisdiction
You want to maintain uniform privacy standards
⚠️ Important: Each site needs its own embed script with a unique banner ID, even if settings are identical.
What's Next
Now that you understand site-level customization, you should:
Troubleshooting
I can't see my site in the dropdown
Solution: Make sure the site was saved successfully. Go to Sites in the top navigation and verify your site appears in the list. If it's missing, add it again following the steps in Managing Sites.
Changes I make affect the wrong site
Solution: Always check the site selector dropdown before making changes. The currently selected site appears as currently selected in the dropdown menu.
I accidentally configured the wrong site
Solution: Switch to the correct site using the site selector, then repeat your configuration. You can also switch back to the incorrect site and undo changes by restoring previous settings.