

TL;DR: Cookie Banner → Content → Consent Notice / Preference Center / Floating Revisit Button → Edit text and settings → Save. Customize all banner text, button labels, and policy links to match your brand voice and legal requirements.
Overview
The Banner Content section controls all text, messaging, and labels that appear in your consent banner. You can customize three main components: the initial Consent Notice that visitors see first, the detailed Preference Center modal, and the Floating Revisit Button that lets visitors change their preferences later.
Before You Begin
Make sure you have:
Chosen your consent template (GDPR or US State Laws)
Your privacy policy and terms & conditions URLs ready
Designed your banner appearance (colors, layout, positioning)
Time required: 5 minutes
Accessing Banner Content Settings
Step 1: Navigate to Cookie Banner
Click Cookie Banner in the top navigation bar.

Step 2: Open Content settings
In the left sidebar, ensure Content is selected.
Step 3: Expand the section to edit
Click on Consent Notice, Preference Center, or Floating Revisit Button to expand that section.
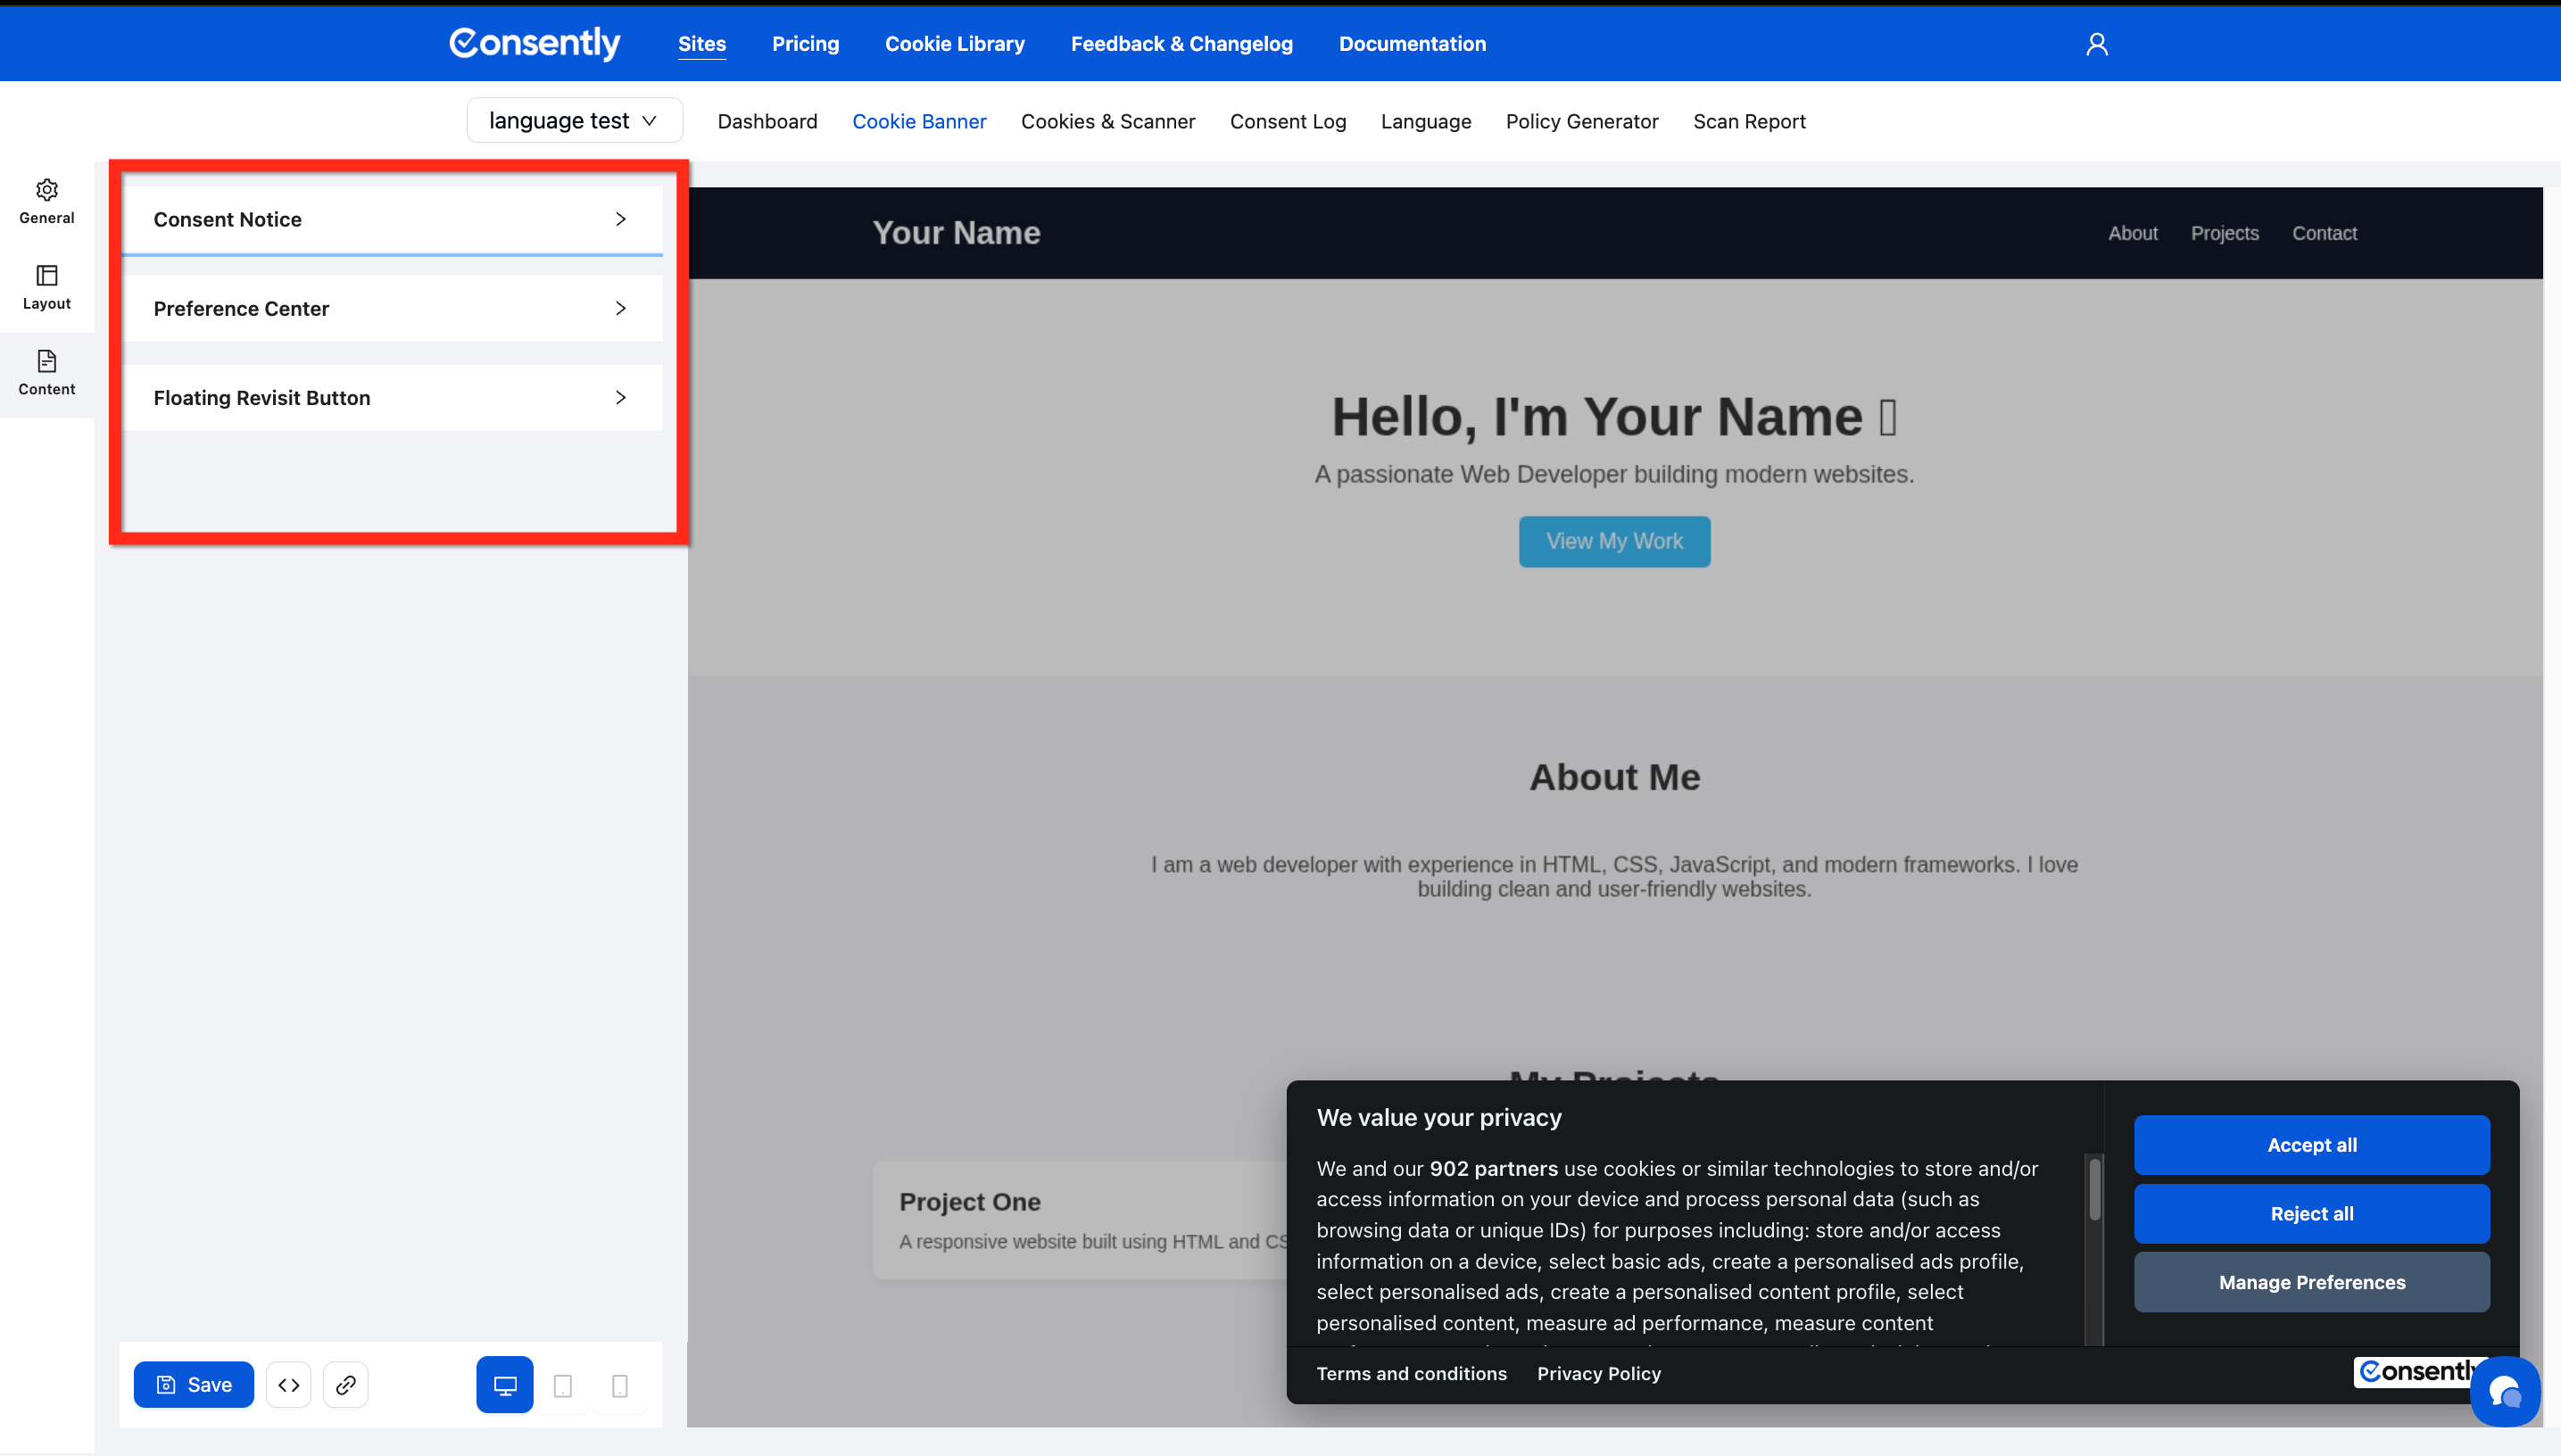
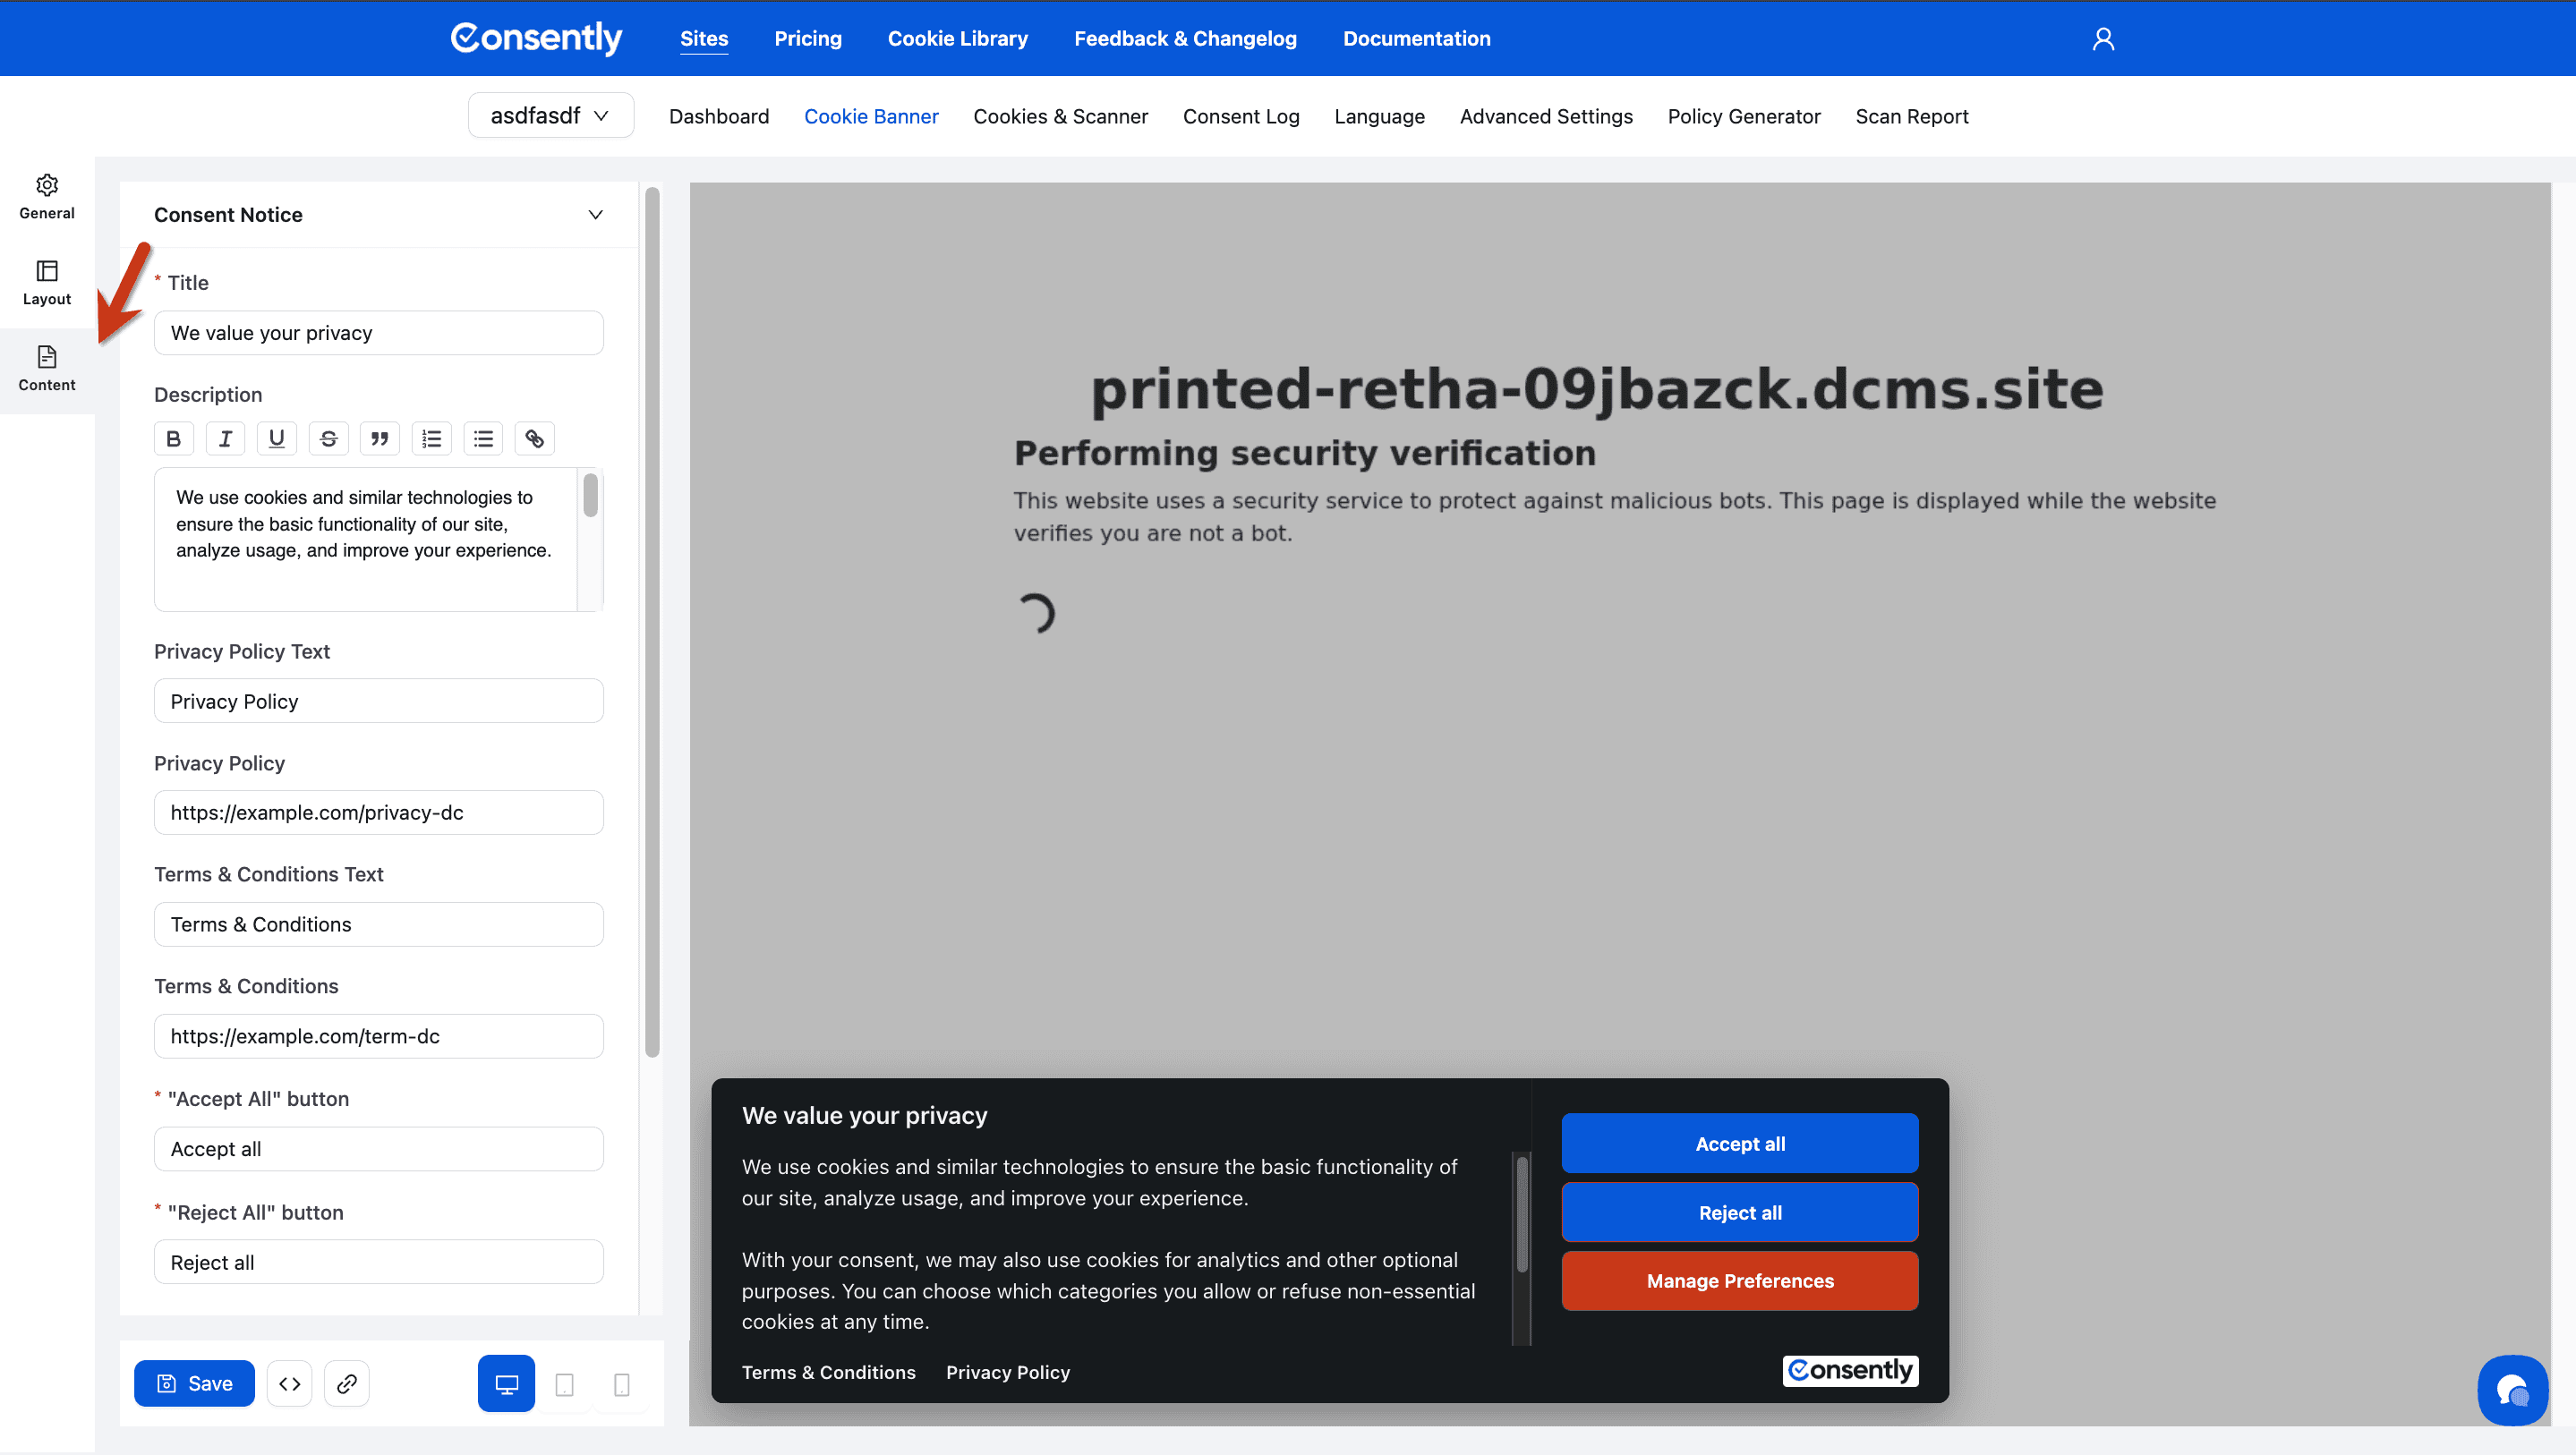
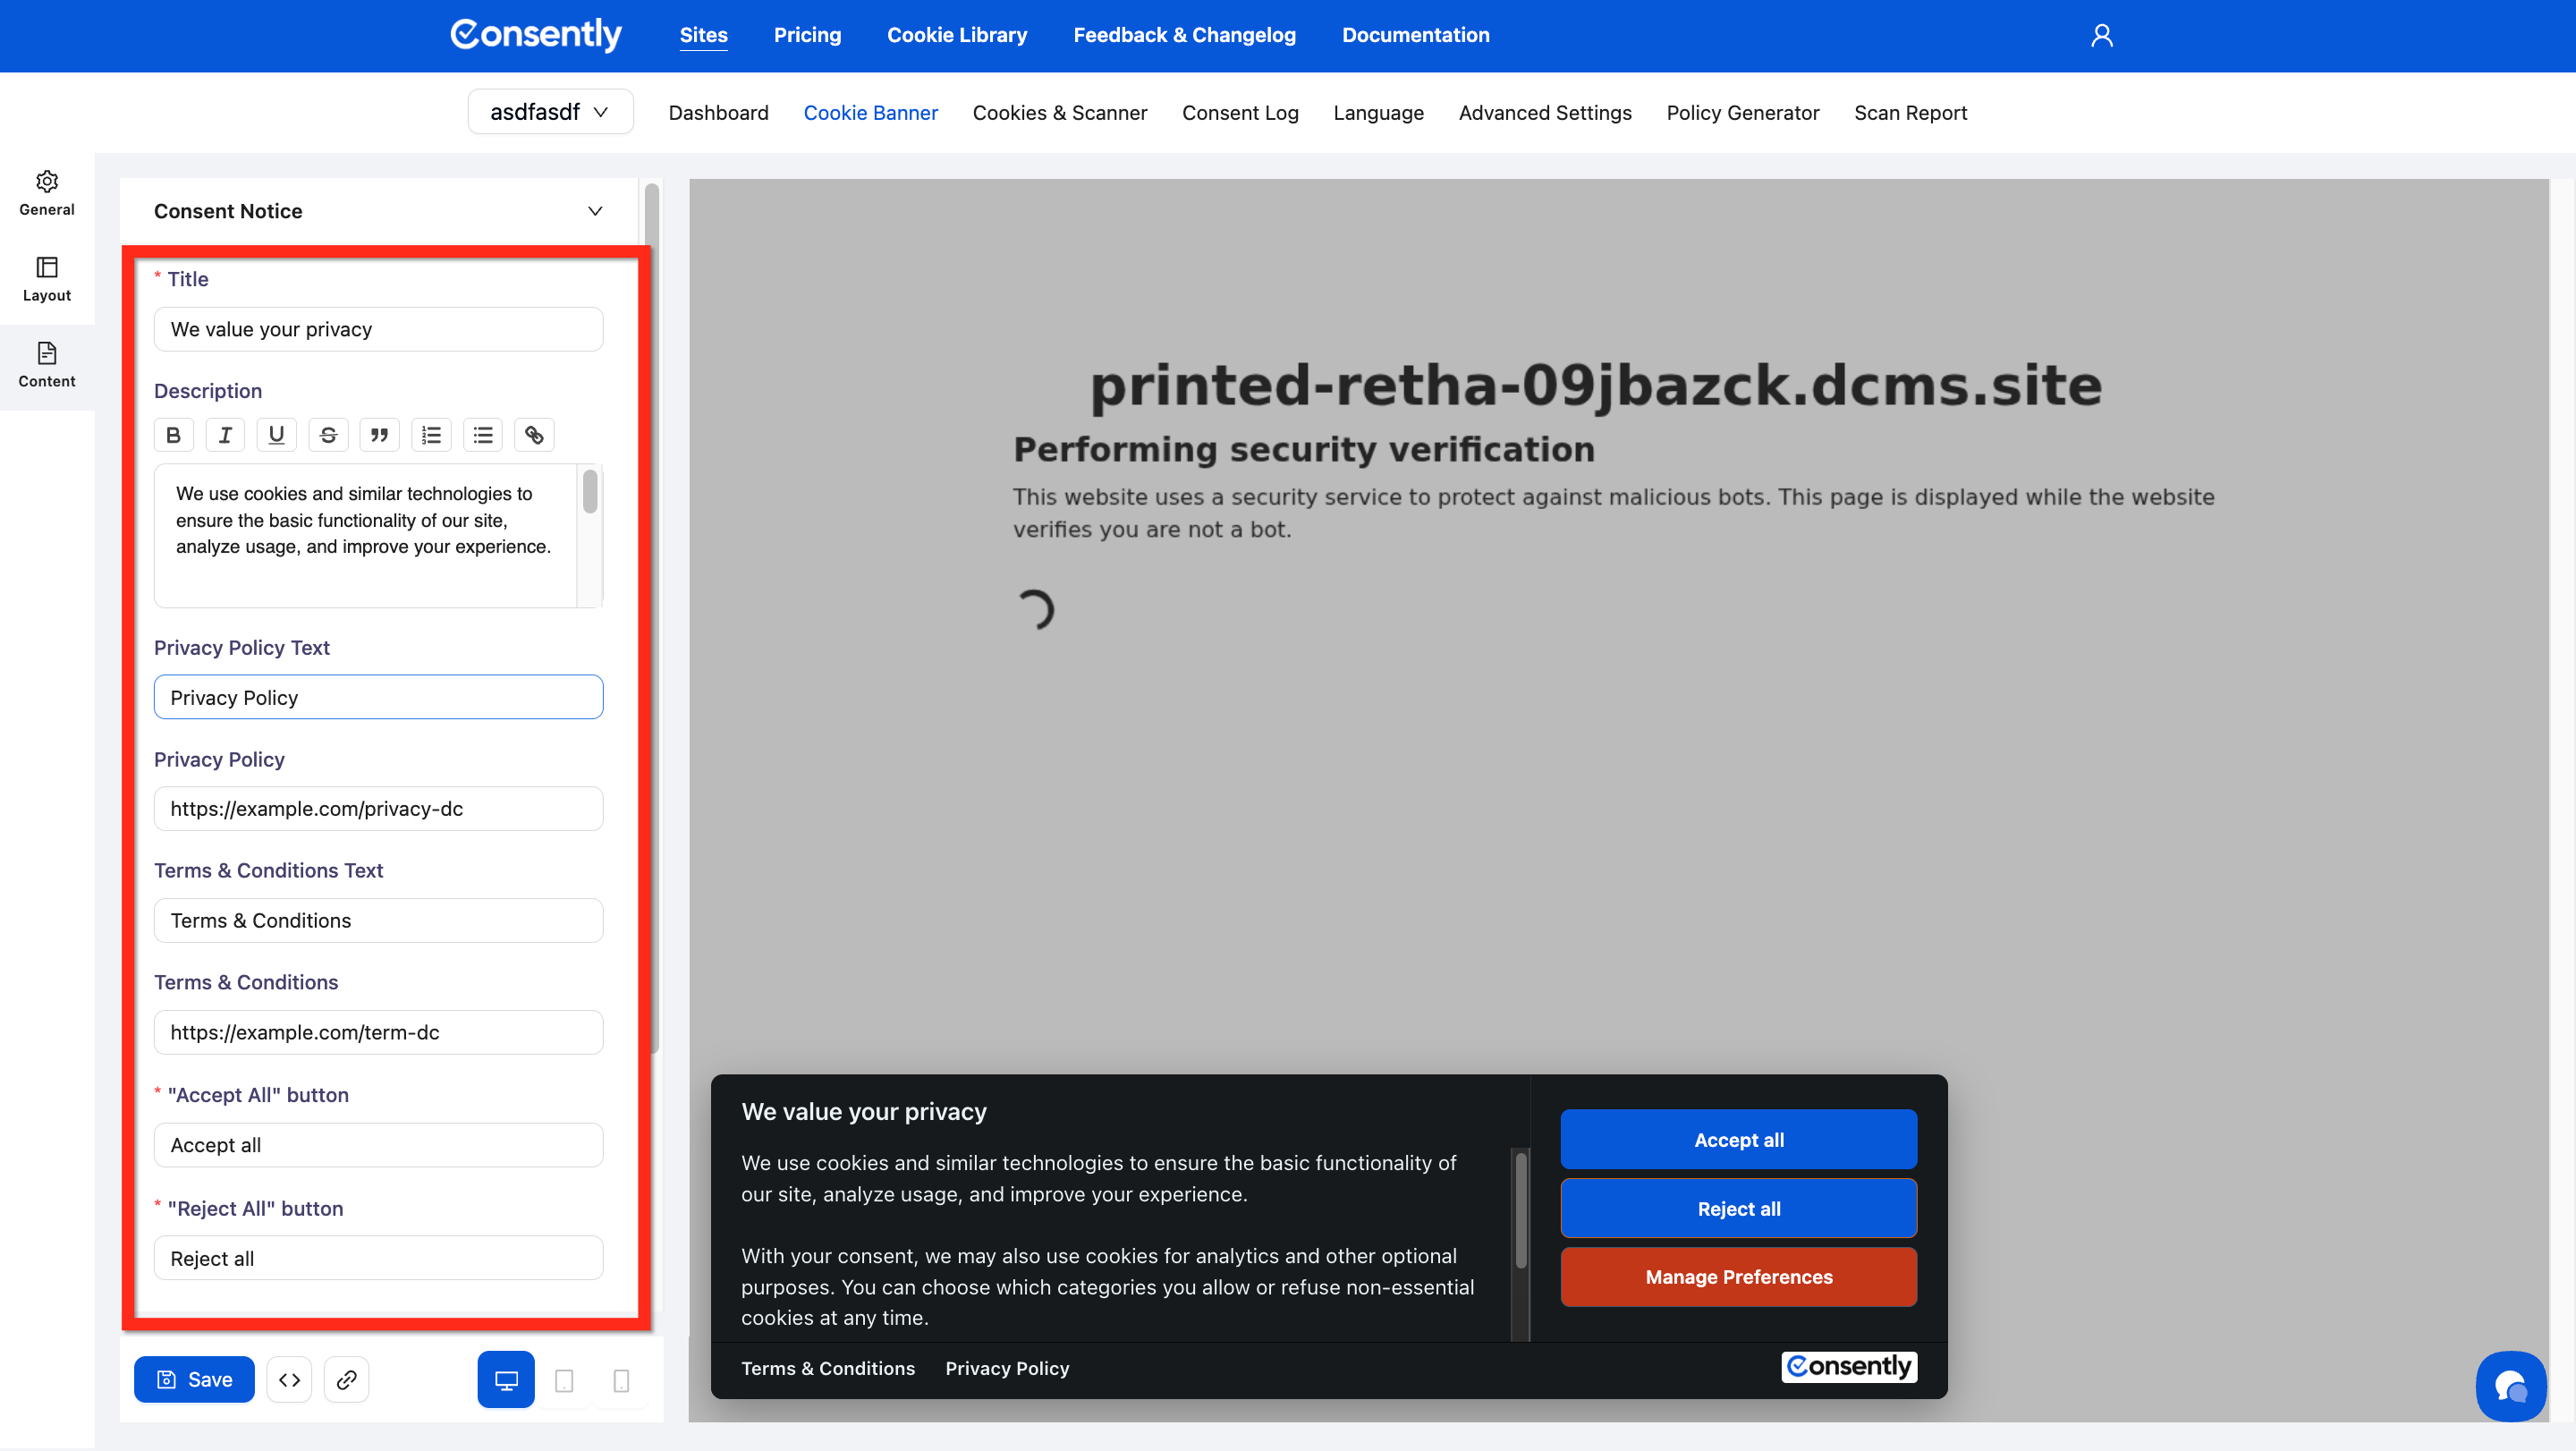
Section 1: Consent Notice
The Consent Notice is the first message visitors see when they land on your website. It explains your cookie usage and presents consent options.
Step 1: Expand Consent Notice
Click Consent Notice in the left sidebar to expand its settings.

Available Options
Title
The main heading of your consent notice.
Description
The main message explaining your cookie usage. Use the rich text editor to format text with:
Bold (B)
Italic (I)
Underline (U)
Strikethrough (S)
Quotes (")
Bulleted lists
Numbered lists
Links
💡 Tip: Include a link to your full privacy policy within the description for transparency. Use the link tool in the rich text editor.
Privacy Policy Text
Customize the display text for your Privacy Policy link in the banner.
Privacy Policy URL
The link to your website's privacy policy page.
Format: https://example.com/privacy-policy
Required: Yes, for GDPR compliance
Terms & Conditions Text
Customize the display text for your Terms & Conditions link in the banner.
Terms & Conditions URL
The link to your website's terms and conditions page.
Format: https://example.com/terms-conditions
Required: Recommended for complete legal coverage
"Accept All" Button Text
The label for the button that accepts all cookies.
Default: "Accept all"
Examples: "Accept", "I Accept", "Allow All", "OK"
Best practice: Keep it short and action-oriented
"Reject All" Button Text
The label for the button that rejects non-essential cookies.
Default: "Reject all"
Examples: "Reject", "Decline", "No Thanks"
Best practice: Make it equally prominent as Accept
"Manage Preferences" Button Text
The label for the button that opens the detailed Preference Center.
Default: "Manage Preferences"
Examples: "Customize", "Cookie Settings", "Manage Cookies"
Best practice: Clearly indicate this opens more options
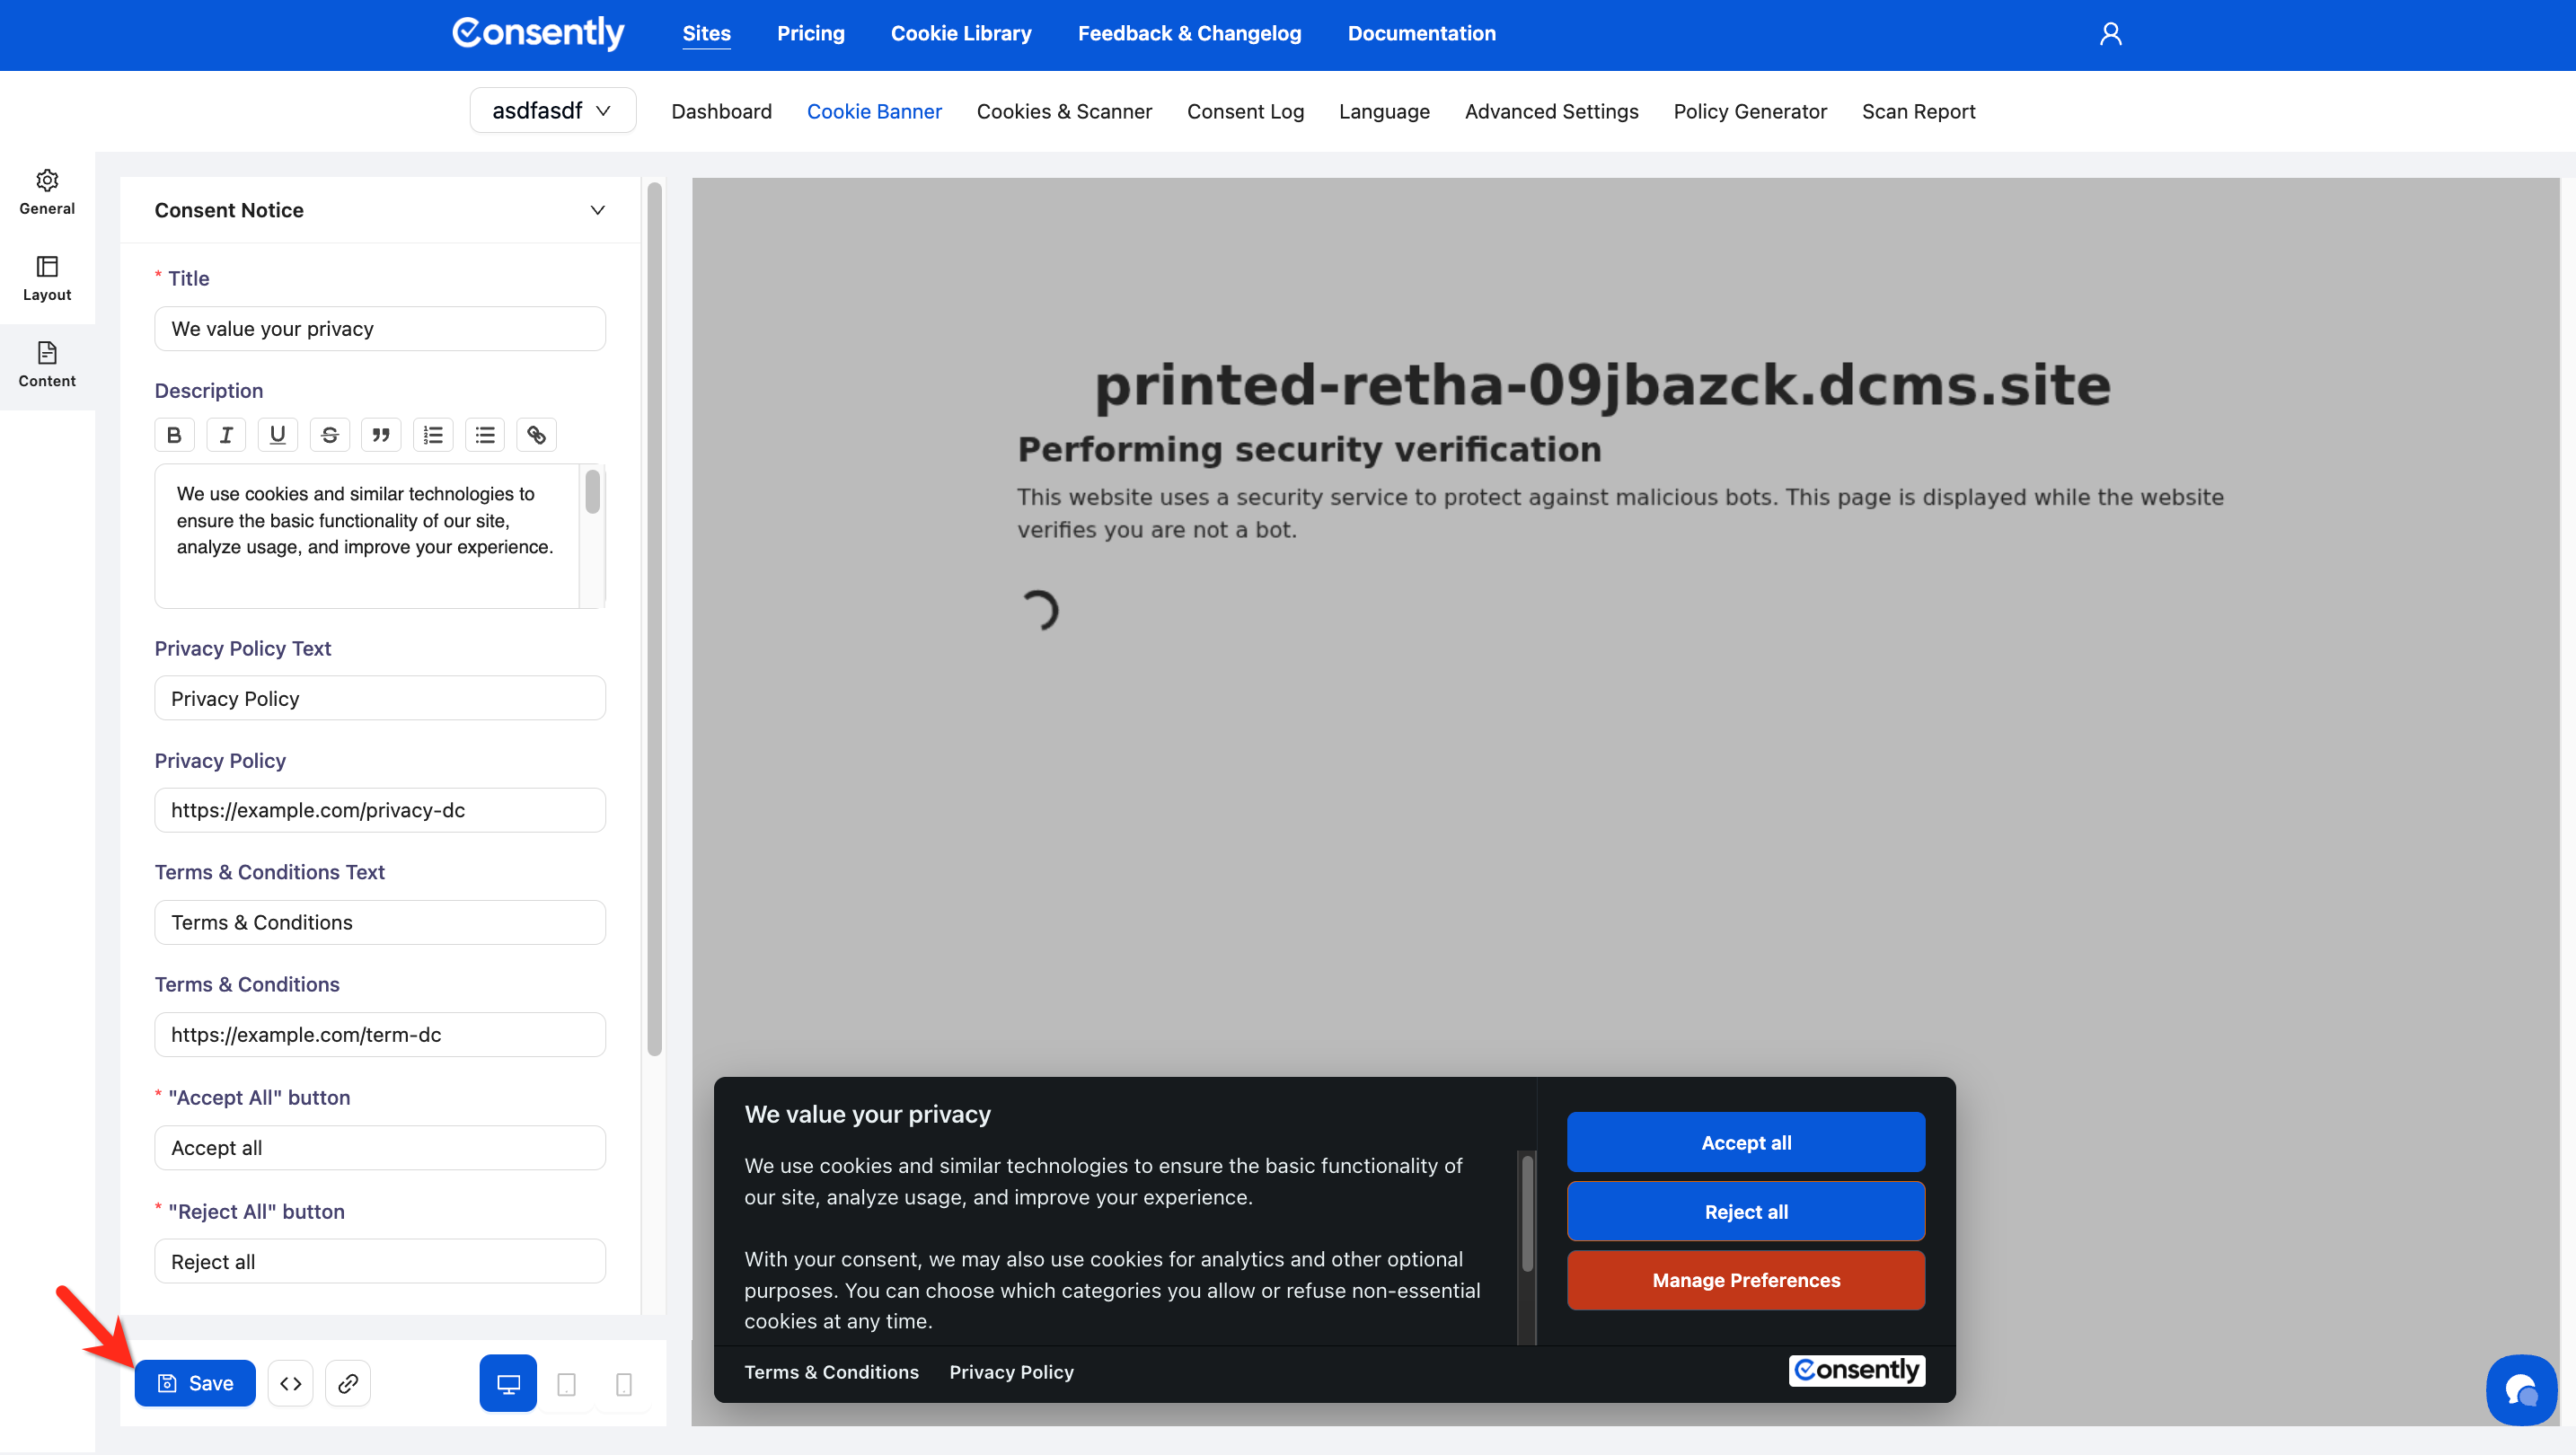
Done Customizing Consent Notice
Click Save at the bottom of the page to apply your changes.
✅ Success indicator: Your changes appear in the live preview panel on the right side of the screen.
Section 2: Preference Center
The Preference Center is the detailed modal that opens when visitors click "Manage Preferences." It shows all cookie categories and allows granular consent choices.
Step 1: Expand Preference Center
Click Preference Center in the left sidebar to expand its settings.

Available Options
Preview Preference Toggle
Shows or hides the Preference Center in the live preview panel.
Use case: Turn this on to see the Preference Center modal while customizing
Note: This is a preview-only setting and doesn't affect your published banner

Title
The heading at the top of the Preference Center modal.
Save Preferences Text
The label for the button that saves custom preference selections.
"Accept All" Button
The label for the Accept All button inside the Preference Center.
Default: "Accept all"
"Reject All" Button
The label for the Reject All button inside the Preference Center.
Default: "Reject all"
"Cookie Usage" Title
The heading for the section explaining how cookies are used.
Default: "Cookie usage"
Examples: "How We Use Cookies", "About Cookies"
"Cookie Usage" Description
Text explaining your cookie usage in the Preference Center.
"More Information" Title
The heading for additional information or instructions.
Default: "More information"
Examples: "Need Help?", "Questions?", "Learn More"
"More Information" Description
Additional text with instructions or contact information. Use the rich text editor for formatting and links.
Example: "For any queries in relation to our policy on cookies and your choices, please contact us."
Best practice: Include a link to your contact page or email
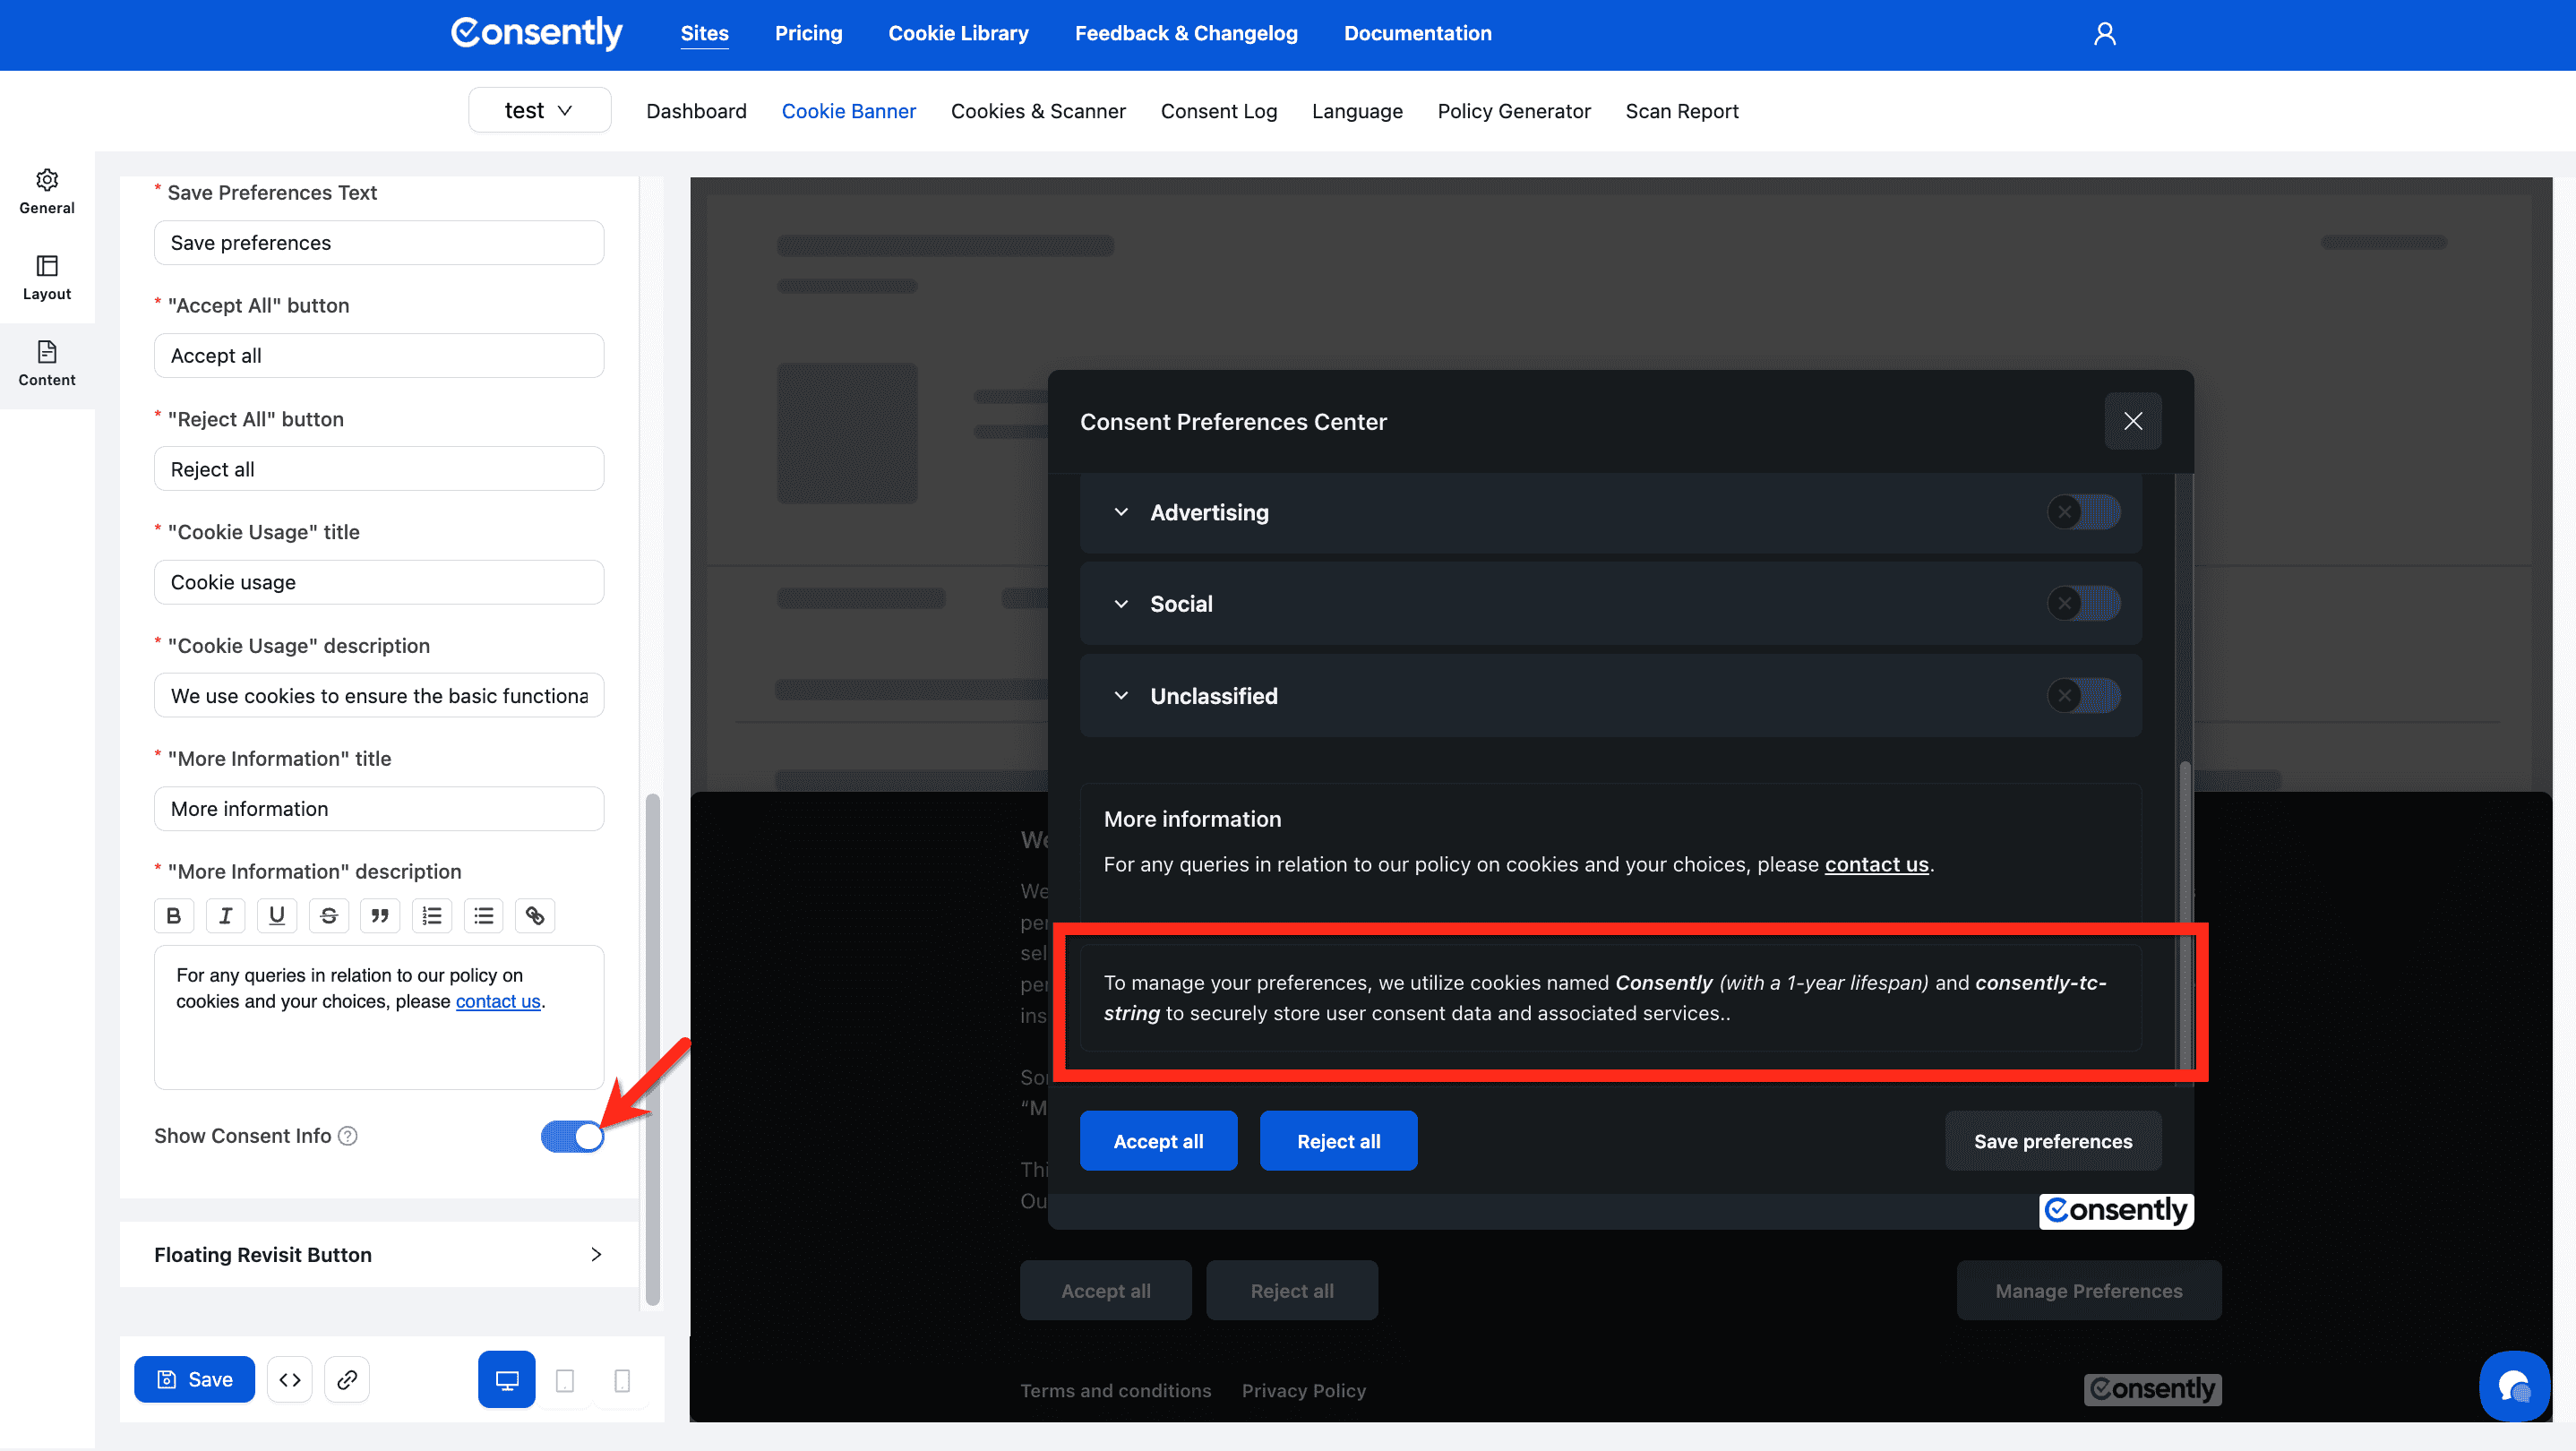
Show Consent Info Toggle
Shows or hides the consent management information text at the bottom of the Preference Center modal.
When enabled: Displays additional context about consent management
When disabled: Hides this section for a cleaner interface
Default: Enabled
Done Customizing Preference Center
Click Save at the bottom of the page to apply your changes.
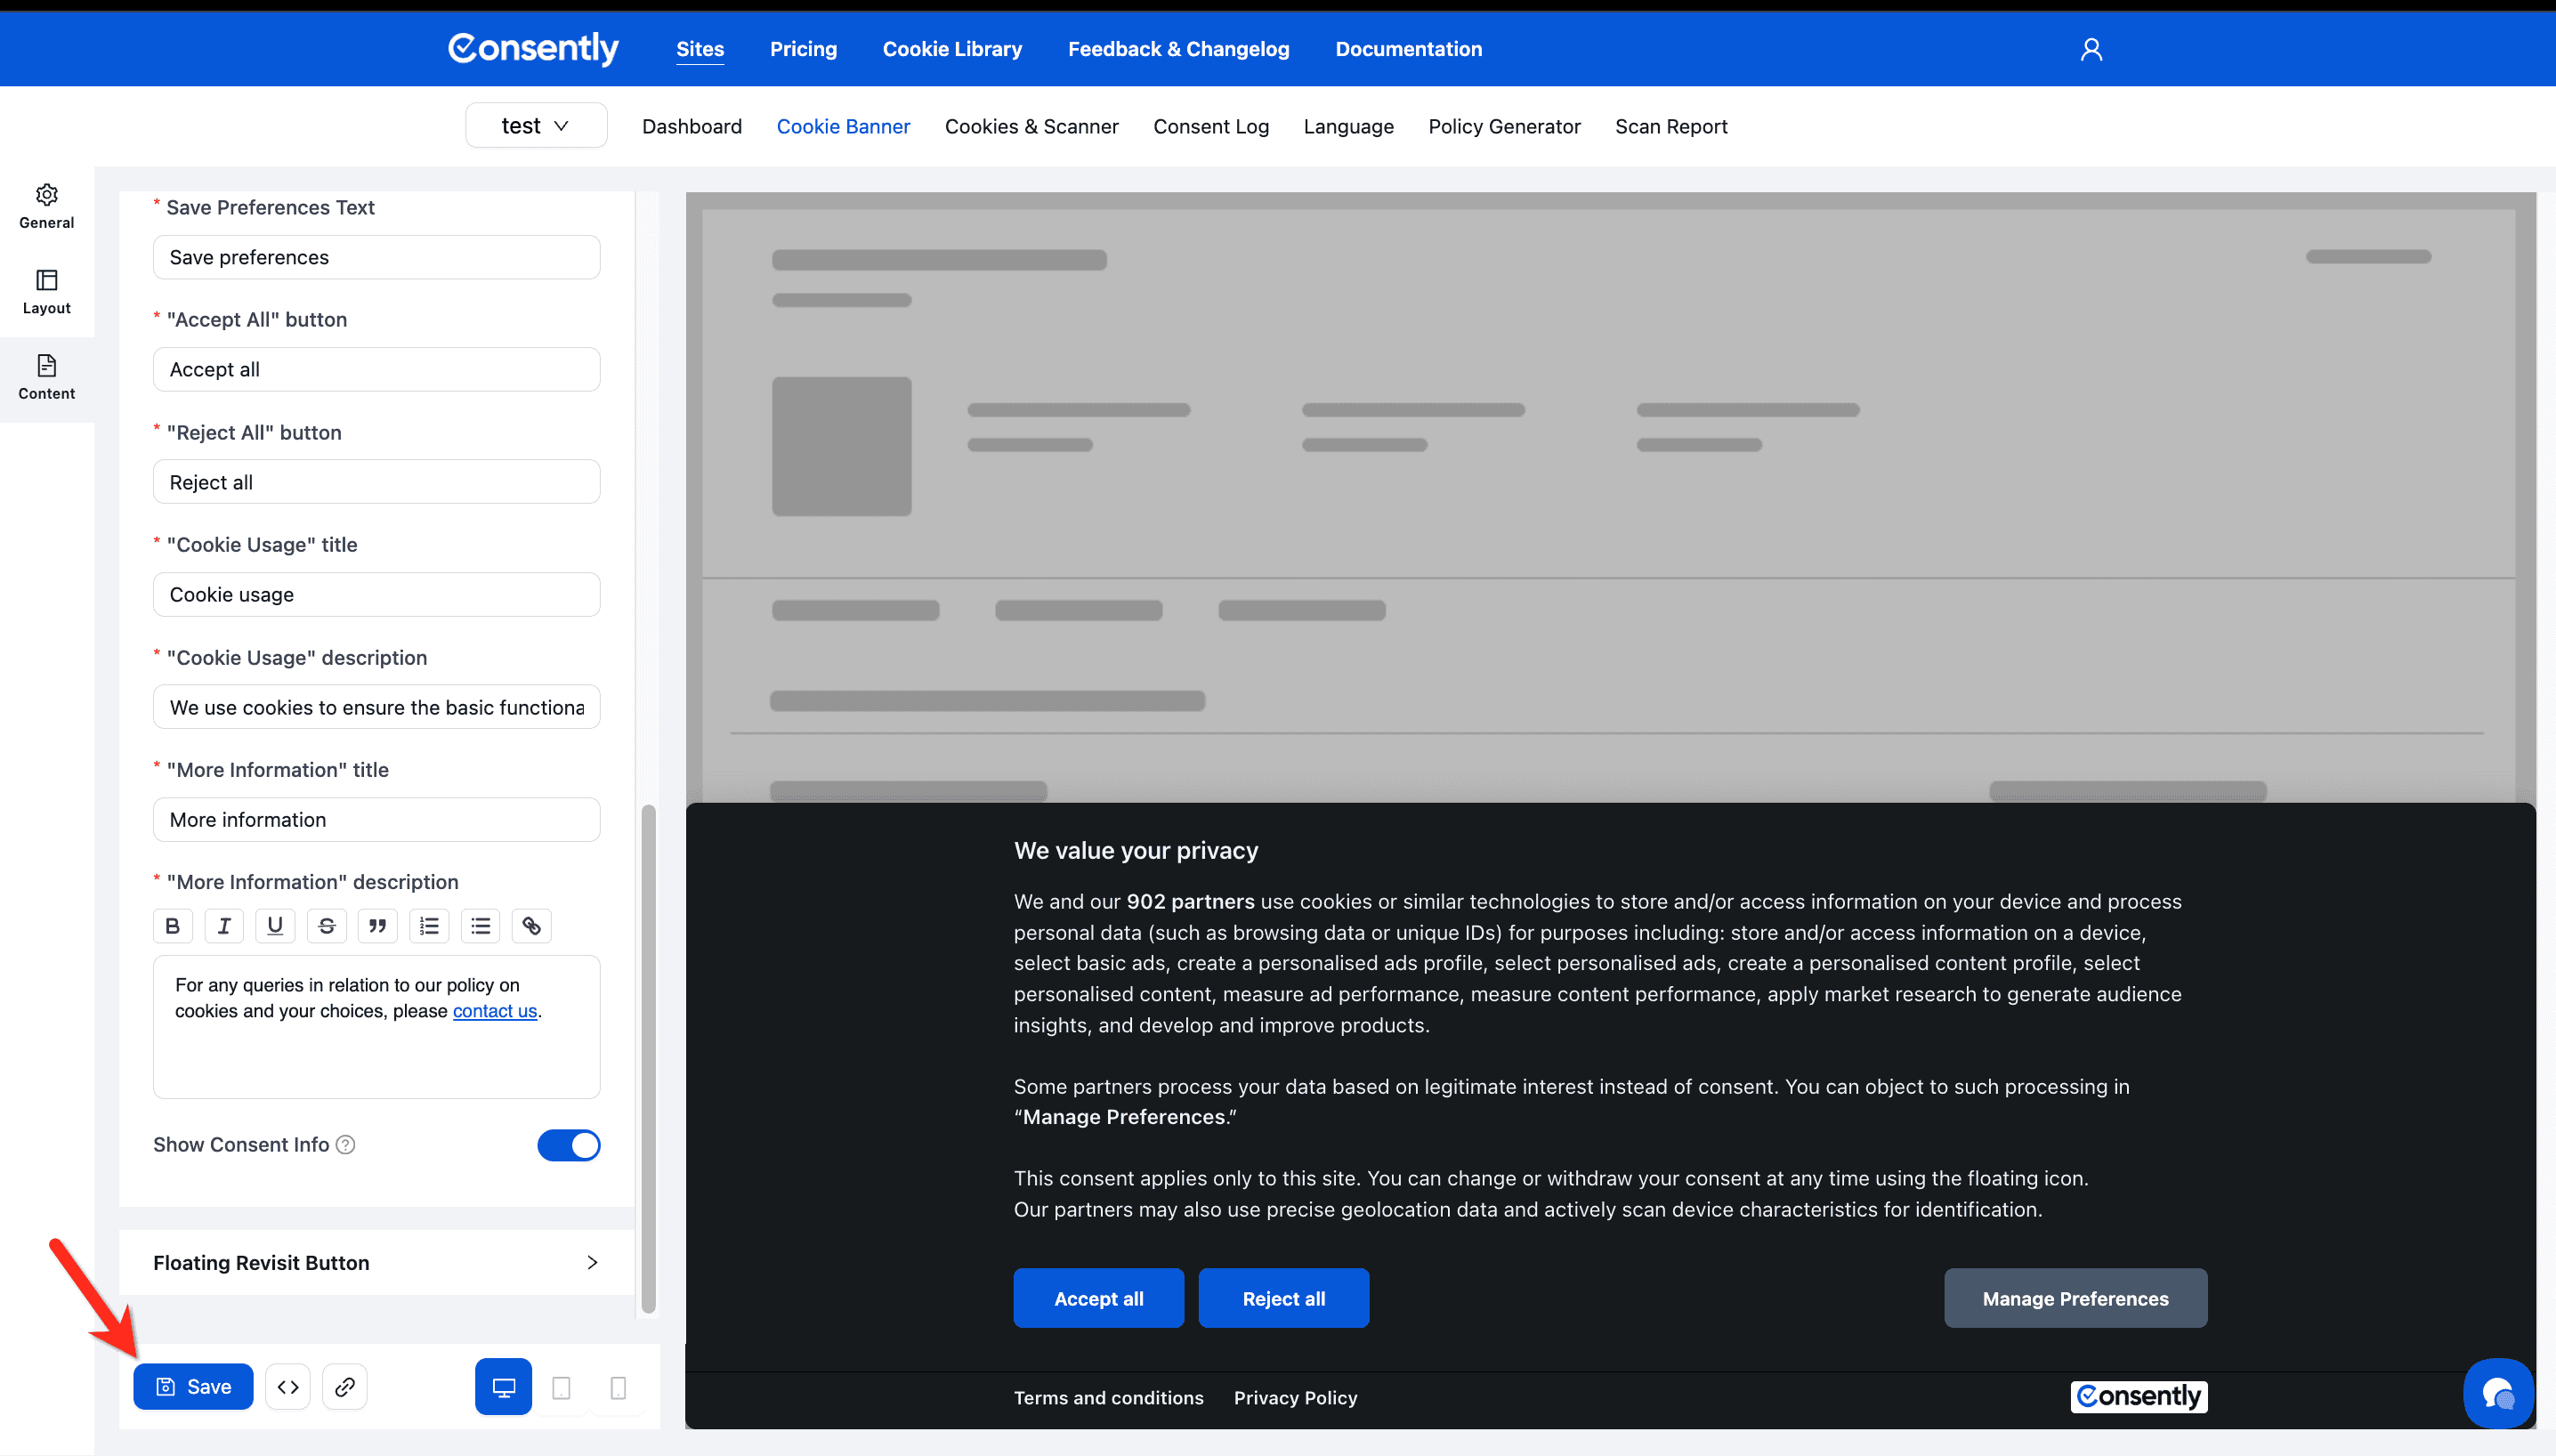
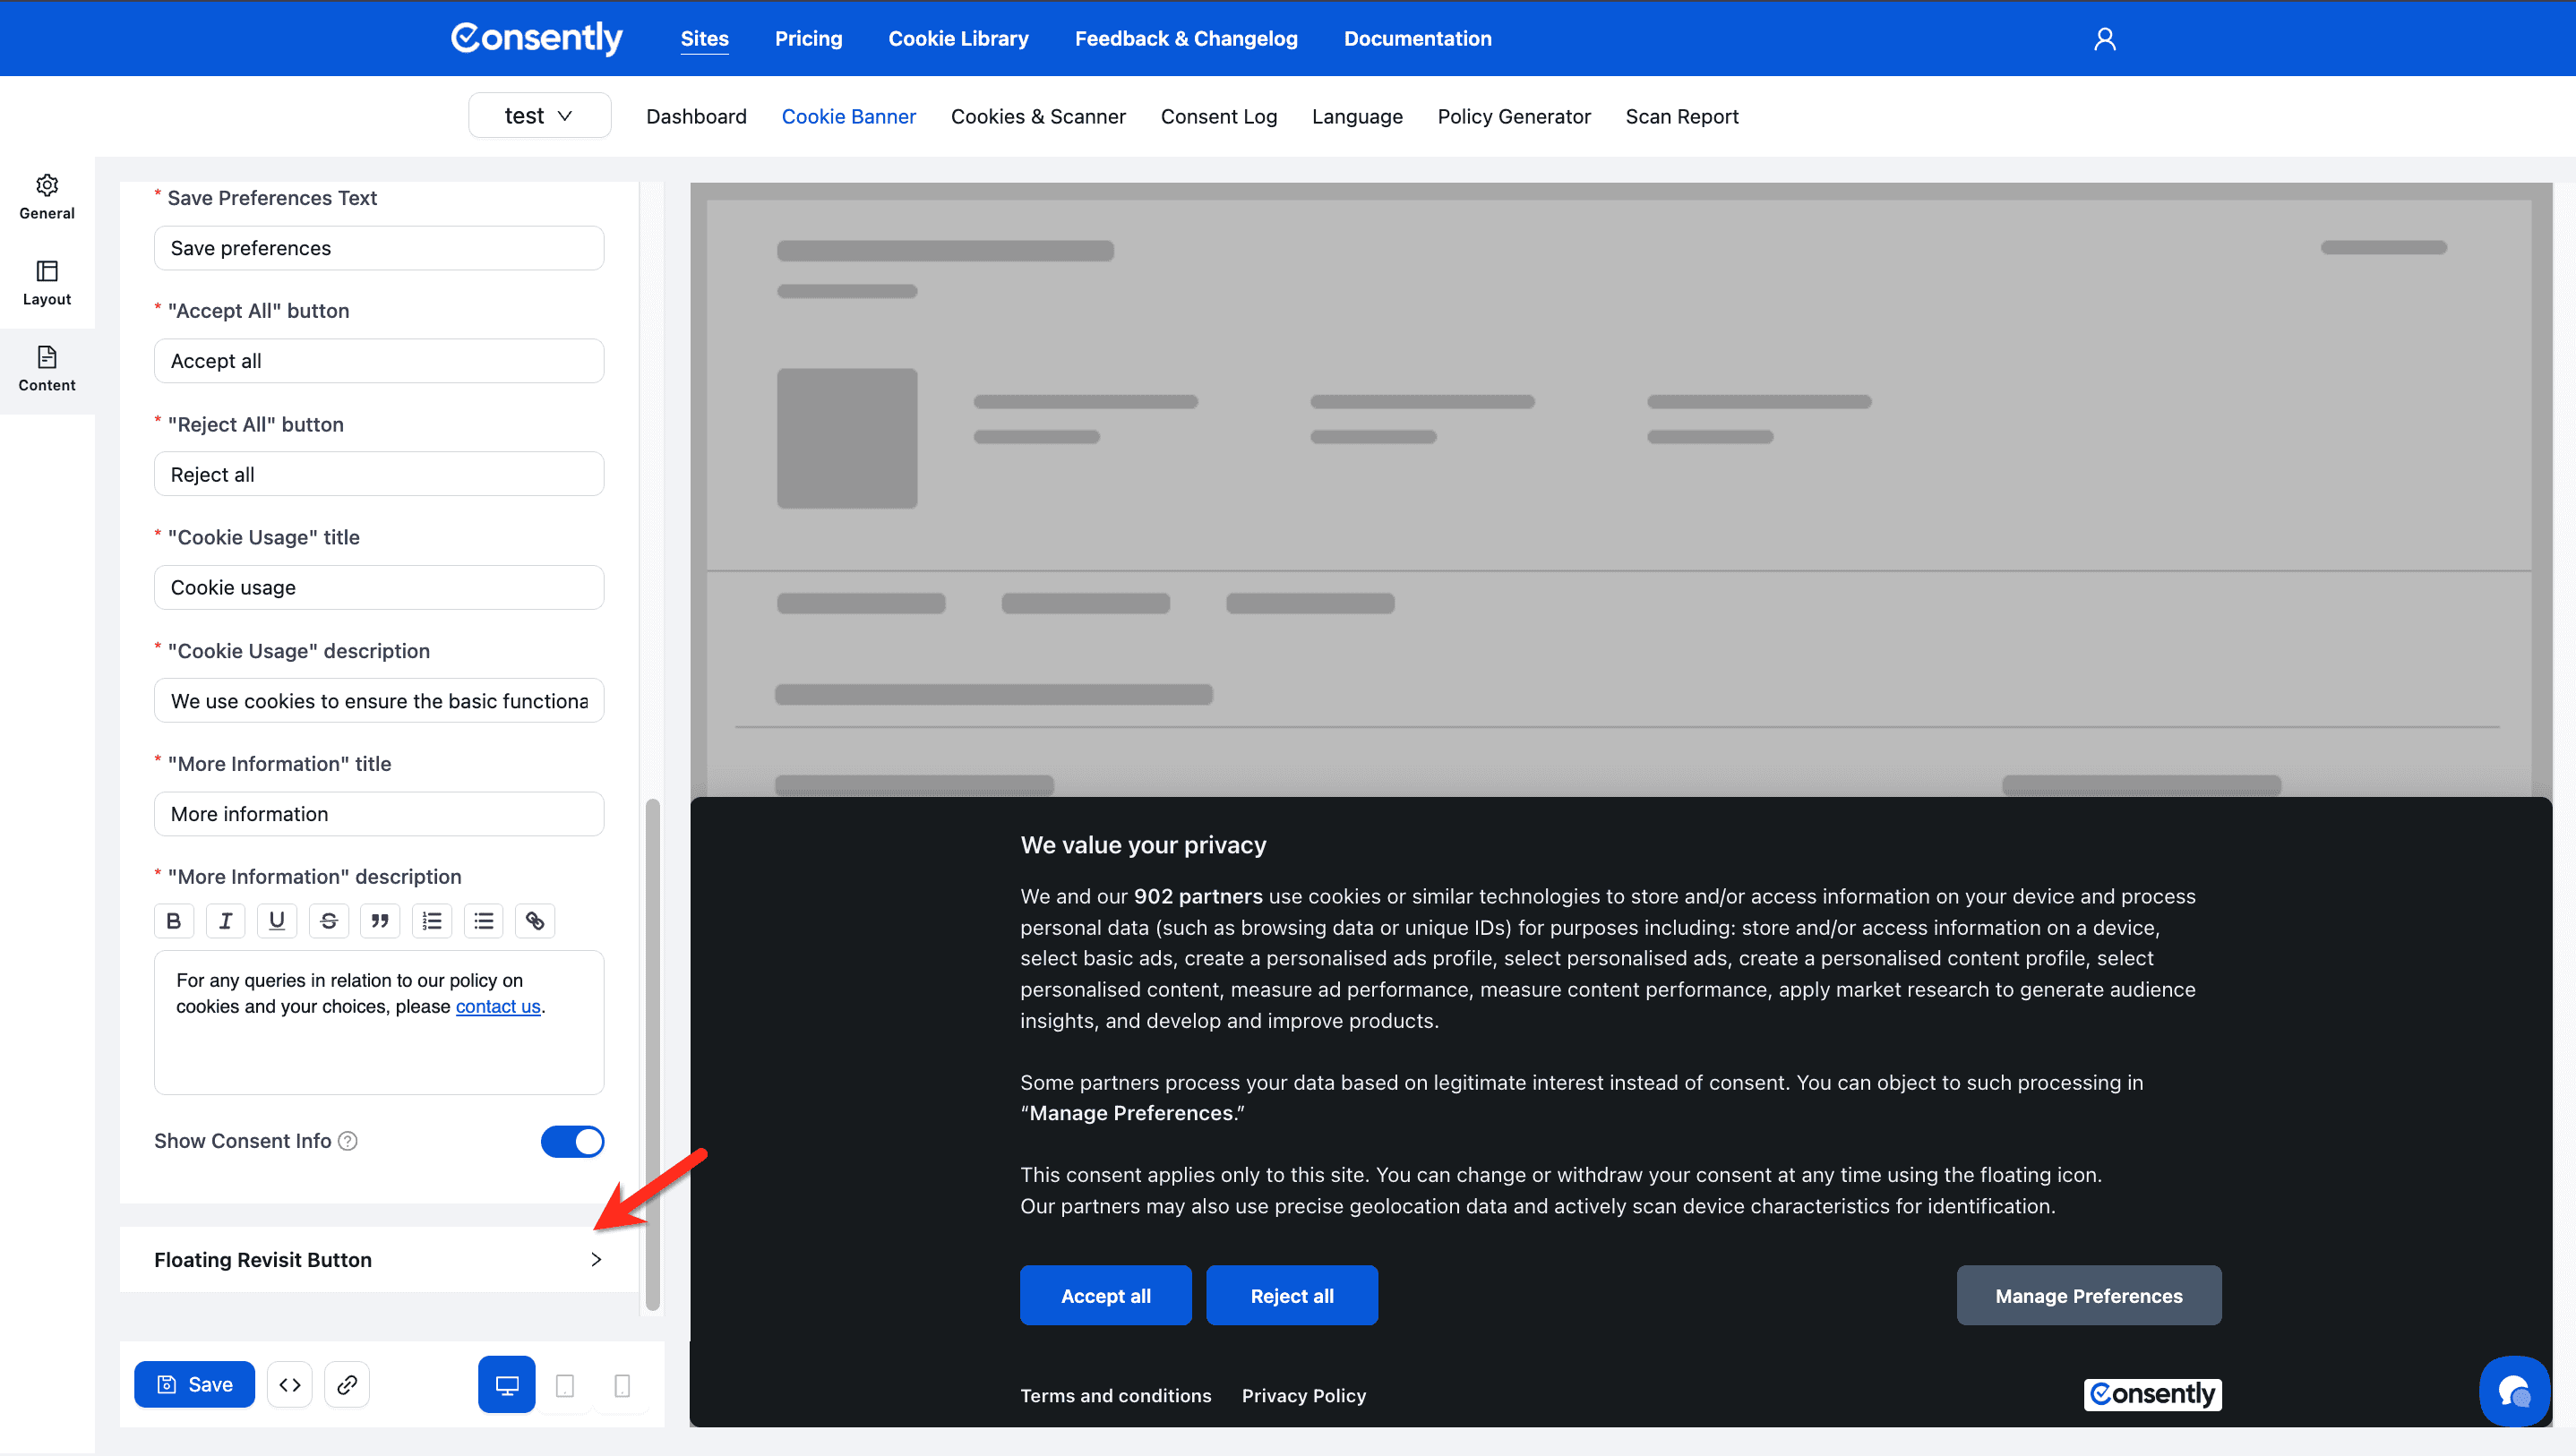
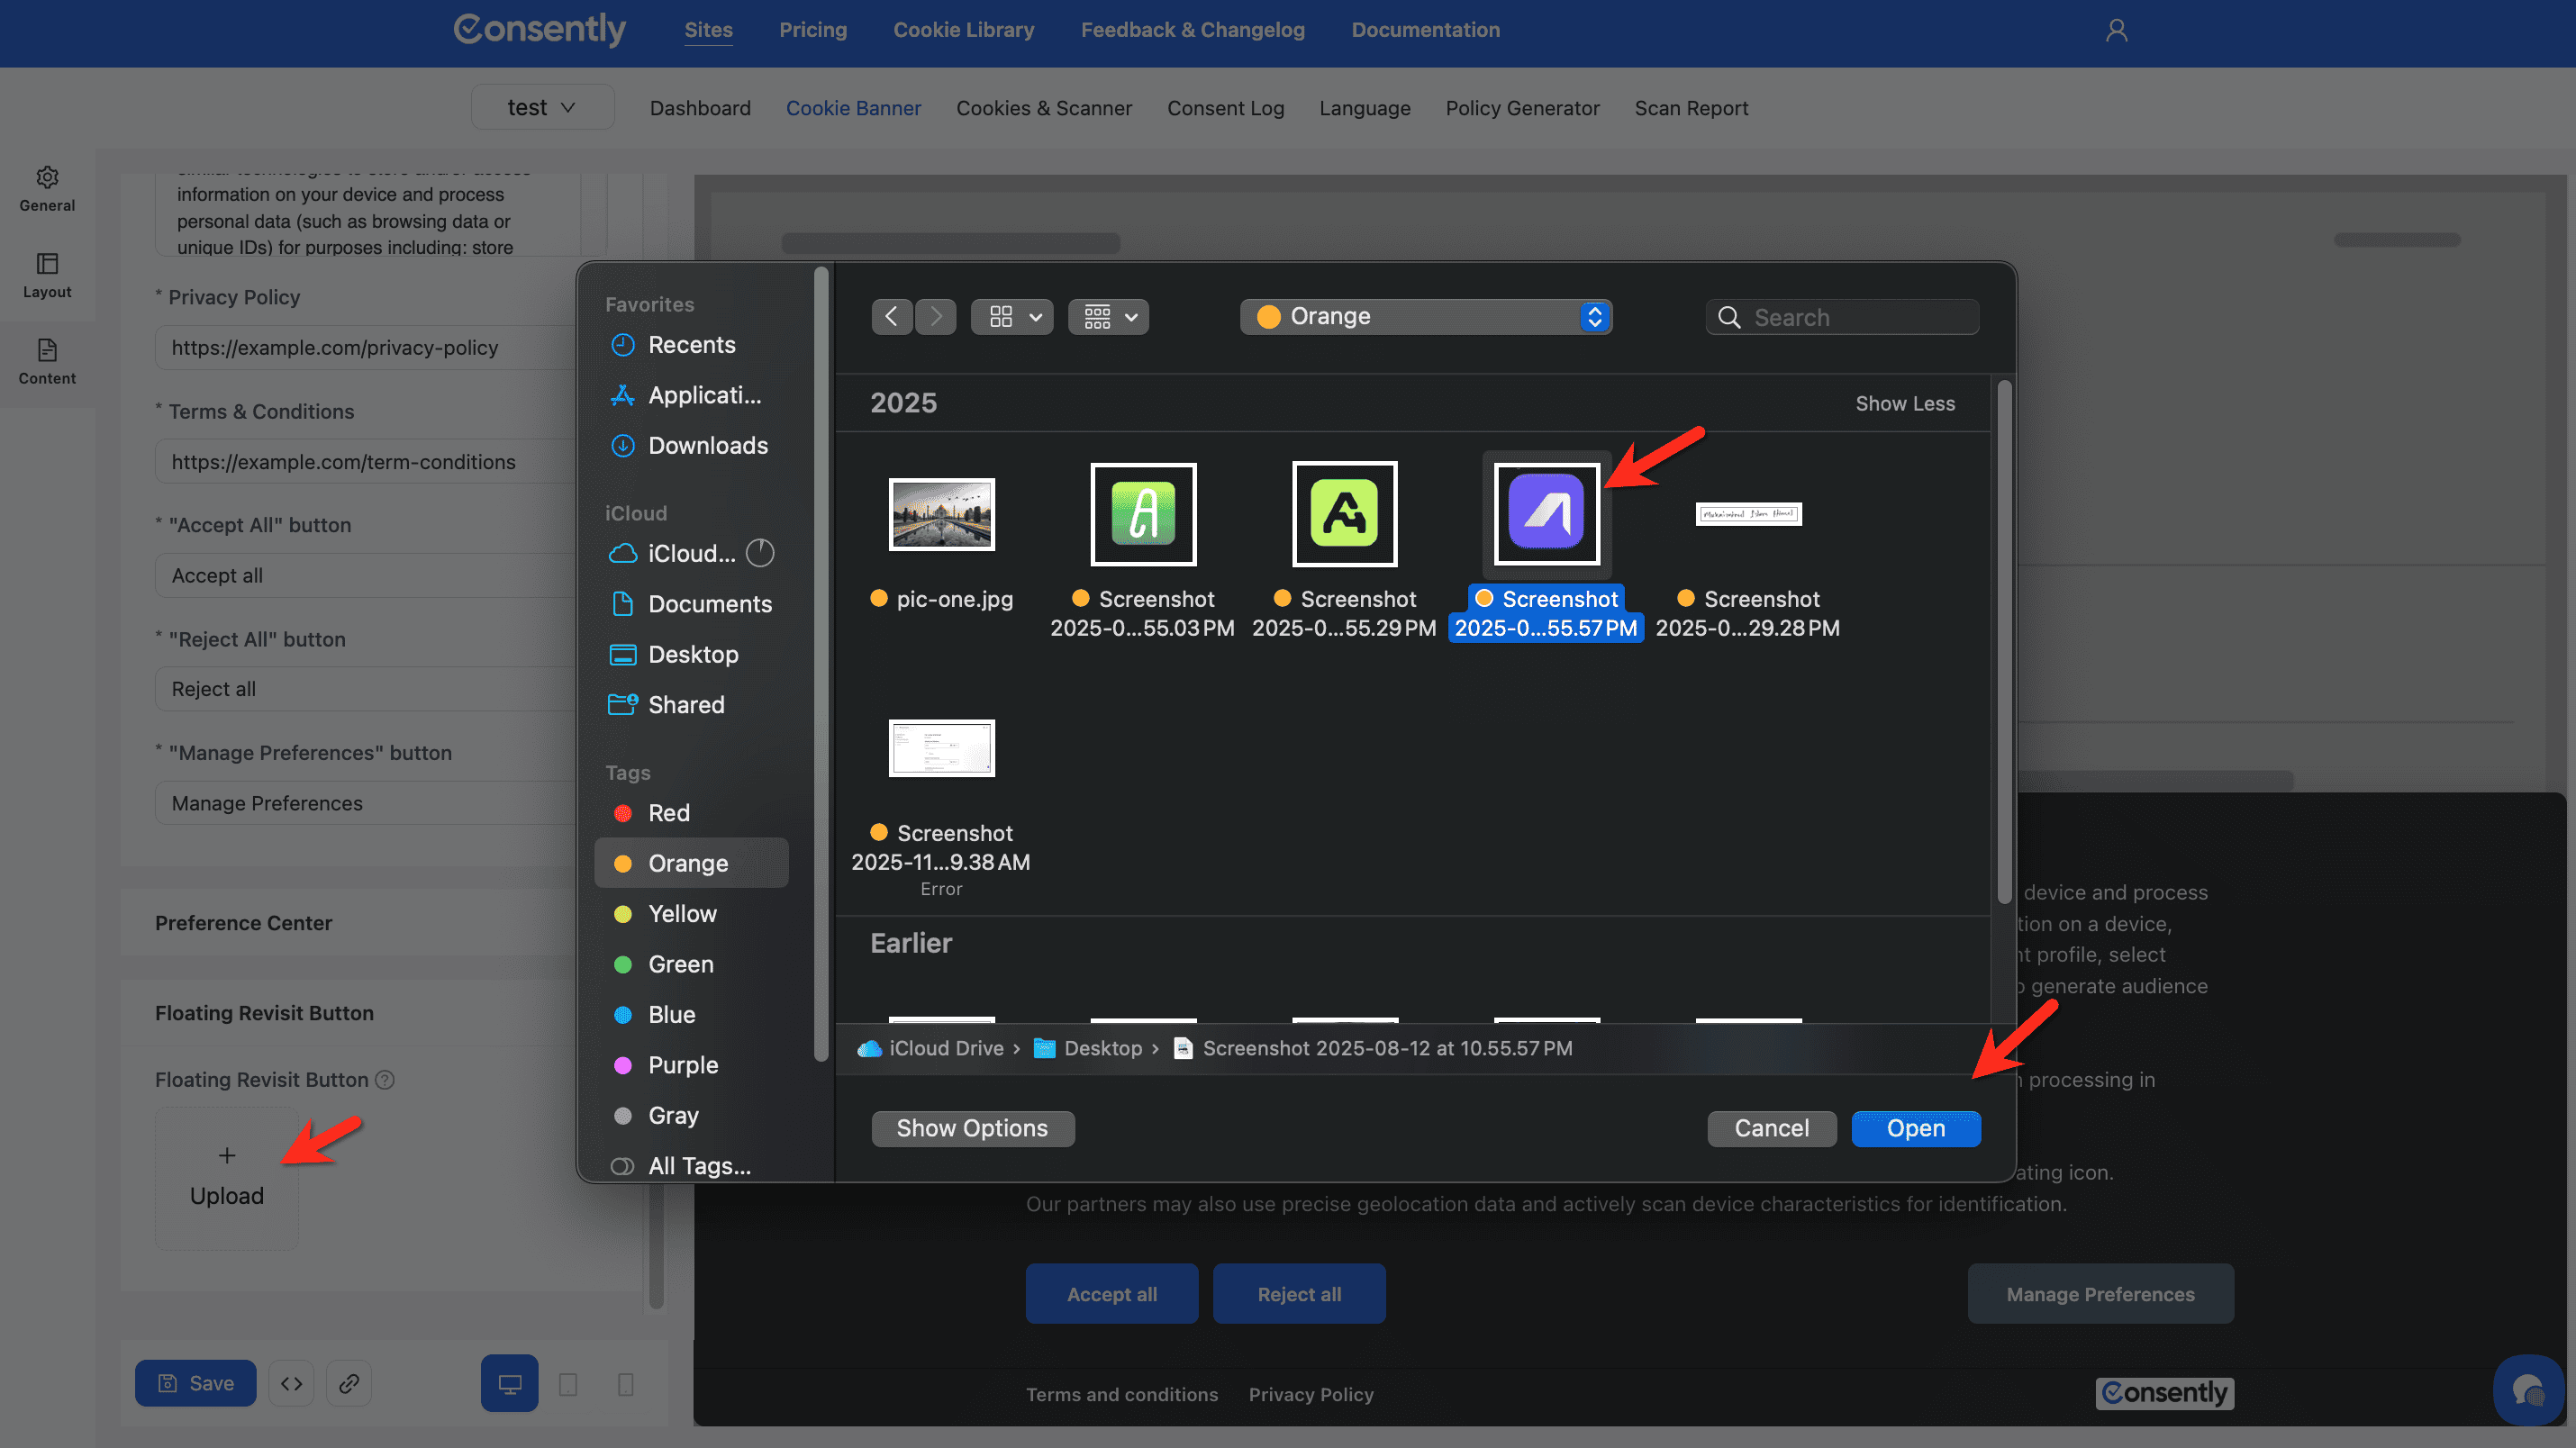
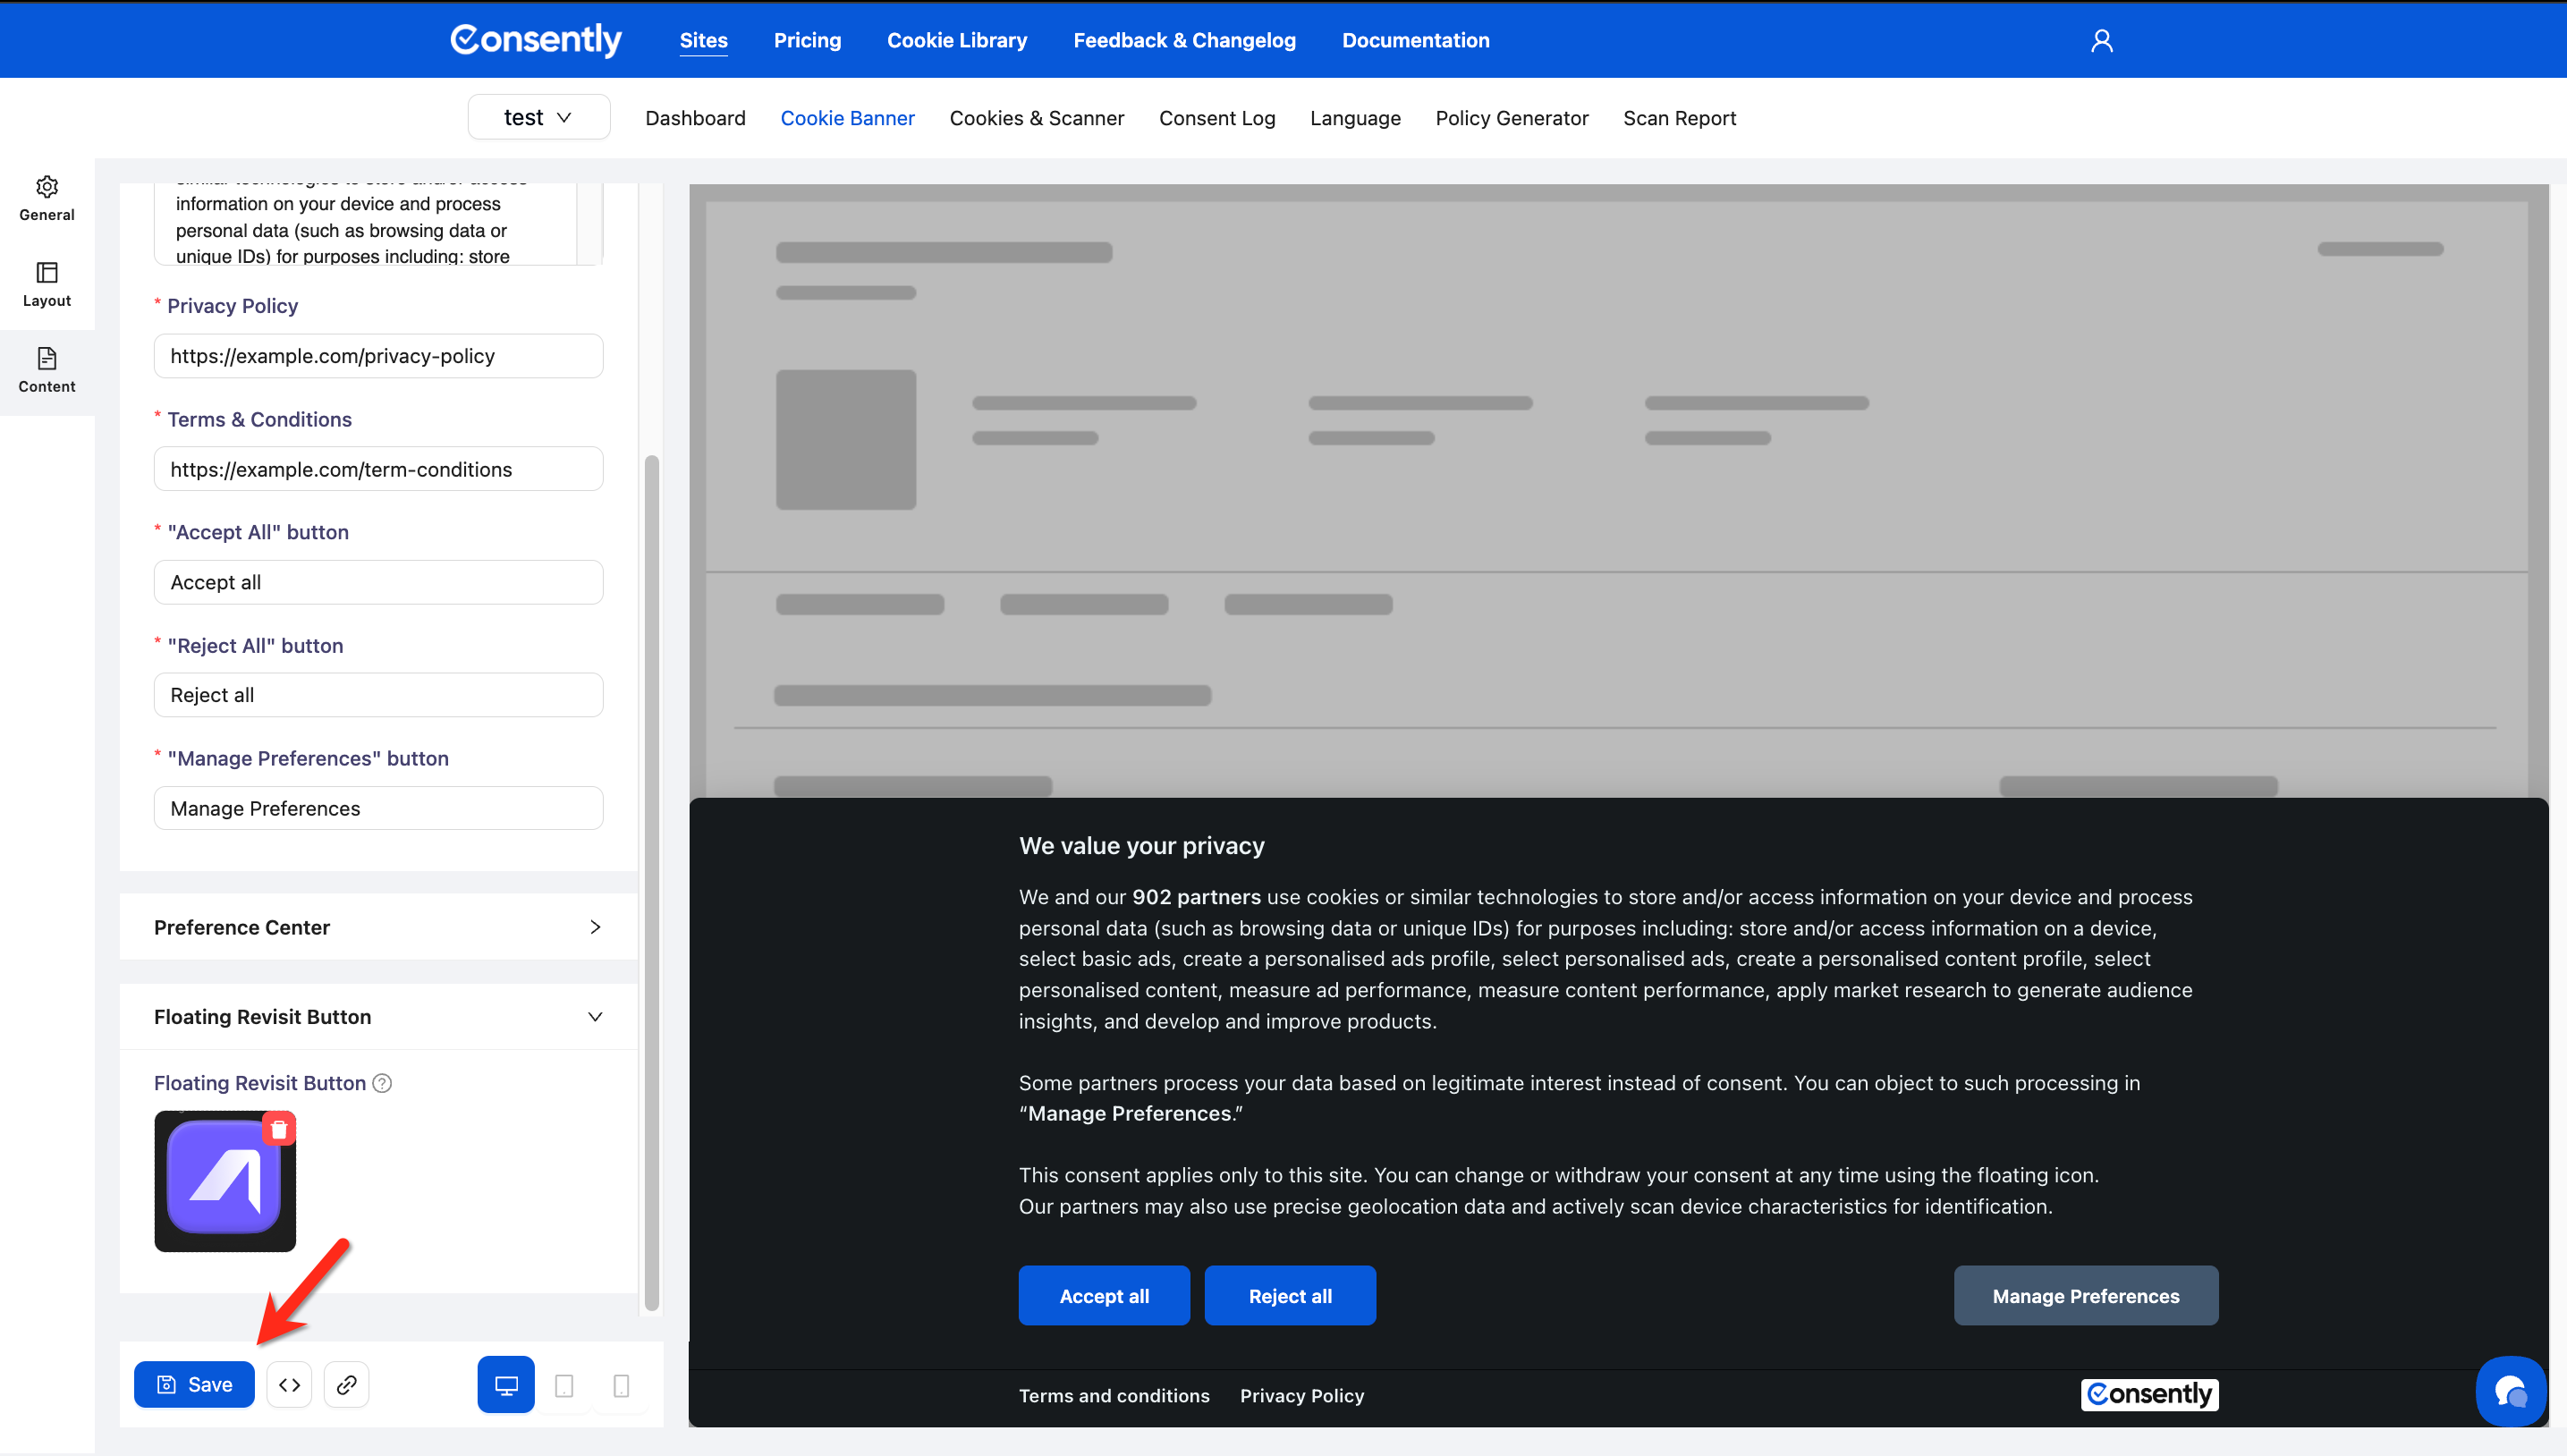
Section 3: Floating Revisit Button
The Floating Revisit Button is a small icon that remains visible on your website, allowing visitors to reopen the consent preferences at any time.
Step 1: Expand Floating Revisit Button
Click Floating Revisit Button in the left sidebar to expand its settings.
Upload Custom Icon
Upload a custom image for the floating button instead of using the default icon.
Requirements:
Image ratio should be 1:1 (square)
Recommended size: 40x40px to 80x80px
Supported formats: PNG, JPG, SVG
File size: Under 100KB recommended
Default: Consently's default cookie icon
Best practice: Use a simple, recognizable icon that matches your brand
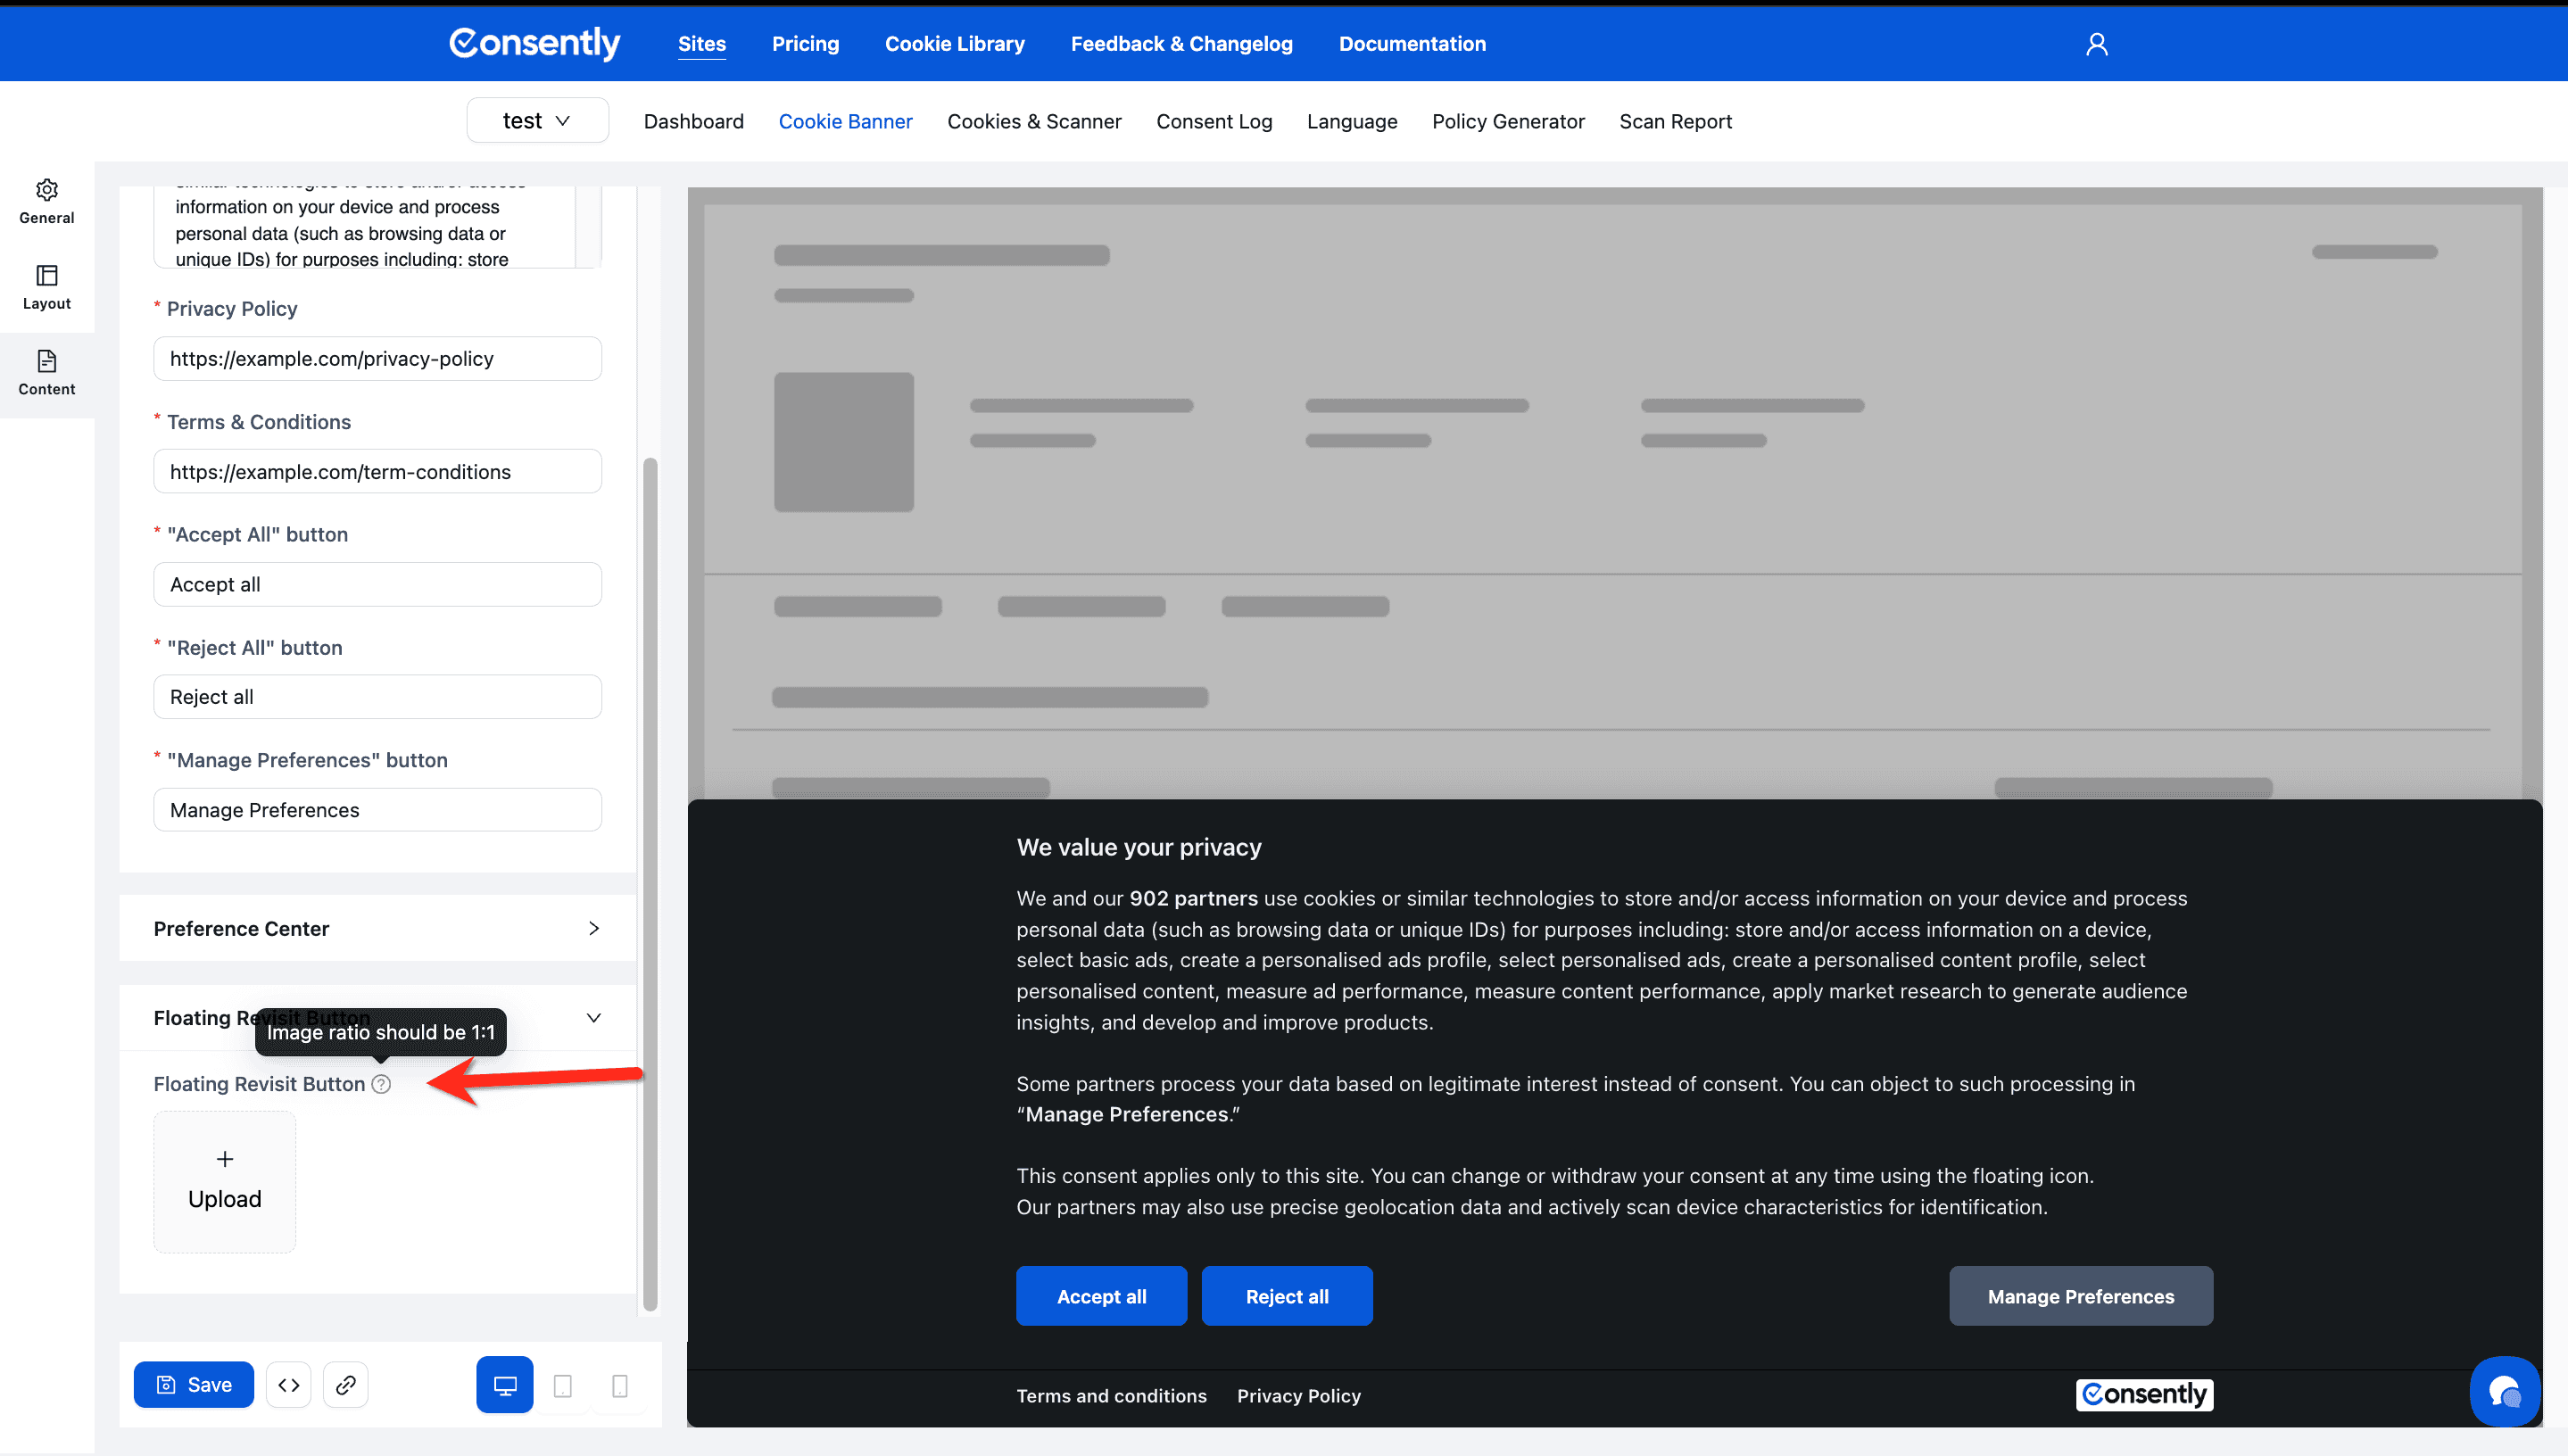
Step 2: Select icon to upload
Click the Upload button to select an image from your device.
Done Customizing Floating Revisit Button
Click Save at the bottom of the page to apply your changes.
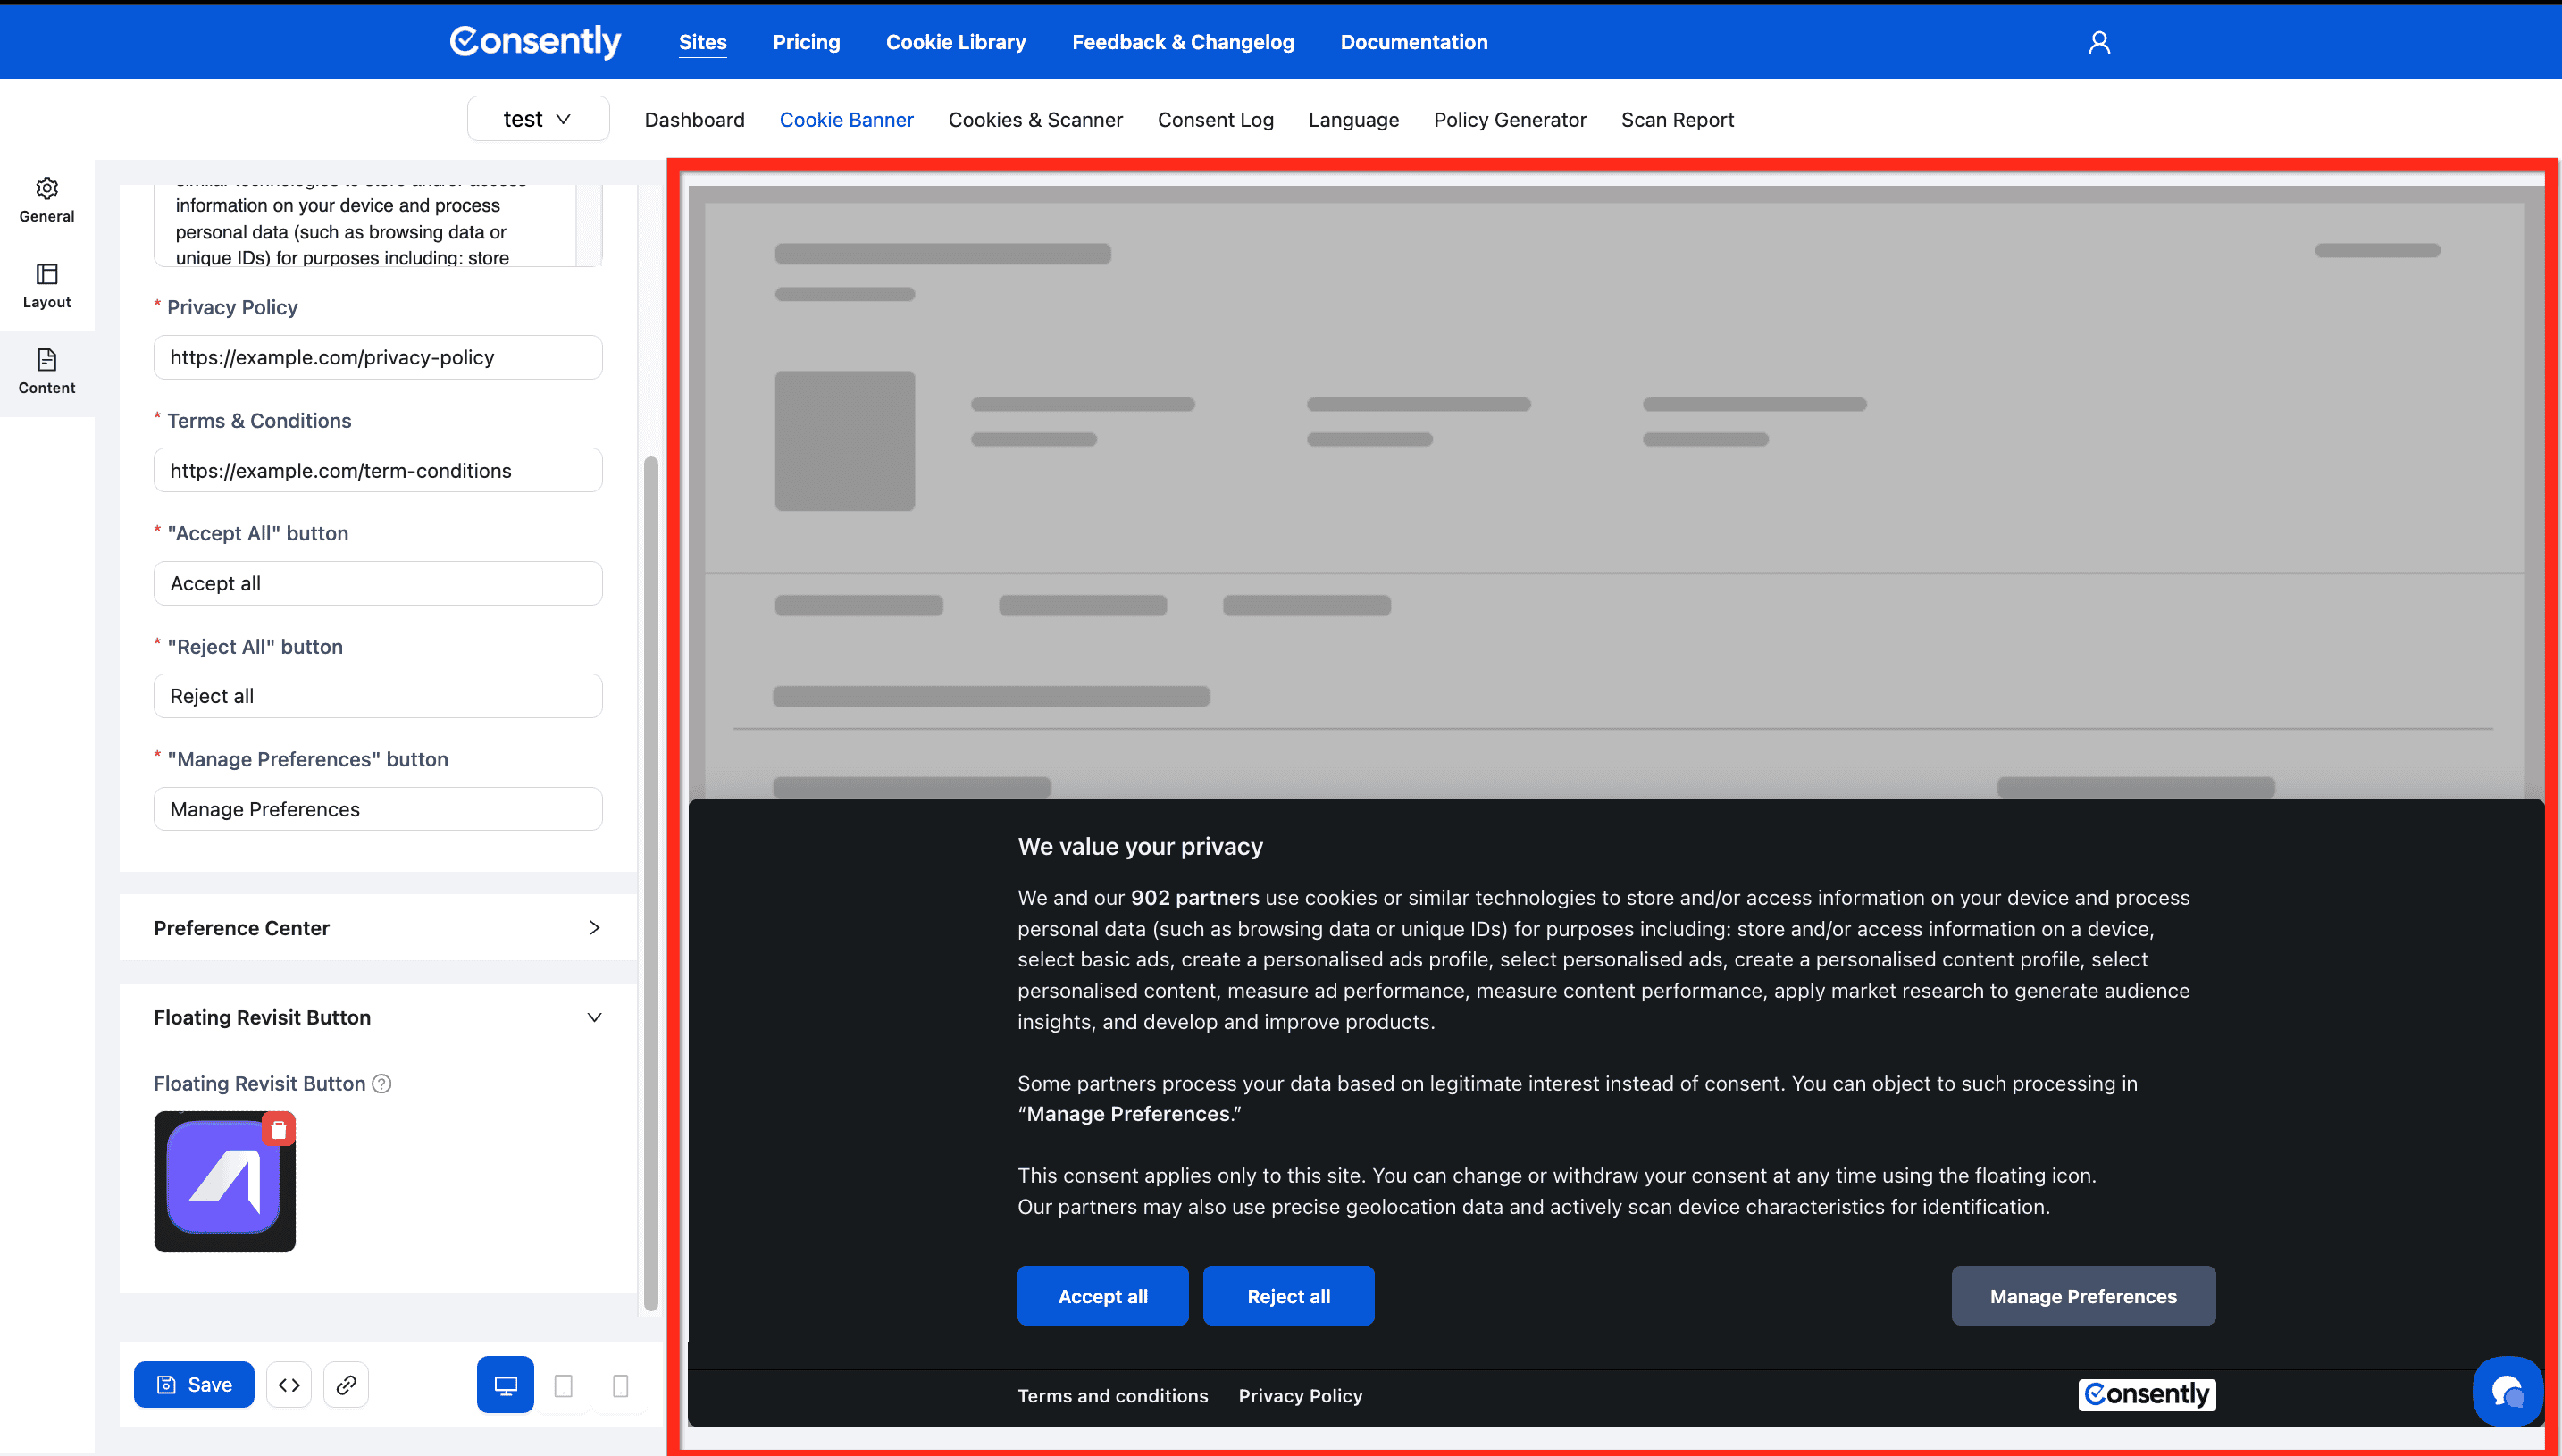
Live Preview
All changes you make appear instantly in the preview panel on the right side of the screen. Use the preview to:
See how your content looks on the actual website
Check text length and readability
Verify button labels make sense
Test the Preference Center appearance (toggle Preview Preference on)
💡 Tip: Preview your banner on desktop, tablet, and mobile using the preview controls at the bottom of the preview panel.
What's Next
Now that you've customized your banner content:
Customize banner design to match your brand colors and style
Configure cookie categories to define what each category controls
Preview your banner across different devices before publishing
Content Best Practices
Writing Effective Consent Messages
Be Transparent: Clearly explain what cookies do and why you use them
Be Concise: Visitors scan rather than read—keep messages brief
Be Specific: Mention the number of partners if using third-party cookies
Be Friendly: Use conversational language, not legal jargon
Button Label Guidelines
Make Actions Clear: "Accept All" is clearer than just "Accept"
Be Consistent: Use similar phrasing across all buttons
Avoid Manipulation: Don't make "Accept" prominent and "Reject" hidden or confusing
Legal Compliance Tips
Include Policy Links: Both privacy policy and terms should be easily accessible
Allow Easy Withdrawal: Keep the Floating Revisit Button enabled
Document Changes: If you update your consent text, note it in your policy
Match Your Policies: Ensure banner text aligns with your actual privacy policy
Troubleshooting
Text is cut off or doesn't fit
Why this happens: Text is too long for the banner layout or screen size.
Solution:
Shorten your title to under 50 characters
Keep descriptions to 150-300 characters for the Consent Notice
Use the live preview to check text on mobile devices
Consider using the "More Information" section in the Preference Center for detailed explanations
Changes aren't appearing on my website
Why this happens: You saved changes but didn't publish them, or browser cache is showing old version.
Solution:
Make sure you clicked Save after making changes
Publish your banner to make changes live
Clear your browser cache and reload your website
Check in incognito/private browsing mode to see the latest version
Rich text formatting looks different on website
Why this happens: Your website's CSS may be affecting banner text styles.
Solution: The banner uses its own styling to maintain consistency. If formatting looks incorrect, avoid excessive formatting in the text editor. Stick to bold for emphasis and links for references.
Policy URLs not linking correctly
Solution:
Ensure URLs include the full protocol:
https://example.com/privacynotexample.com/privacyVerify the URLs work by testing them in a browser
Use absolute URLs, not relative paths
Related Pages
Preference Center Configuration — Configuring cookie category settings
Banner Layout & Positioning — Where the banner appears on your site
Publishing Your Banner — Making your changes live