

TL;DR: Click API Keys in the top navigation → + Create API Key → enter a name → Create API Key → copy the key immediately. Store it securely: the full key is shown only once.
Overview
API keys allow external tools and custom integrations to authenticate with Consently programmatically. You can create multiple keys, revoke them to suspend access temporarily, and delete them permanently when they are no longer needed.
Before You Begin
Make sure you have:
A Consently account with access to the API Keys section
Time required: 2 minutes
How to Create an API Key
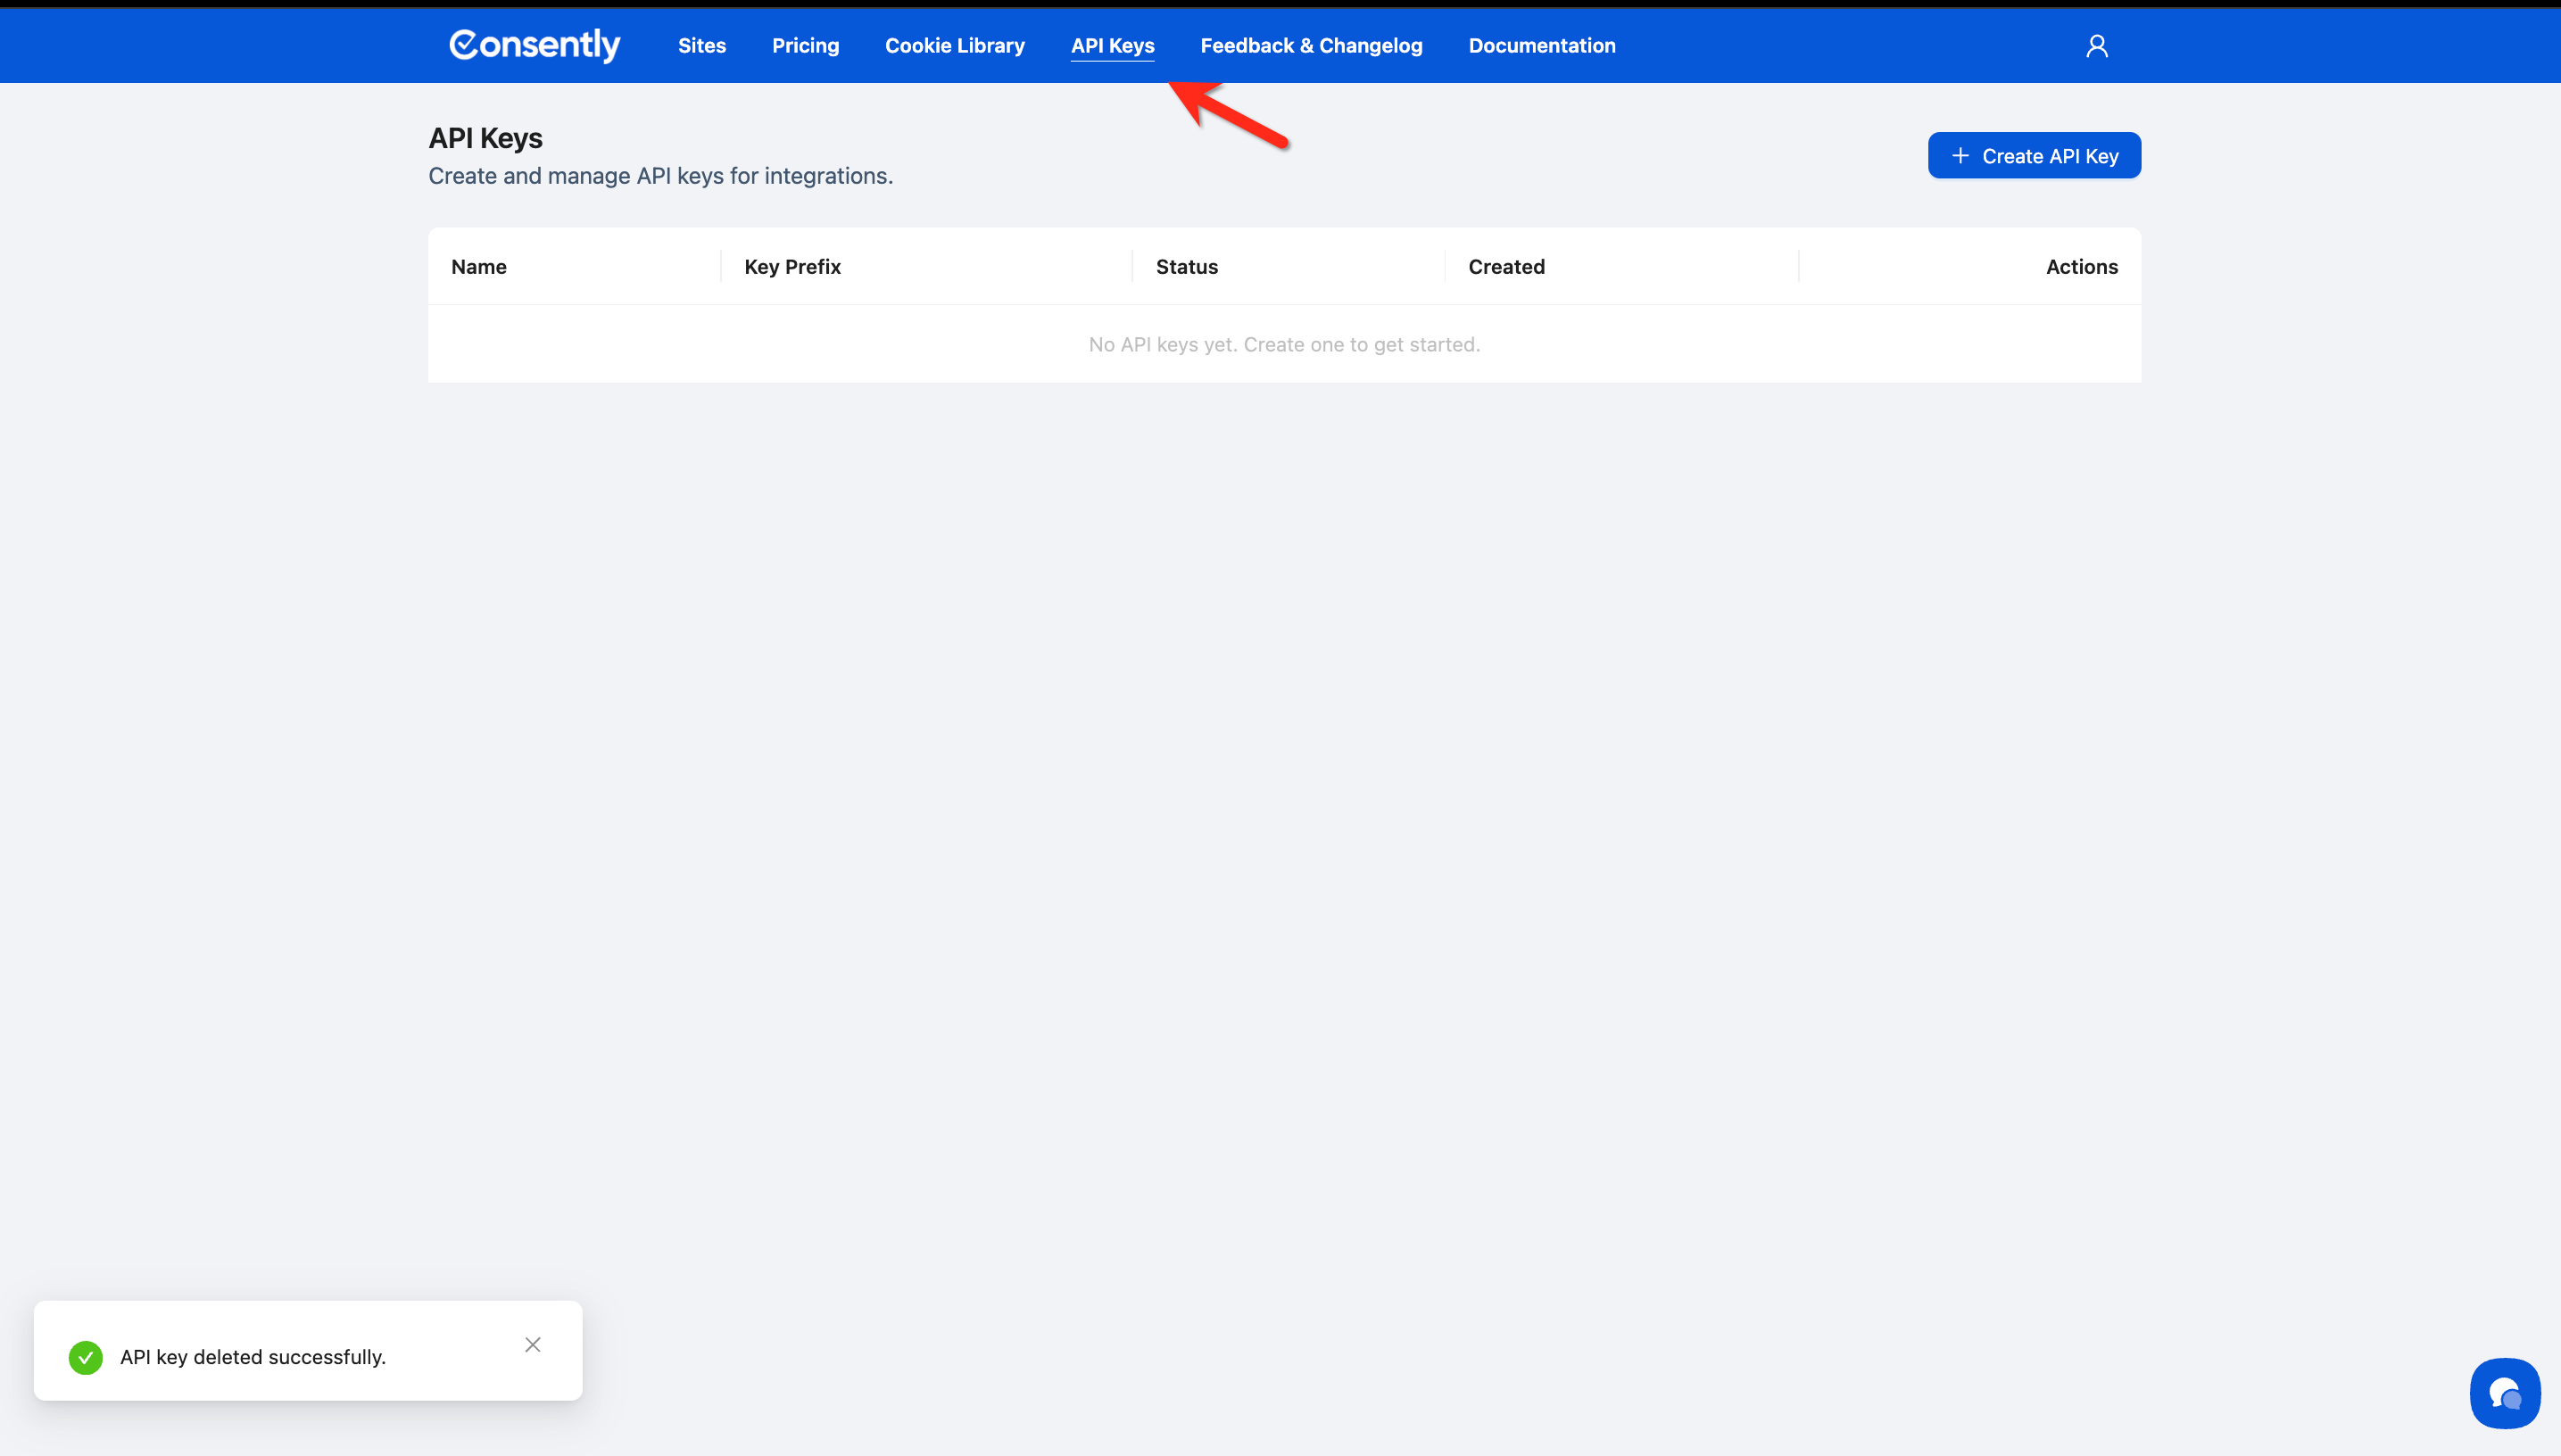
Step 1: Open the API Keys page
Click API Keys in the top navigation bar.
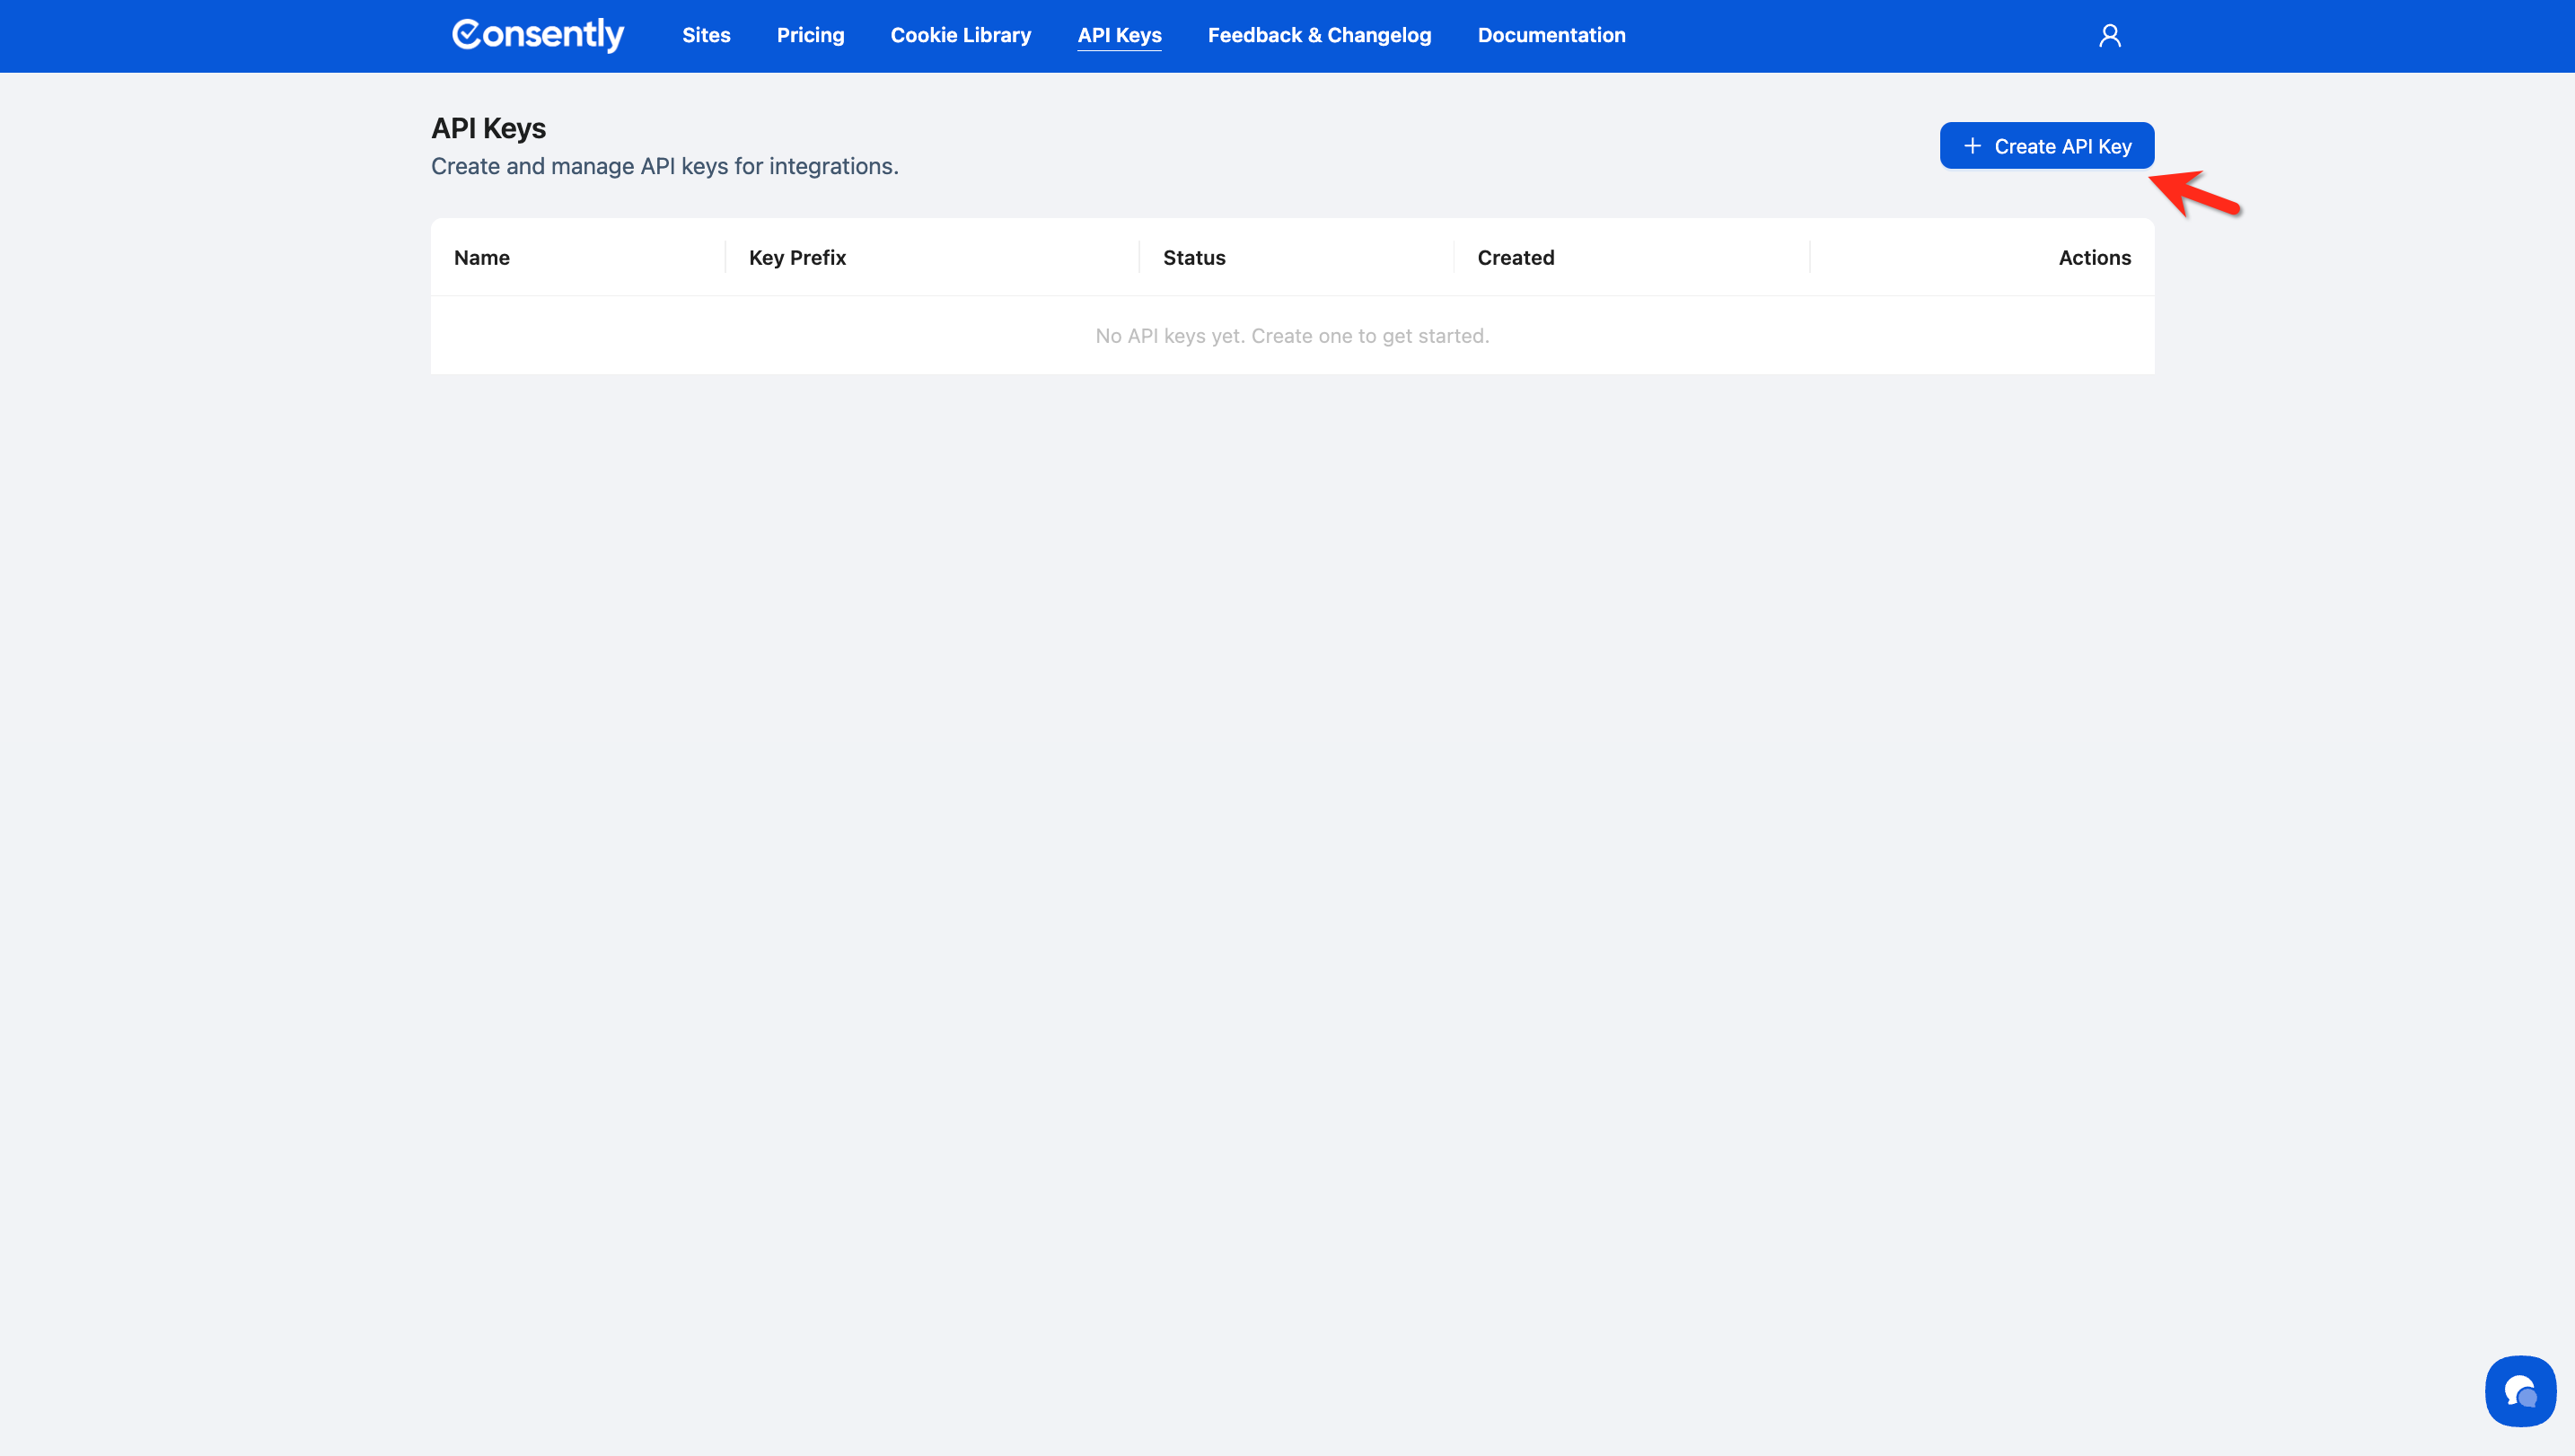
Step 2: Open the creation modal
Click + Create API Key in the top-right corner.
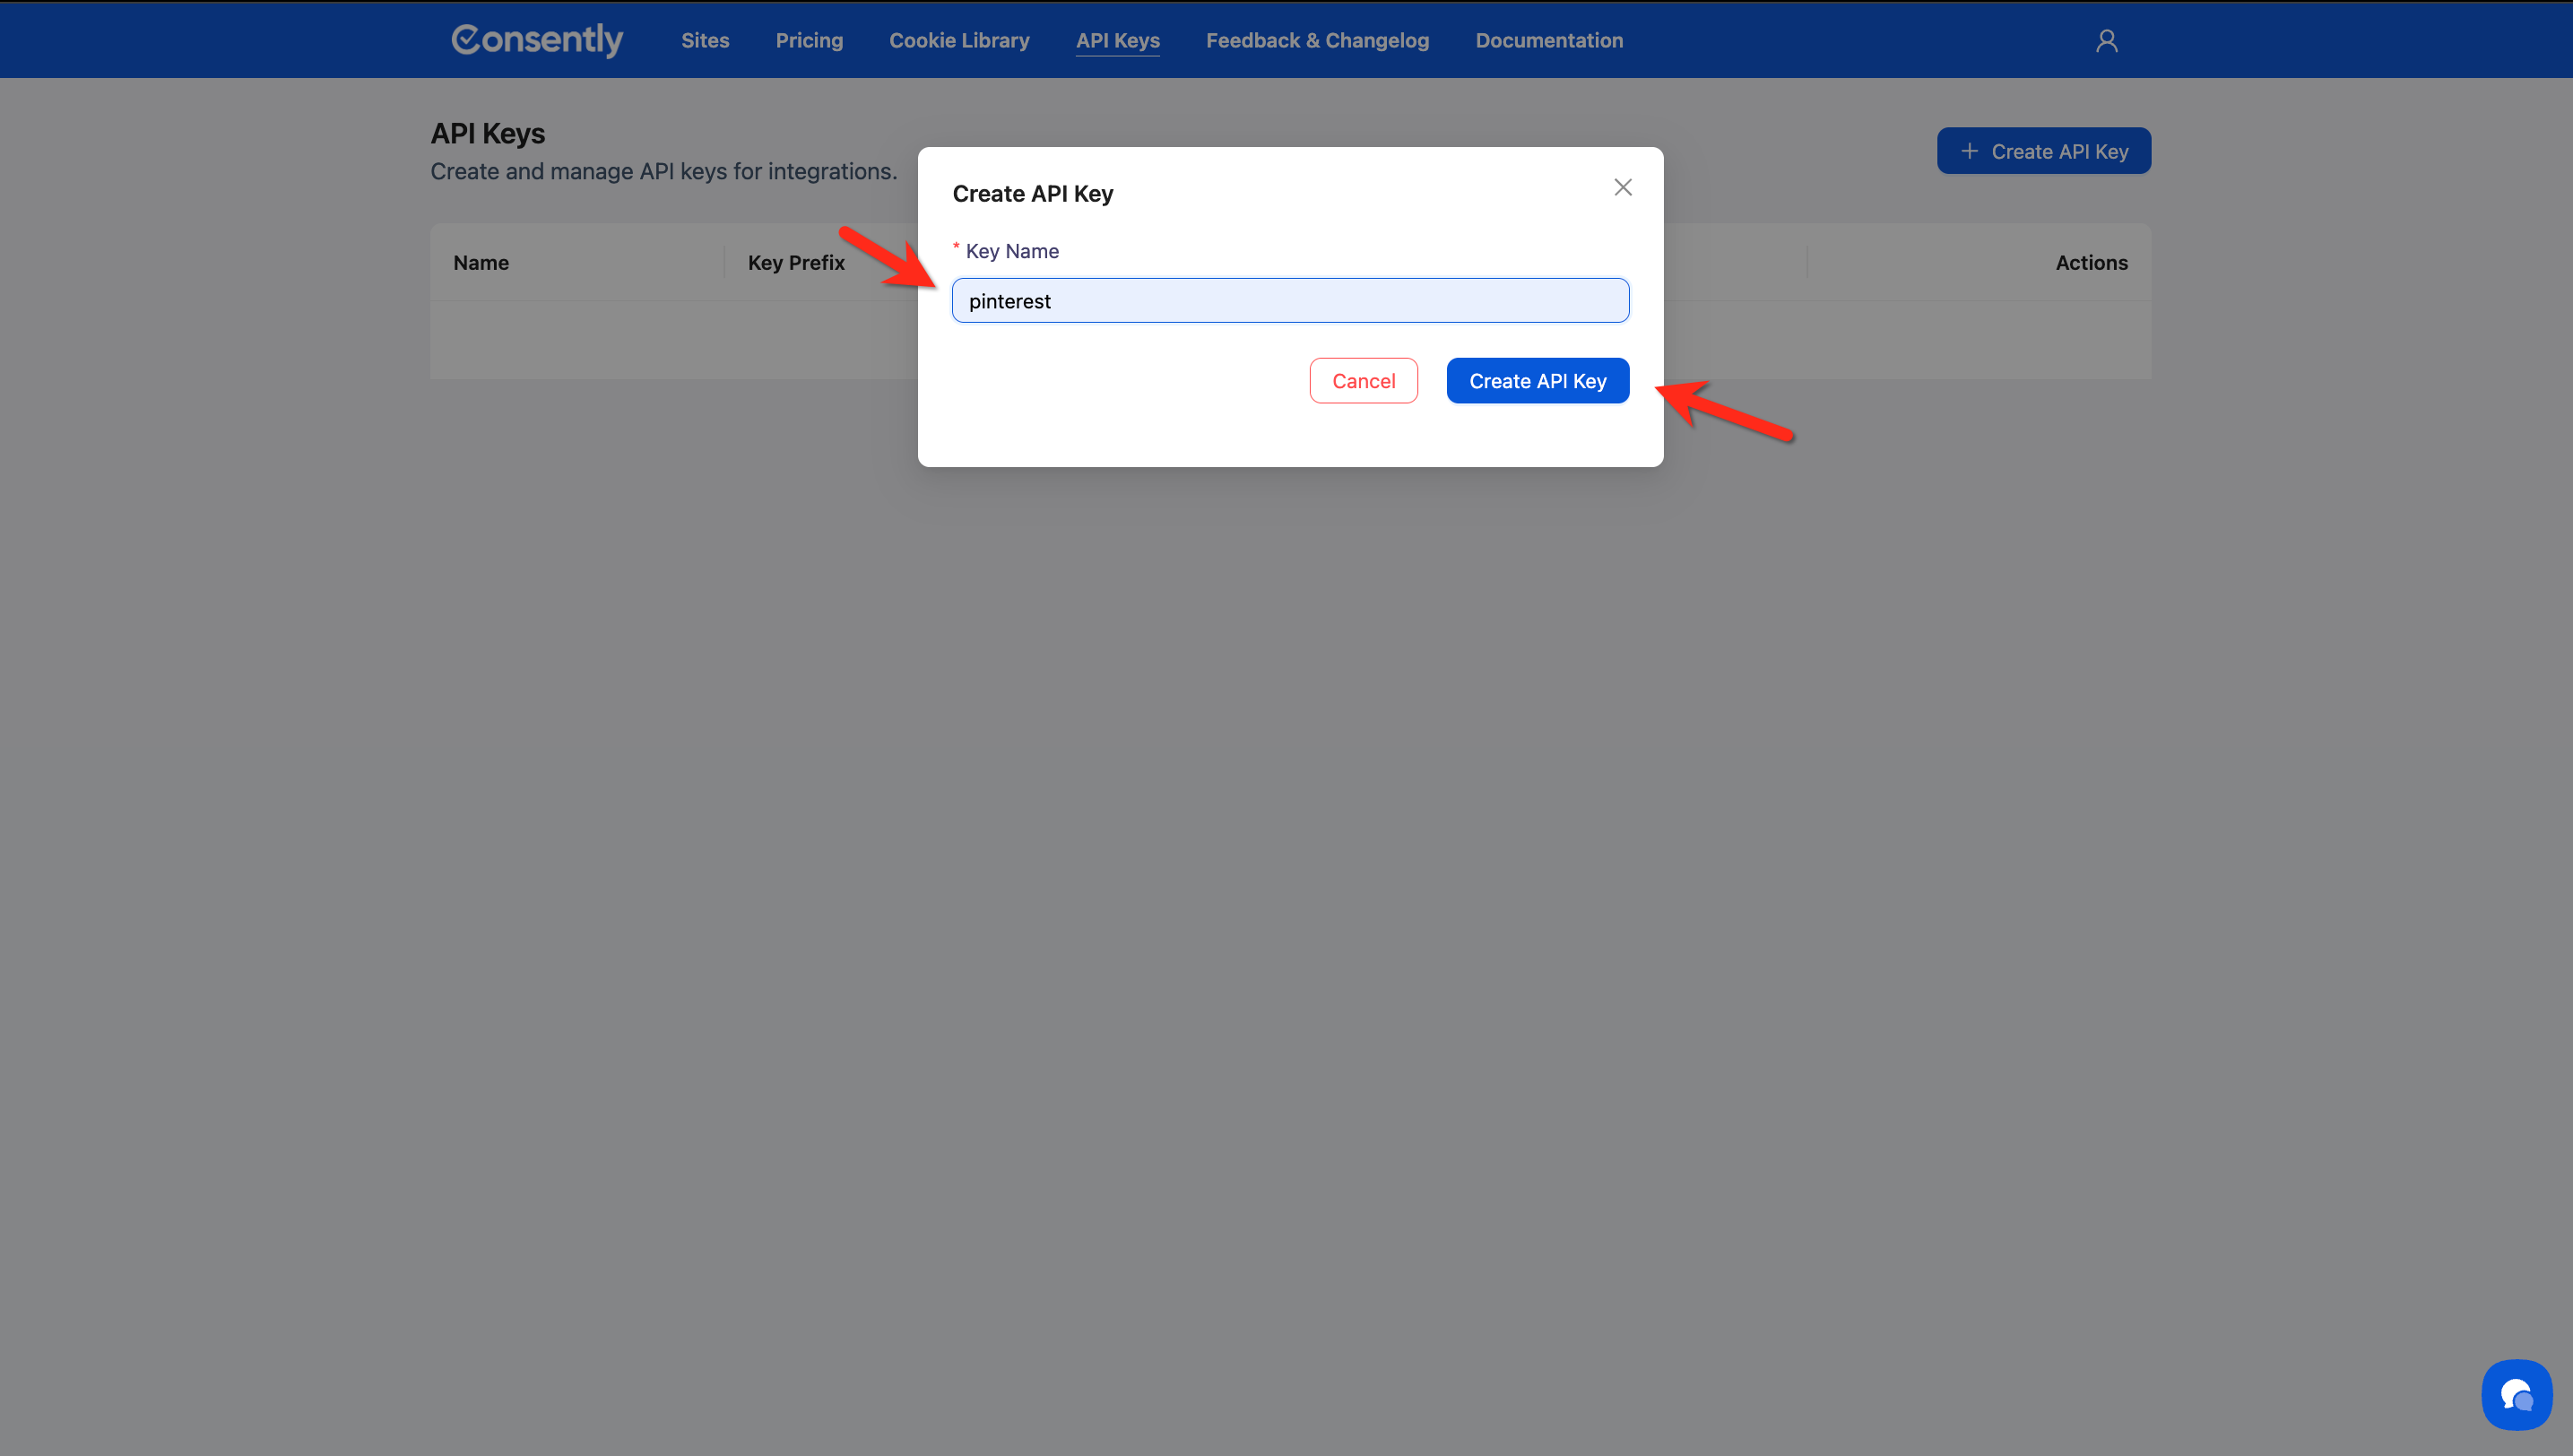
Step 3: Name your key
Enter a descriptive name in the Key Name field (e.g., My Integration Key), then click Create API Key.
💡 Tip: Use a name that identifies the integration or system this key will be used with, such asAnalytics ApporStaging Environment.
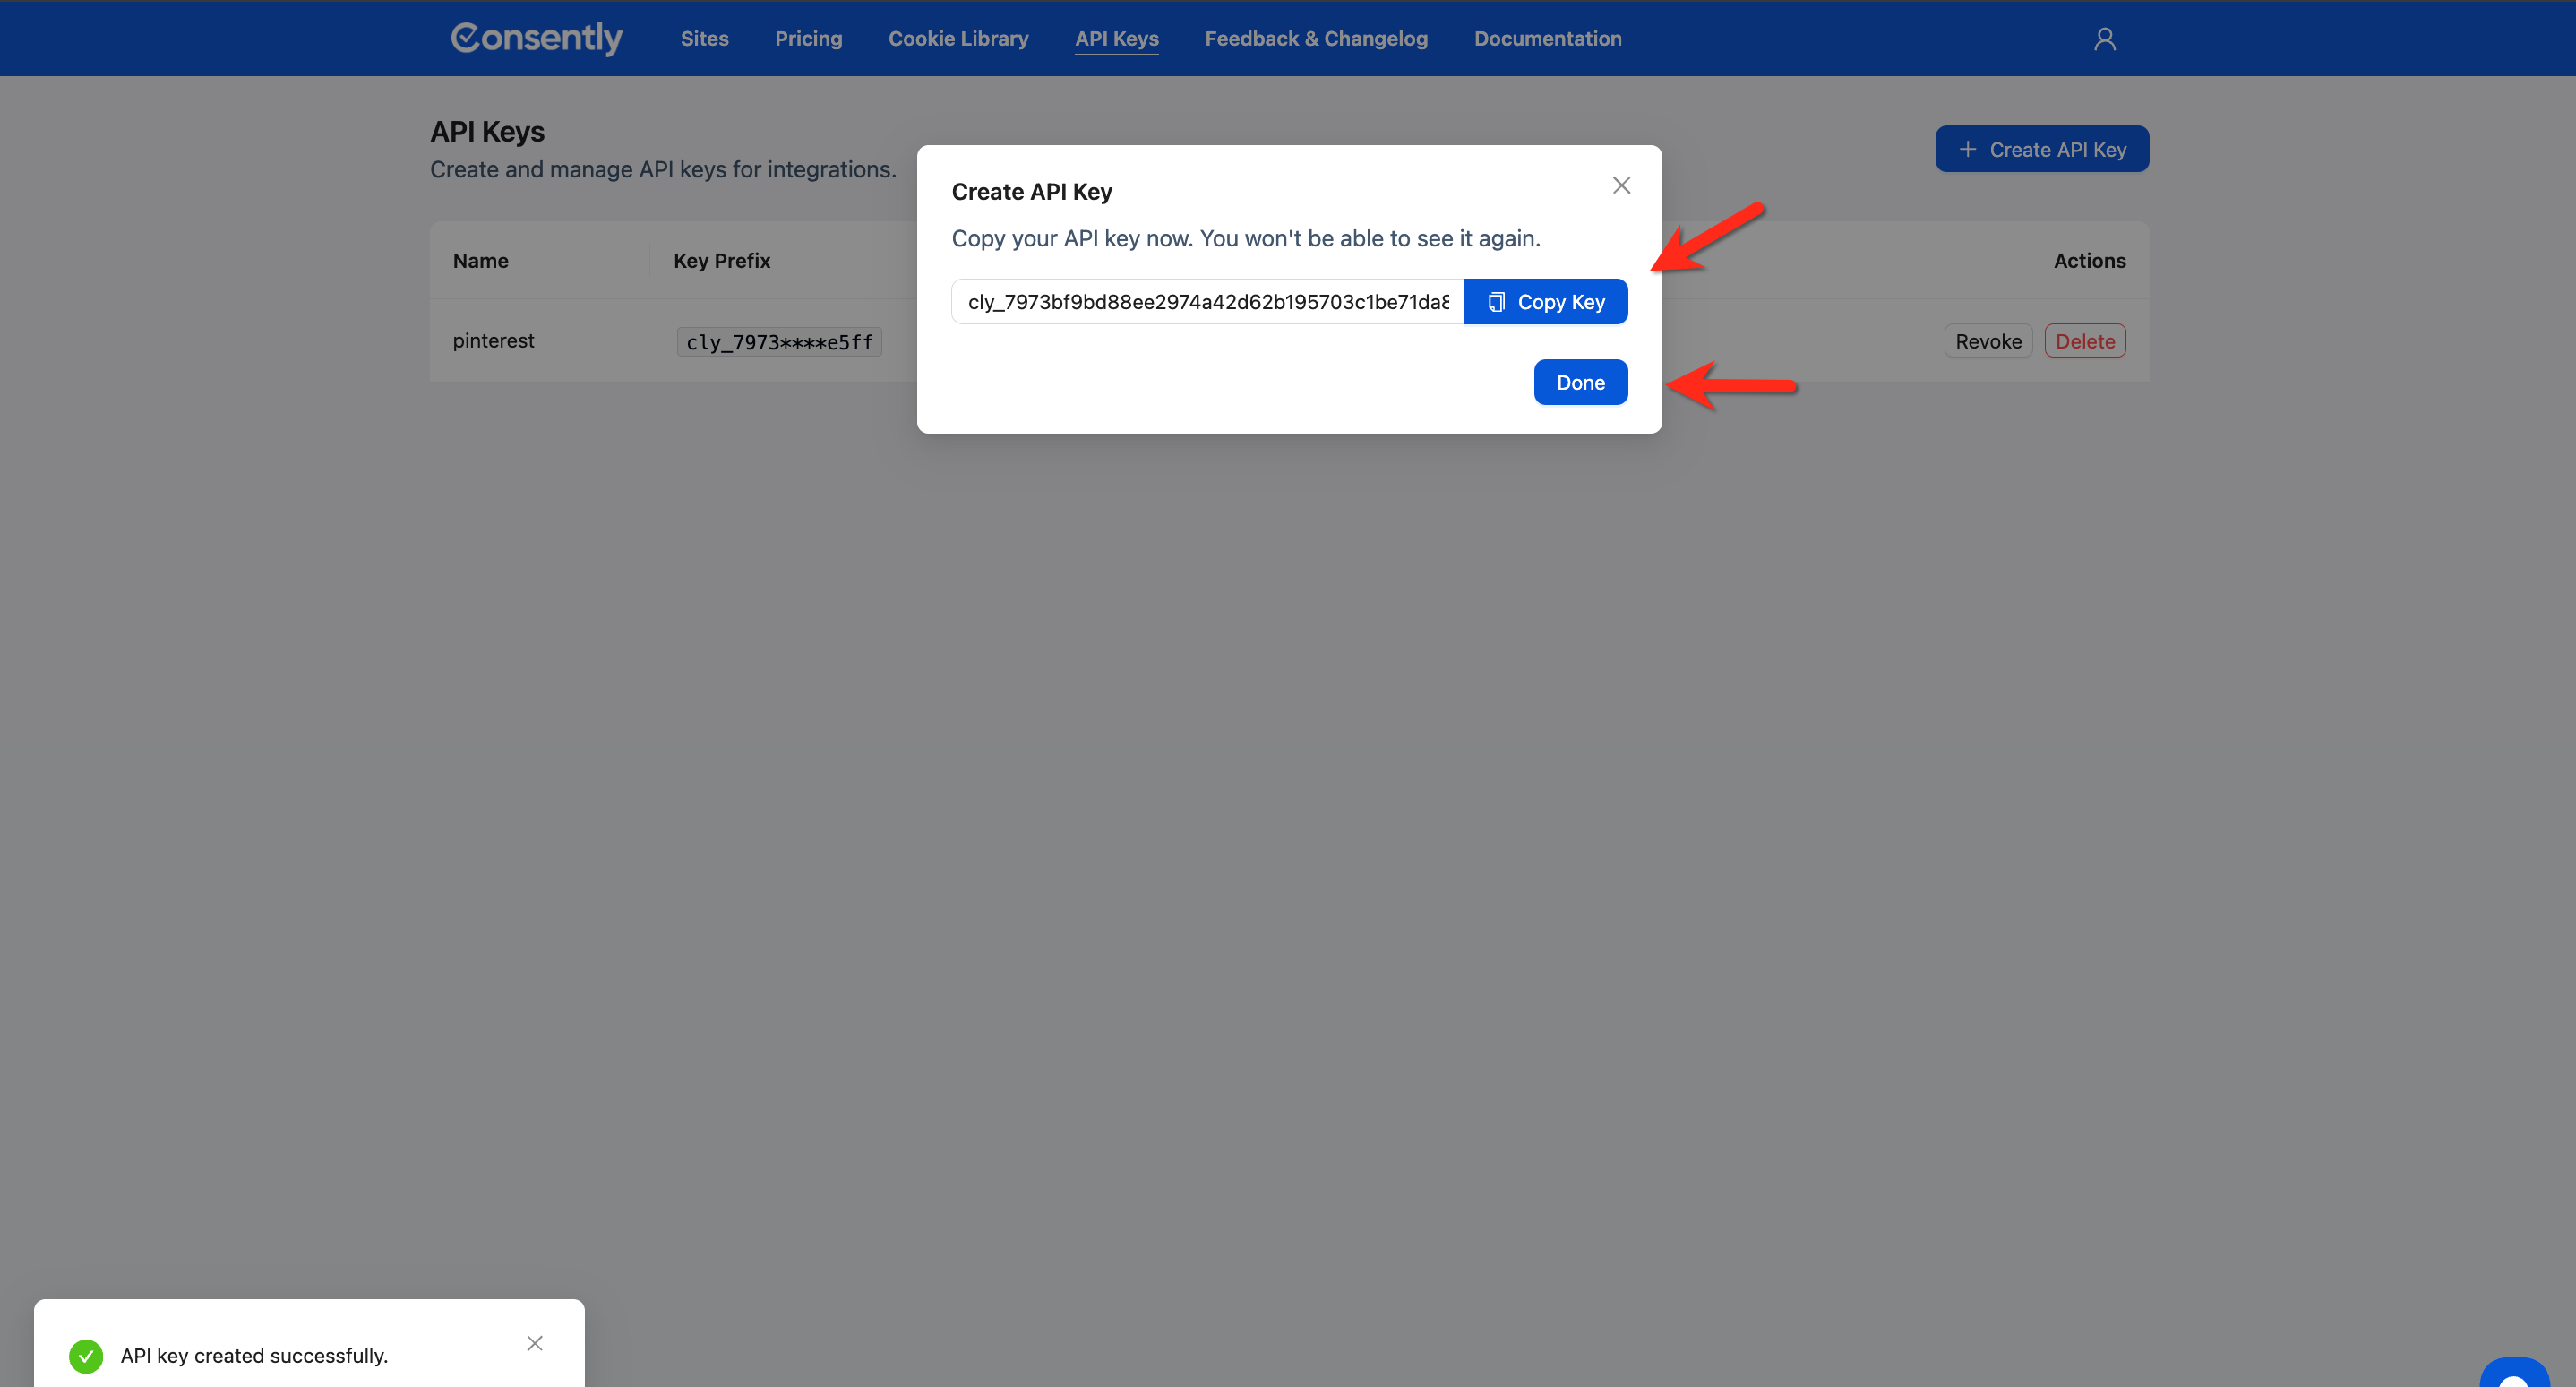
Step 4: Copy your API key
Click Copy Key to copy the full API key to your clipboard, then click Done.
⚠️ Important: This is the only time the full key is displayed. Once you click Done, you will not be able to retrieve it again. Store it in a secure location immediately.
Done!
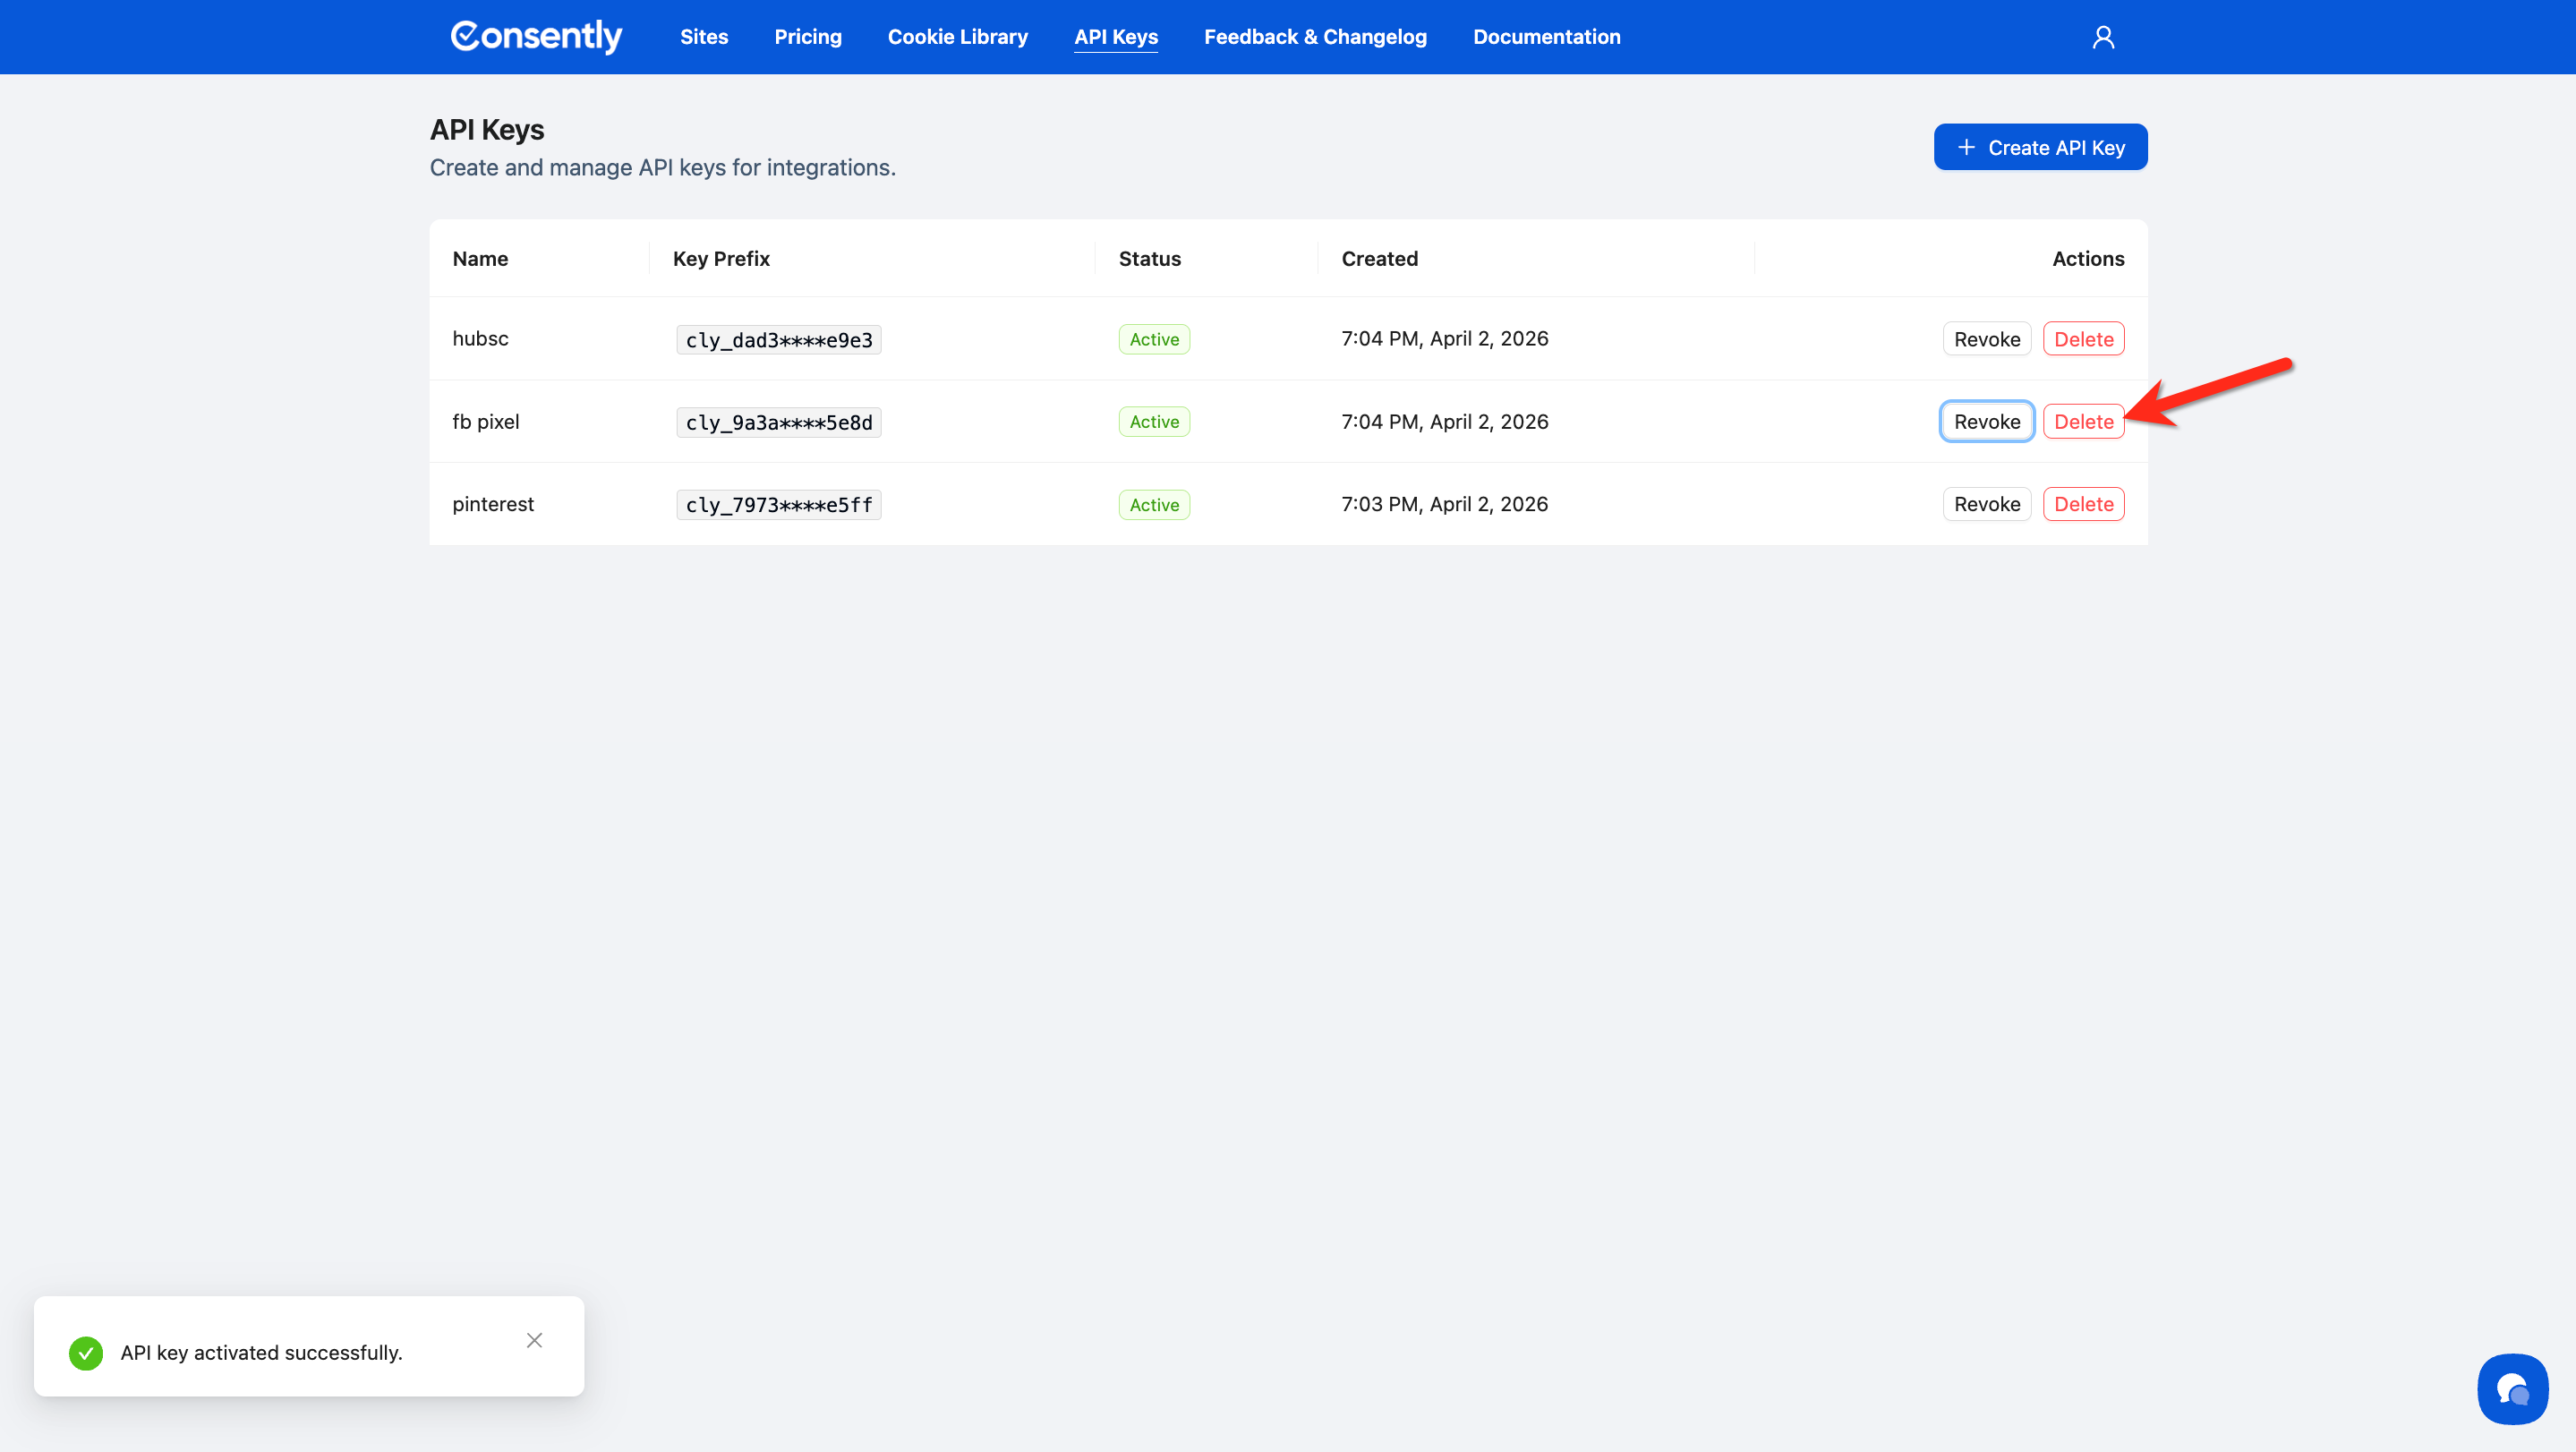
Your new key appears in the API Keys list with Active status.
✅ Success indicator: The key is listed with its name, a masked key prefix (e.g., cly_3bdf****fede), Active status, and the creation timestamp.How to Revoke an API Key
Revoking a key suspends its access without permanently deleting it. You can restore a revoked key later.
Step 1: Find the key
Locate the key in the API Keys list.
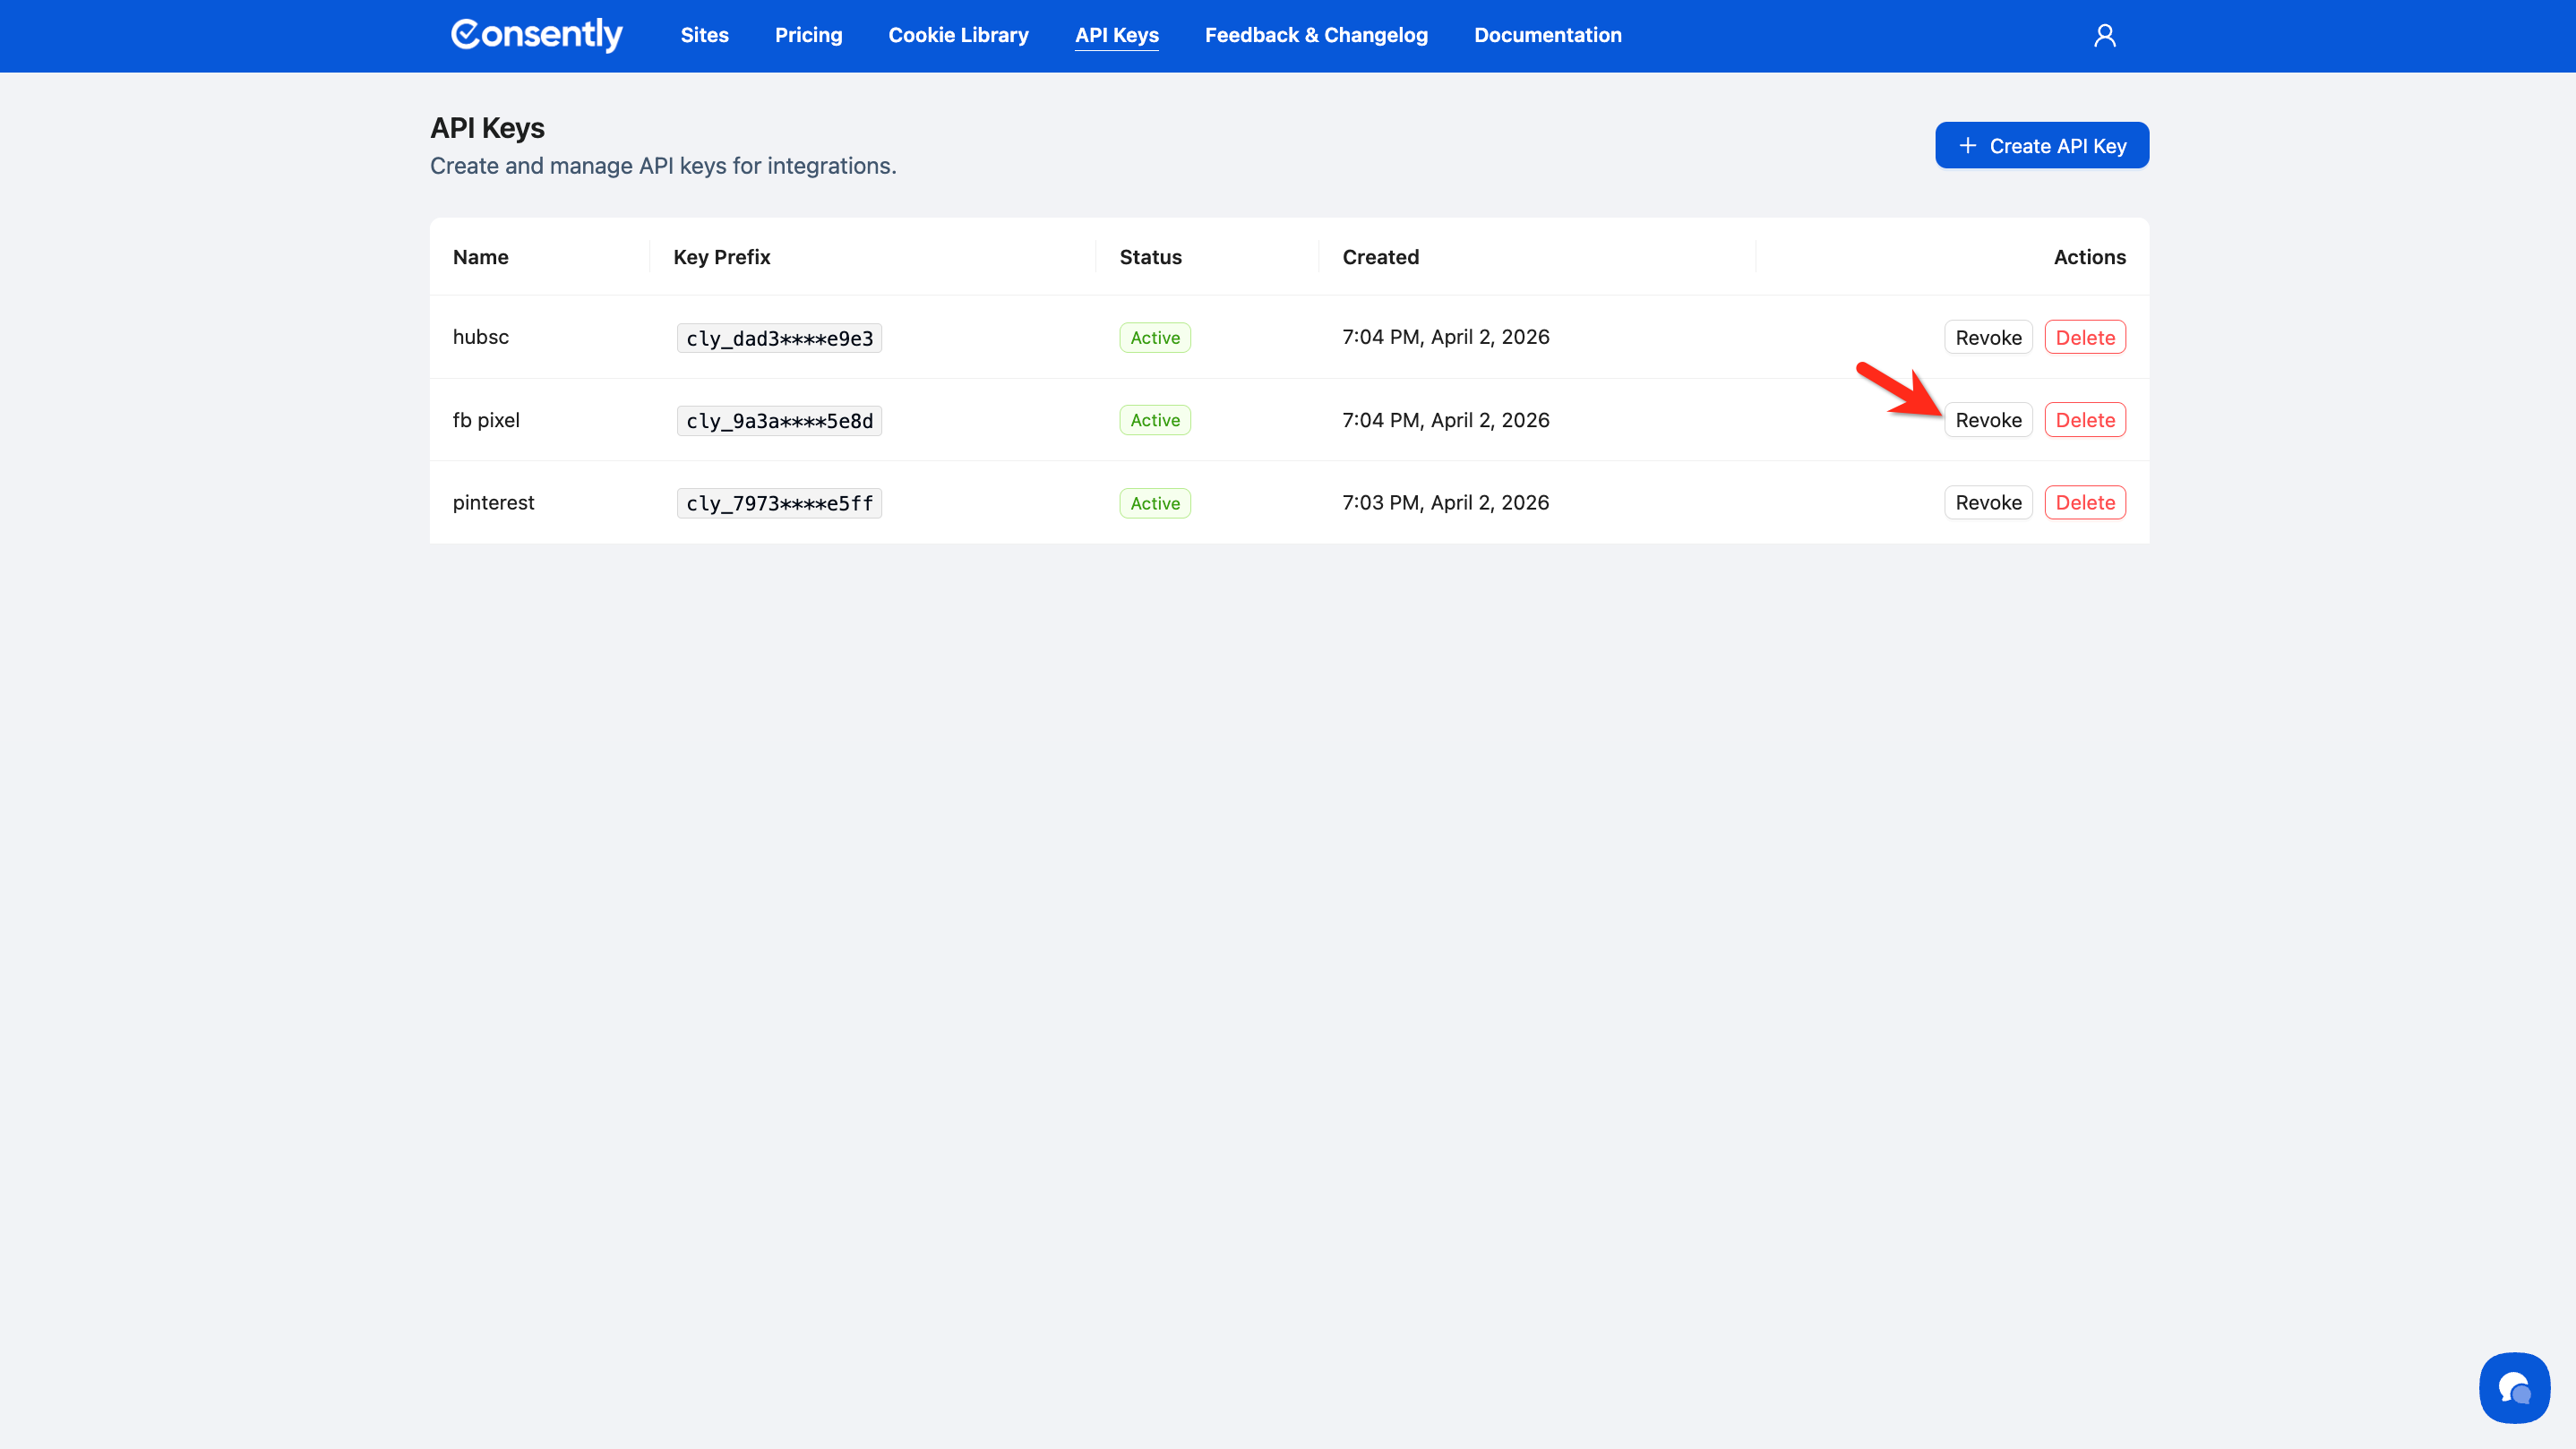
Step 2: Revoke the key
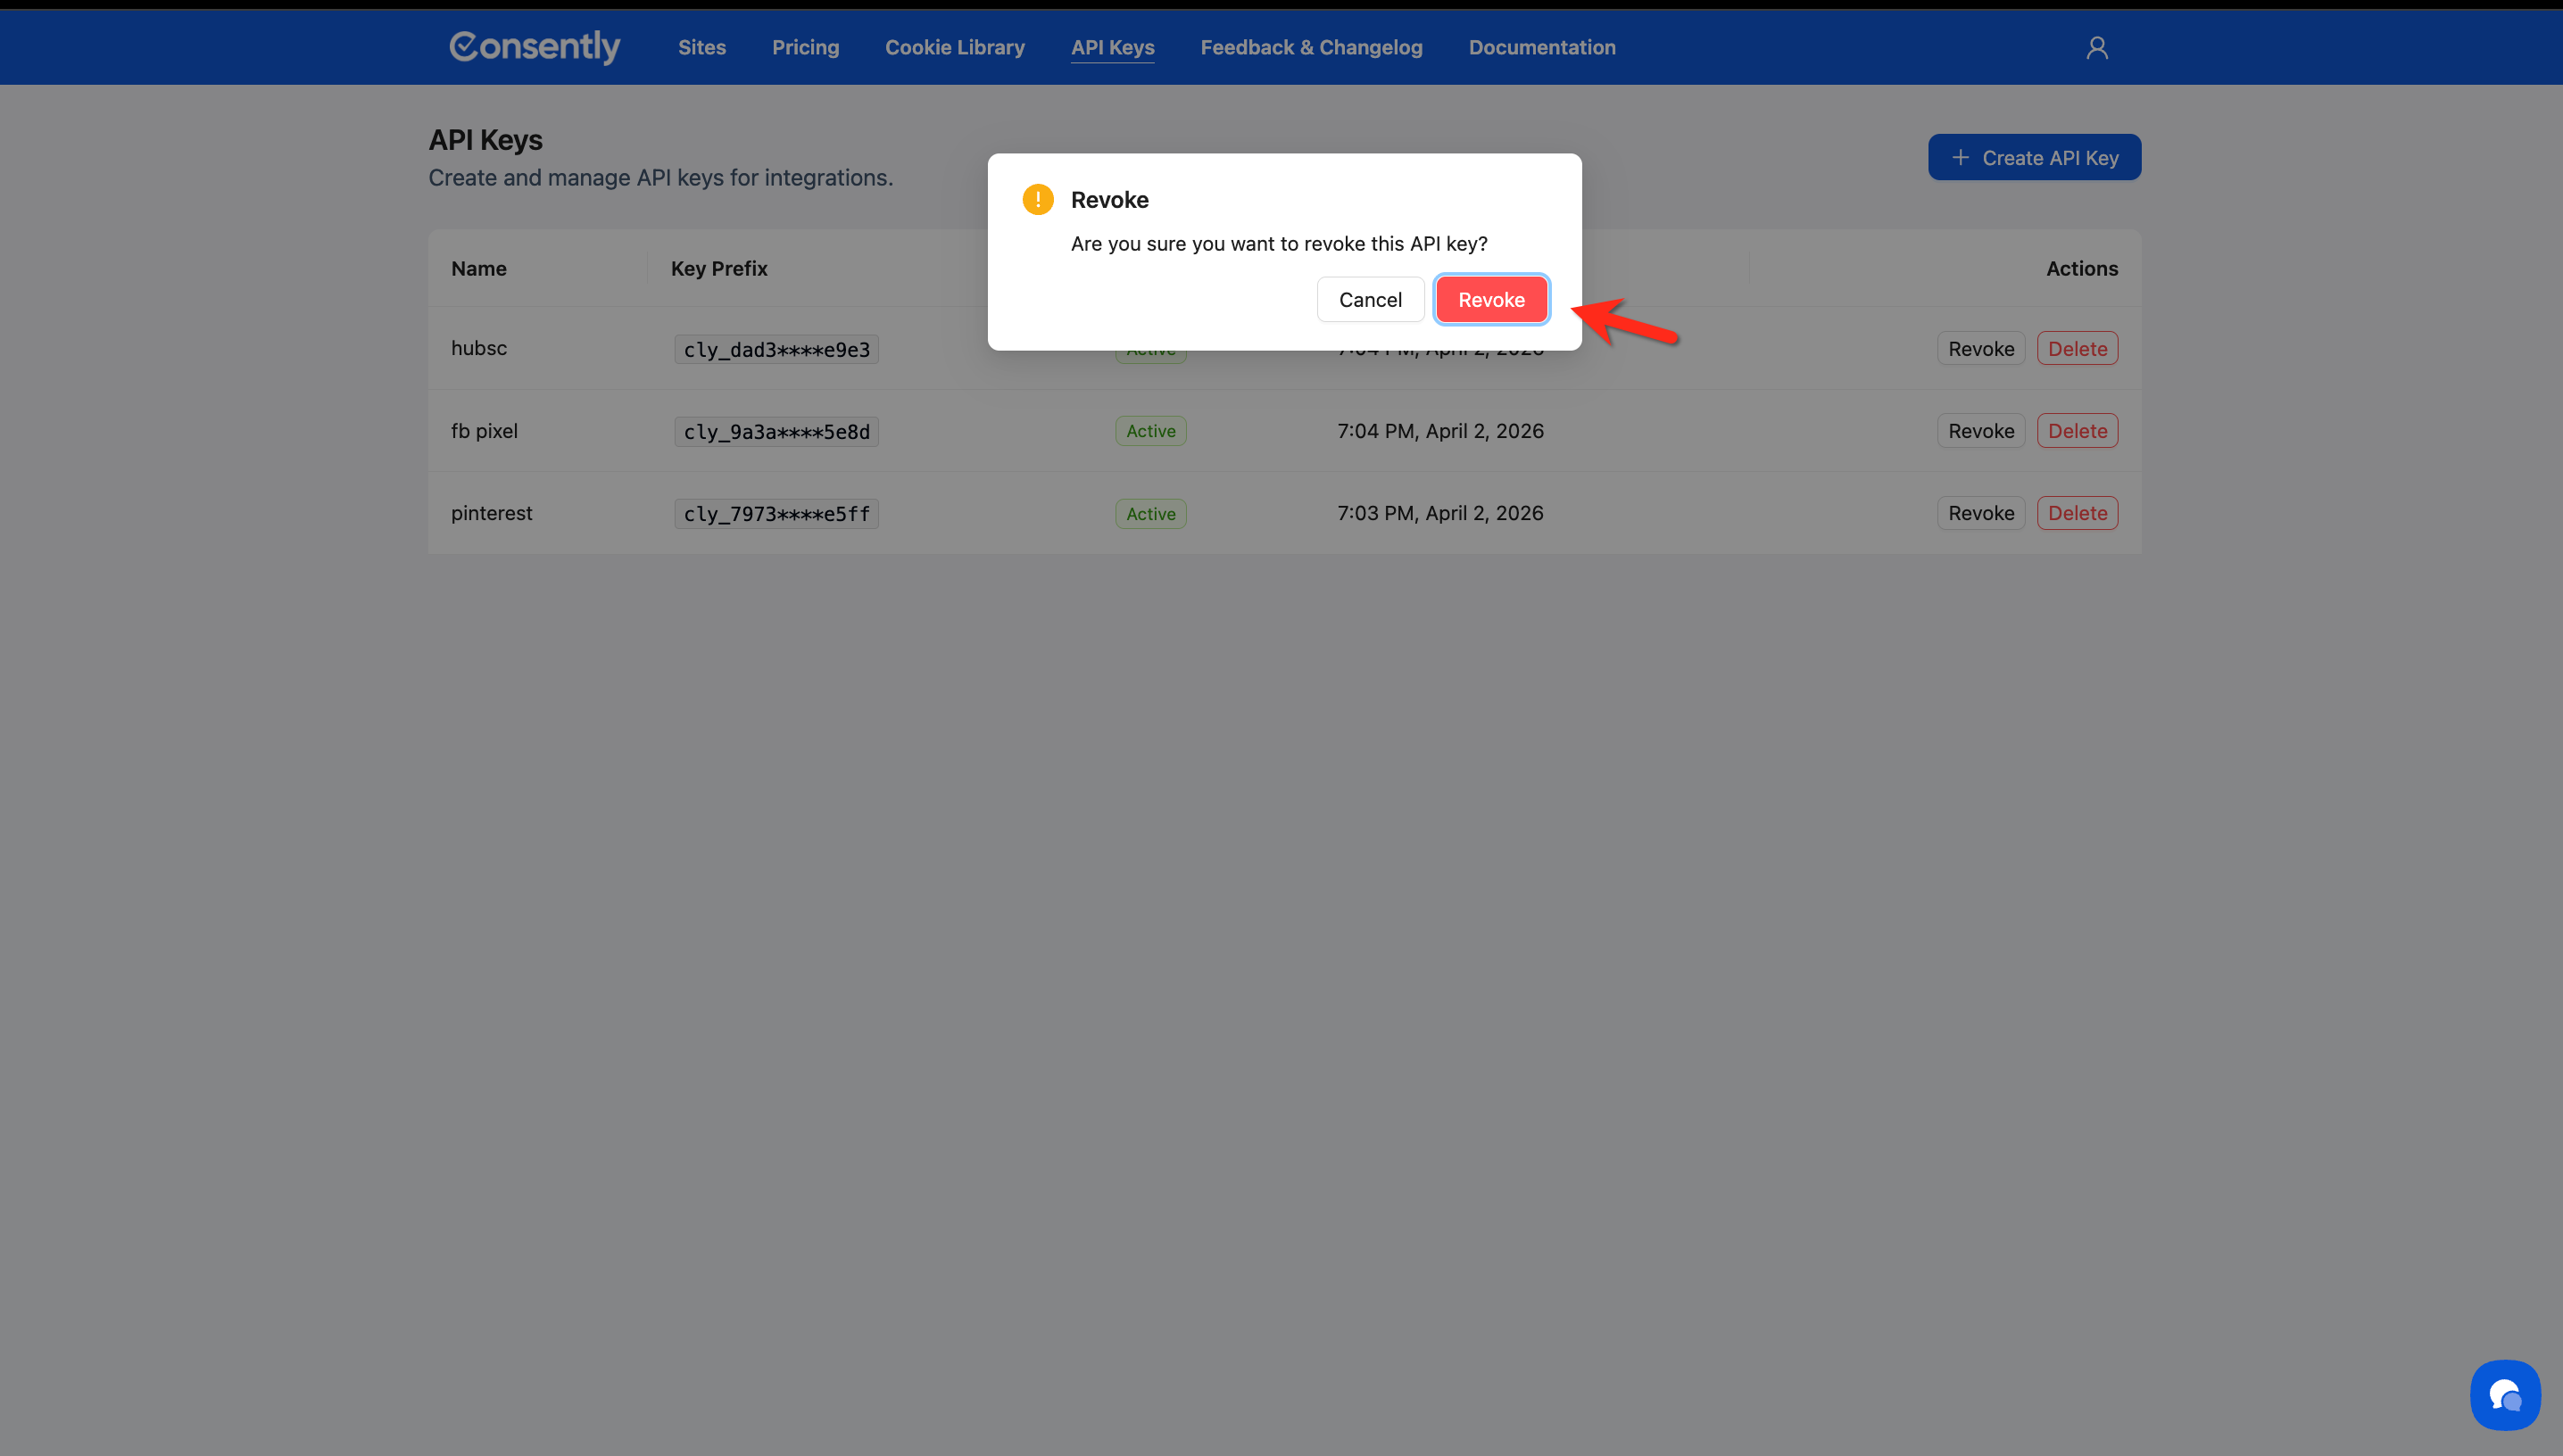
Click Revoke in the Actions column for that key, then click Revoke in the confirmation dialog.
Done!
The key's status changes to Revoked and the Actions column now shows Restore and Delete.
How to Restore a Revoked Key
Step 1: Find the revoked key
Locate the key with Revoked status in the list.
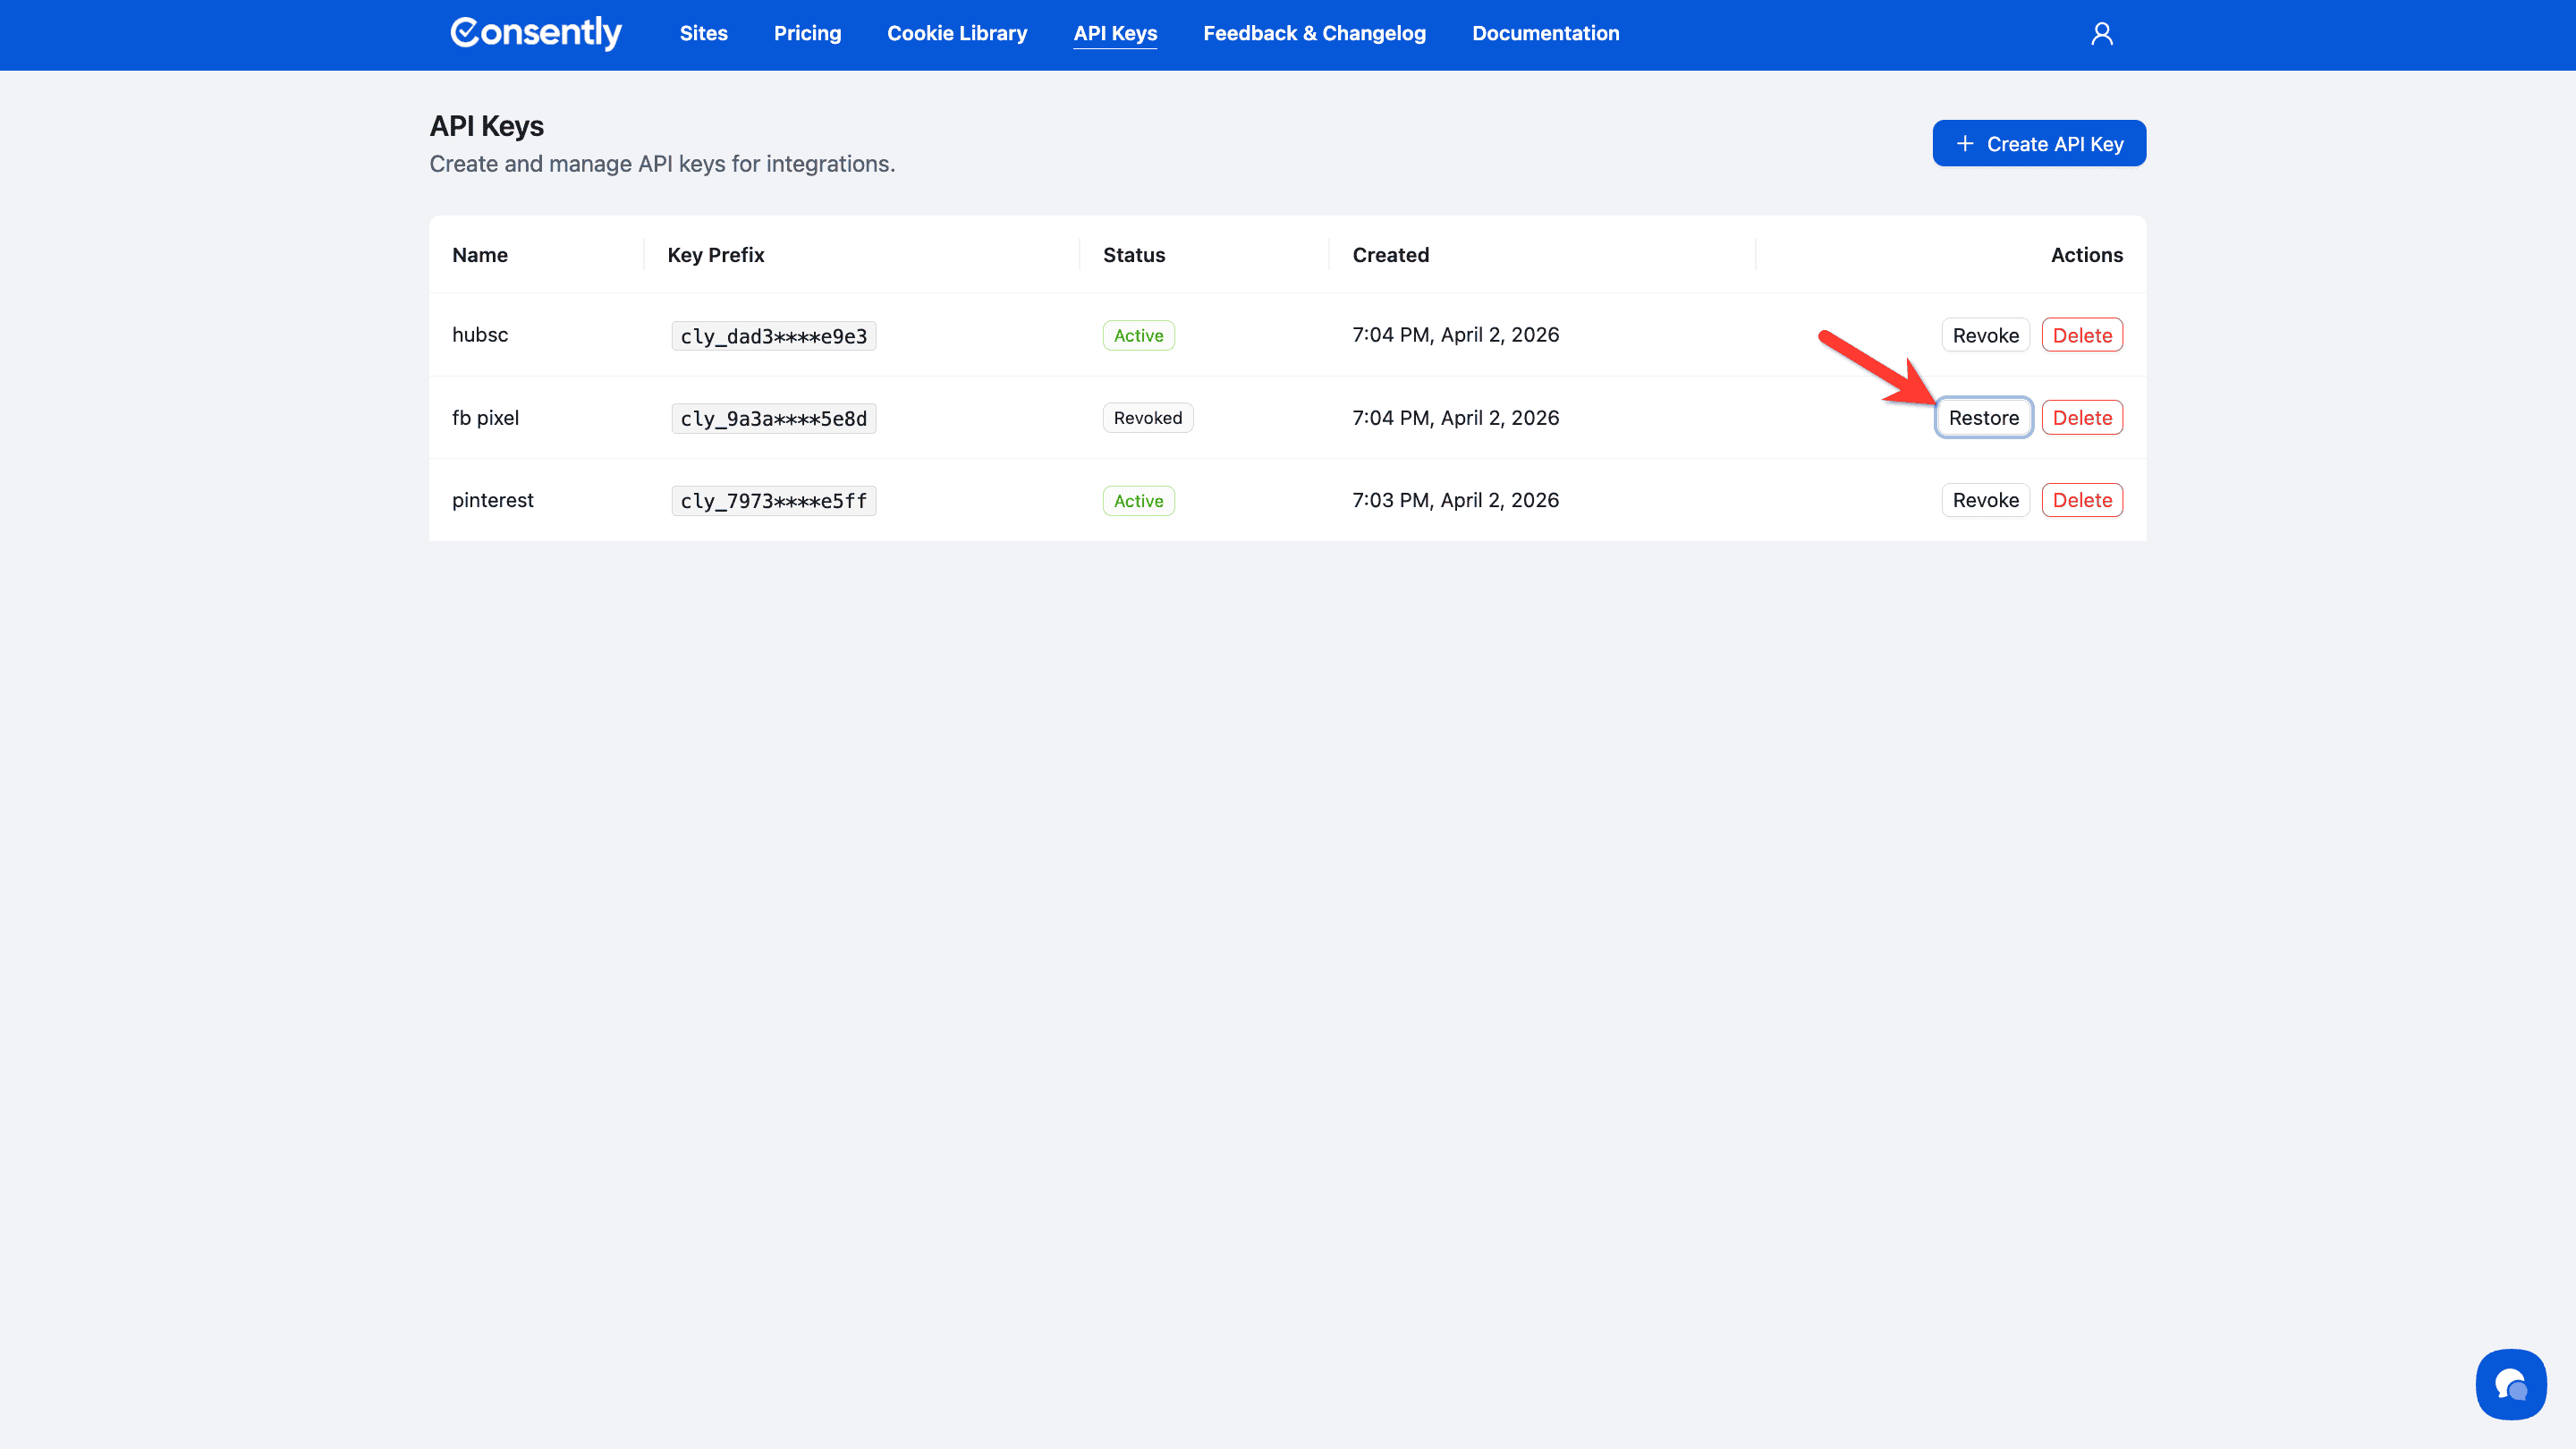
Step 2: Restore the key
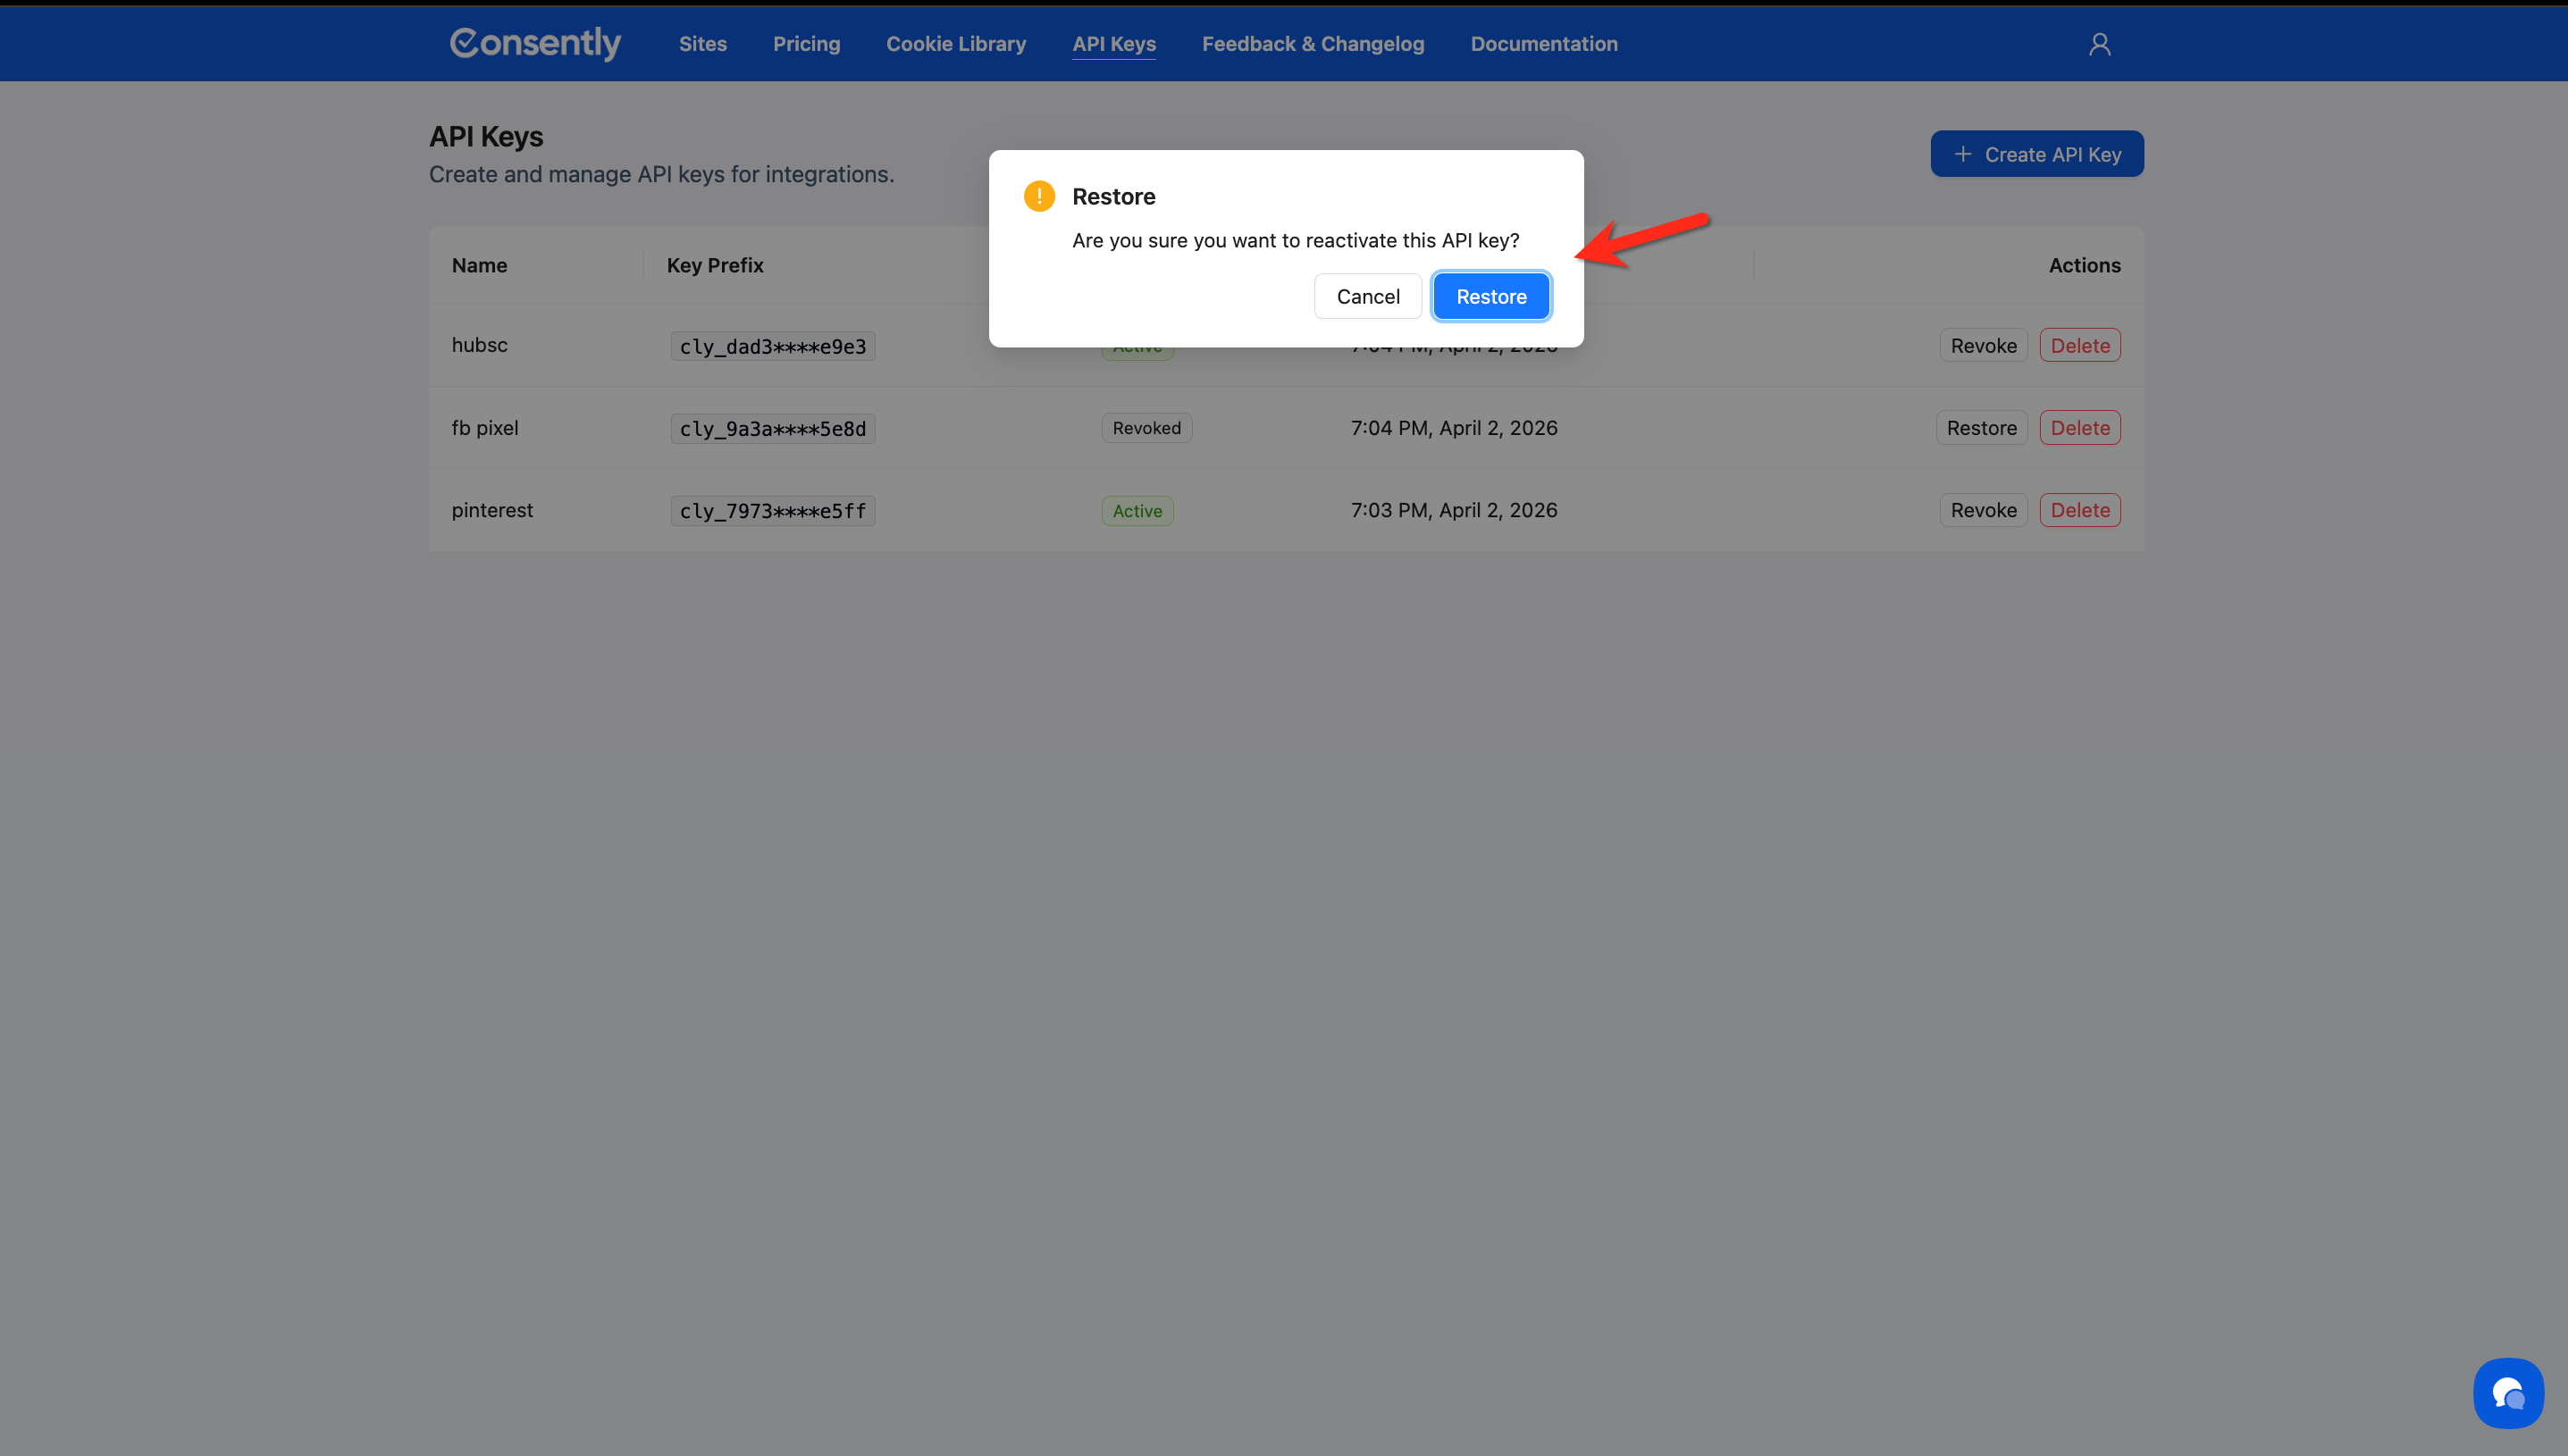
Click Restore in the Actions column, then click Restore in the confirmation dialog.
Done!
The key's status returns to Active and it can authenticate requests again immediately.
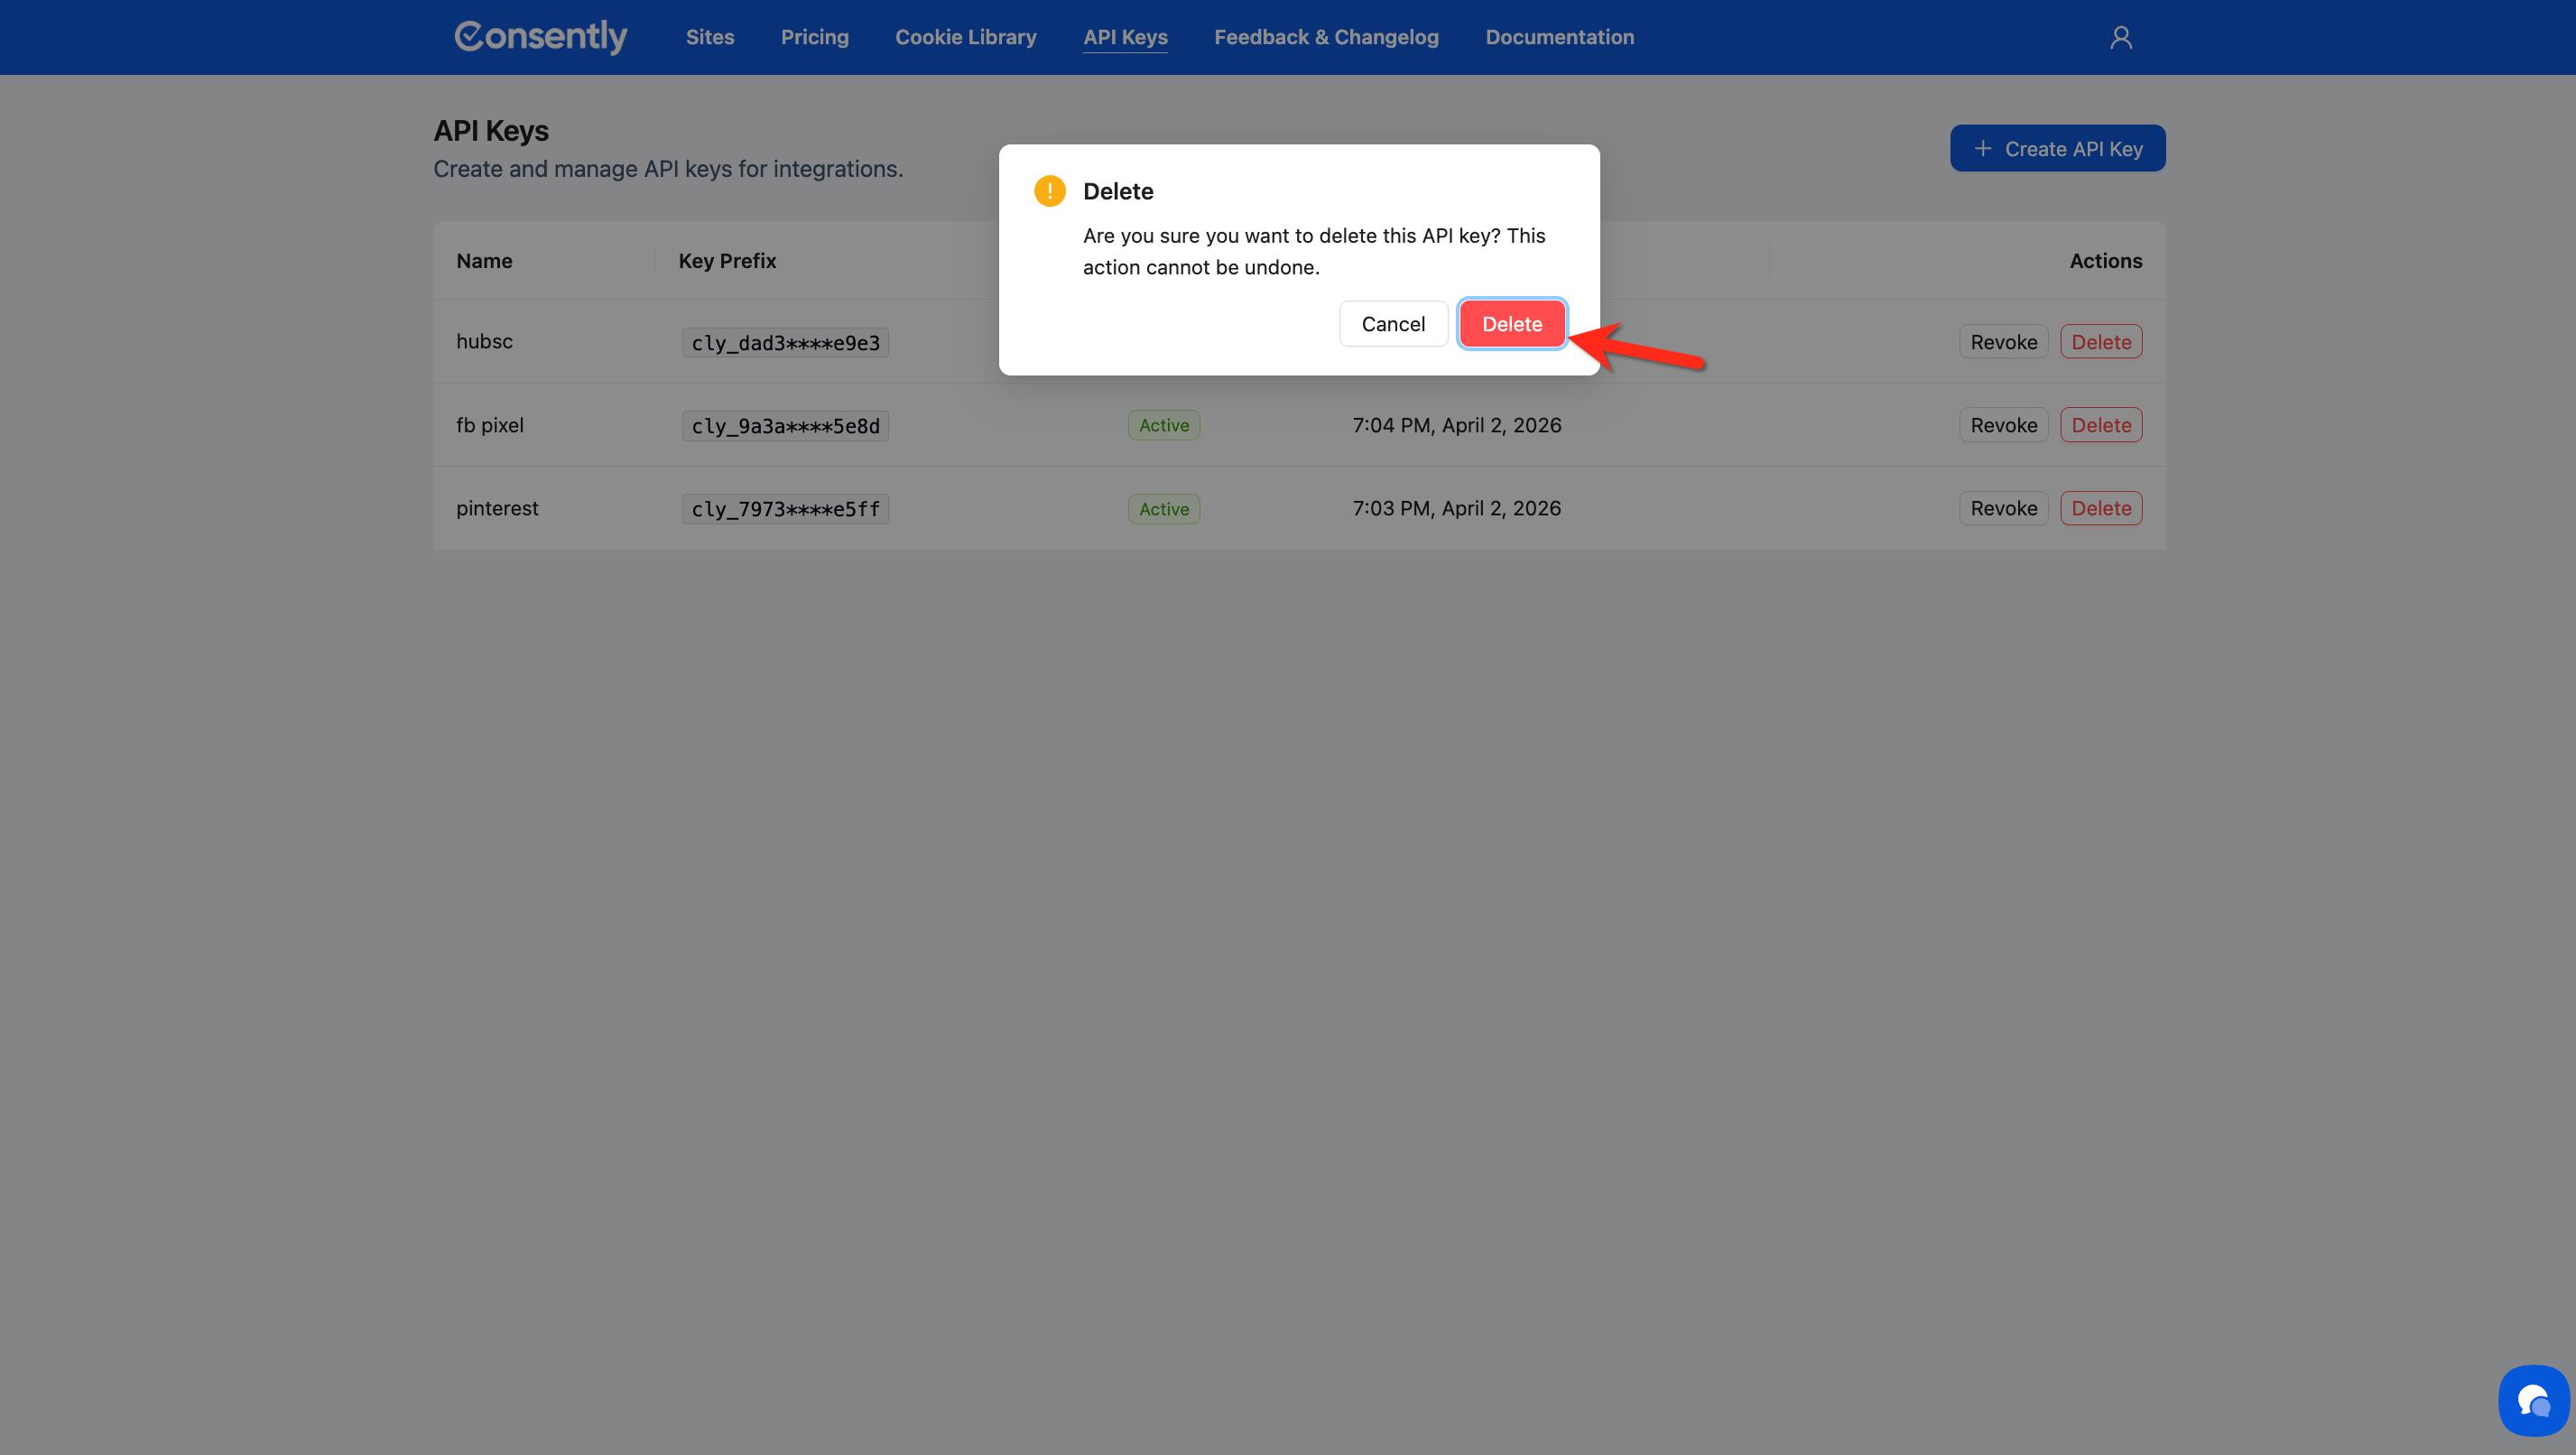
How to Delete an API Key
Deleting a key is permanent and cannot be undone. Any integrations using this key will lose access immediately.
Step 1: Revoke the key first (recommended)
If the key is currently active, revoke it first to confirm no active integrations depend on it.
Step 2: Delete the key
Click Delete in the Actions column, then click Delete in the confirmation dialog.
❌ Warning: Deletion is permanent. Any service or integration using this key will stop working immediately and cannot be recovered.
Done!
The key is permanently removed from your API Keys list.
What's Next
Now that you have an API key, you should:
Review your installation options to understand how Consently integrates with your stack
Manage your account settings to keep your Consently account secure
Troubleshooting
I forgot to copy my key before clicking Done
Why this happens: Consently displays the full key only once at creation for security.
Solution: The existing key cannot be recovered. Delete the old key and create a new one, then copy it before closing the modal.
My key is Active but requests are being rejected
Solution:
Confirm you are using the full key value copied at creation, not the masked prefix shown in the list
Check that the key has not been accidentally revoked by viewing its status in the API Keys list
If the issue persists, revoke the key, create a new one, and update your integration with the new value