TL;DR: Dashboard → Advanced Settings → Subdomain Sharing toggle → On. A visitor's consent on your primary domain automatically applies to all subdomains — no repeat banner needed.
Overview
Subdomain sharing is disabled by default. When disabled, consent only works on your primary domain and any connected subdomains you've explicitly added — the www version of your domain is included automatically. If your website uses additional subdomains (e.g., blog.example.com, app.example.com), visitors would see the consent banner again on each one unless you configure sharing. You can either share consent across all subdomains at once, or add specific ones individually.
Before You Begin
Make sure you have:
Time required: 2 minutes
How to Enable Subdomain Sharing
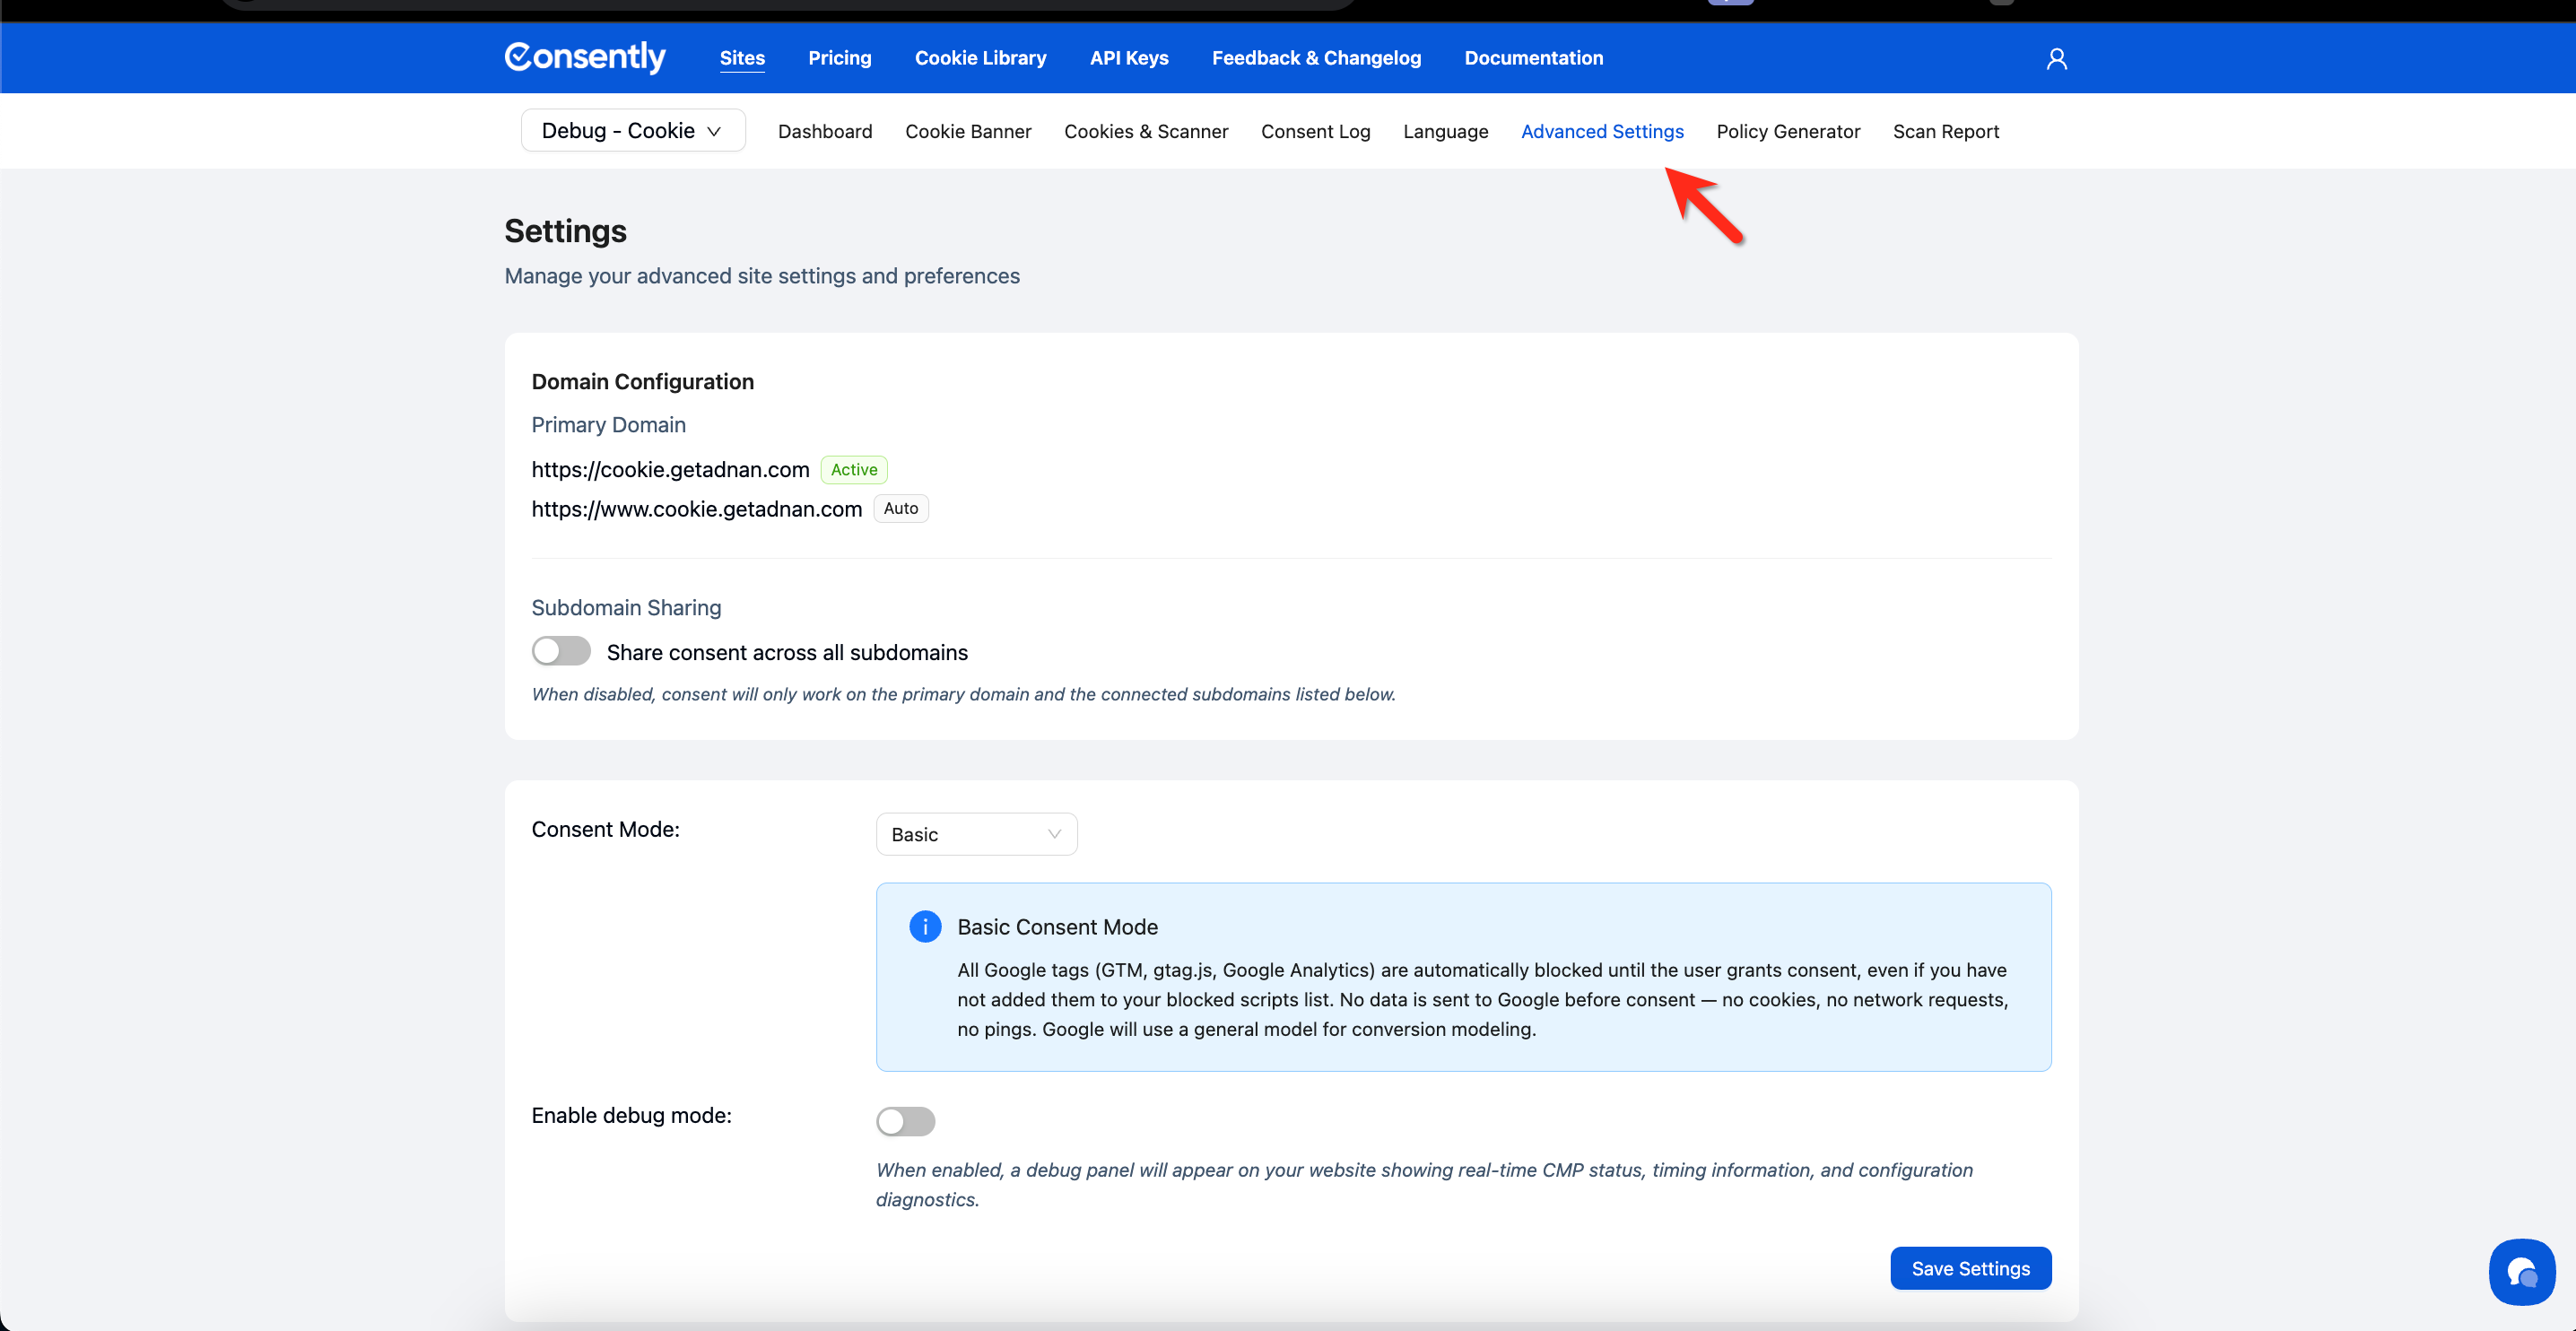
Step 1: Open Advanced Settings
Navigate to Advanced Settings in your site's top navigation bar.

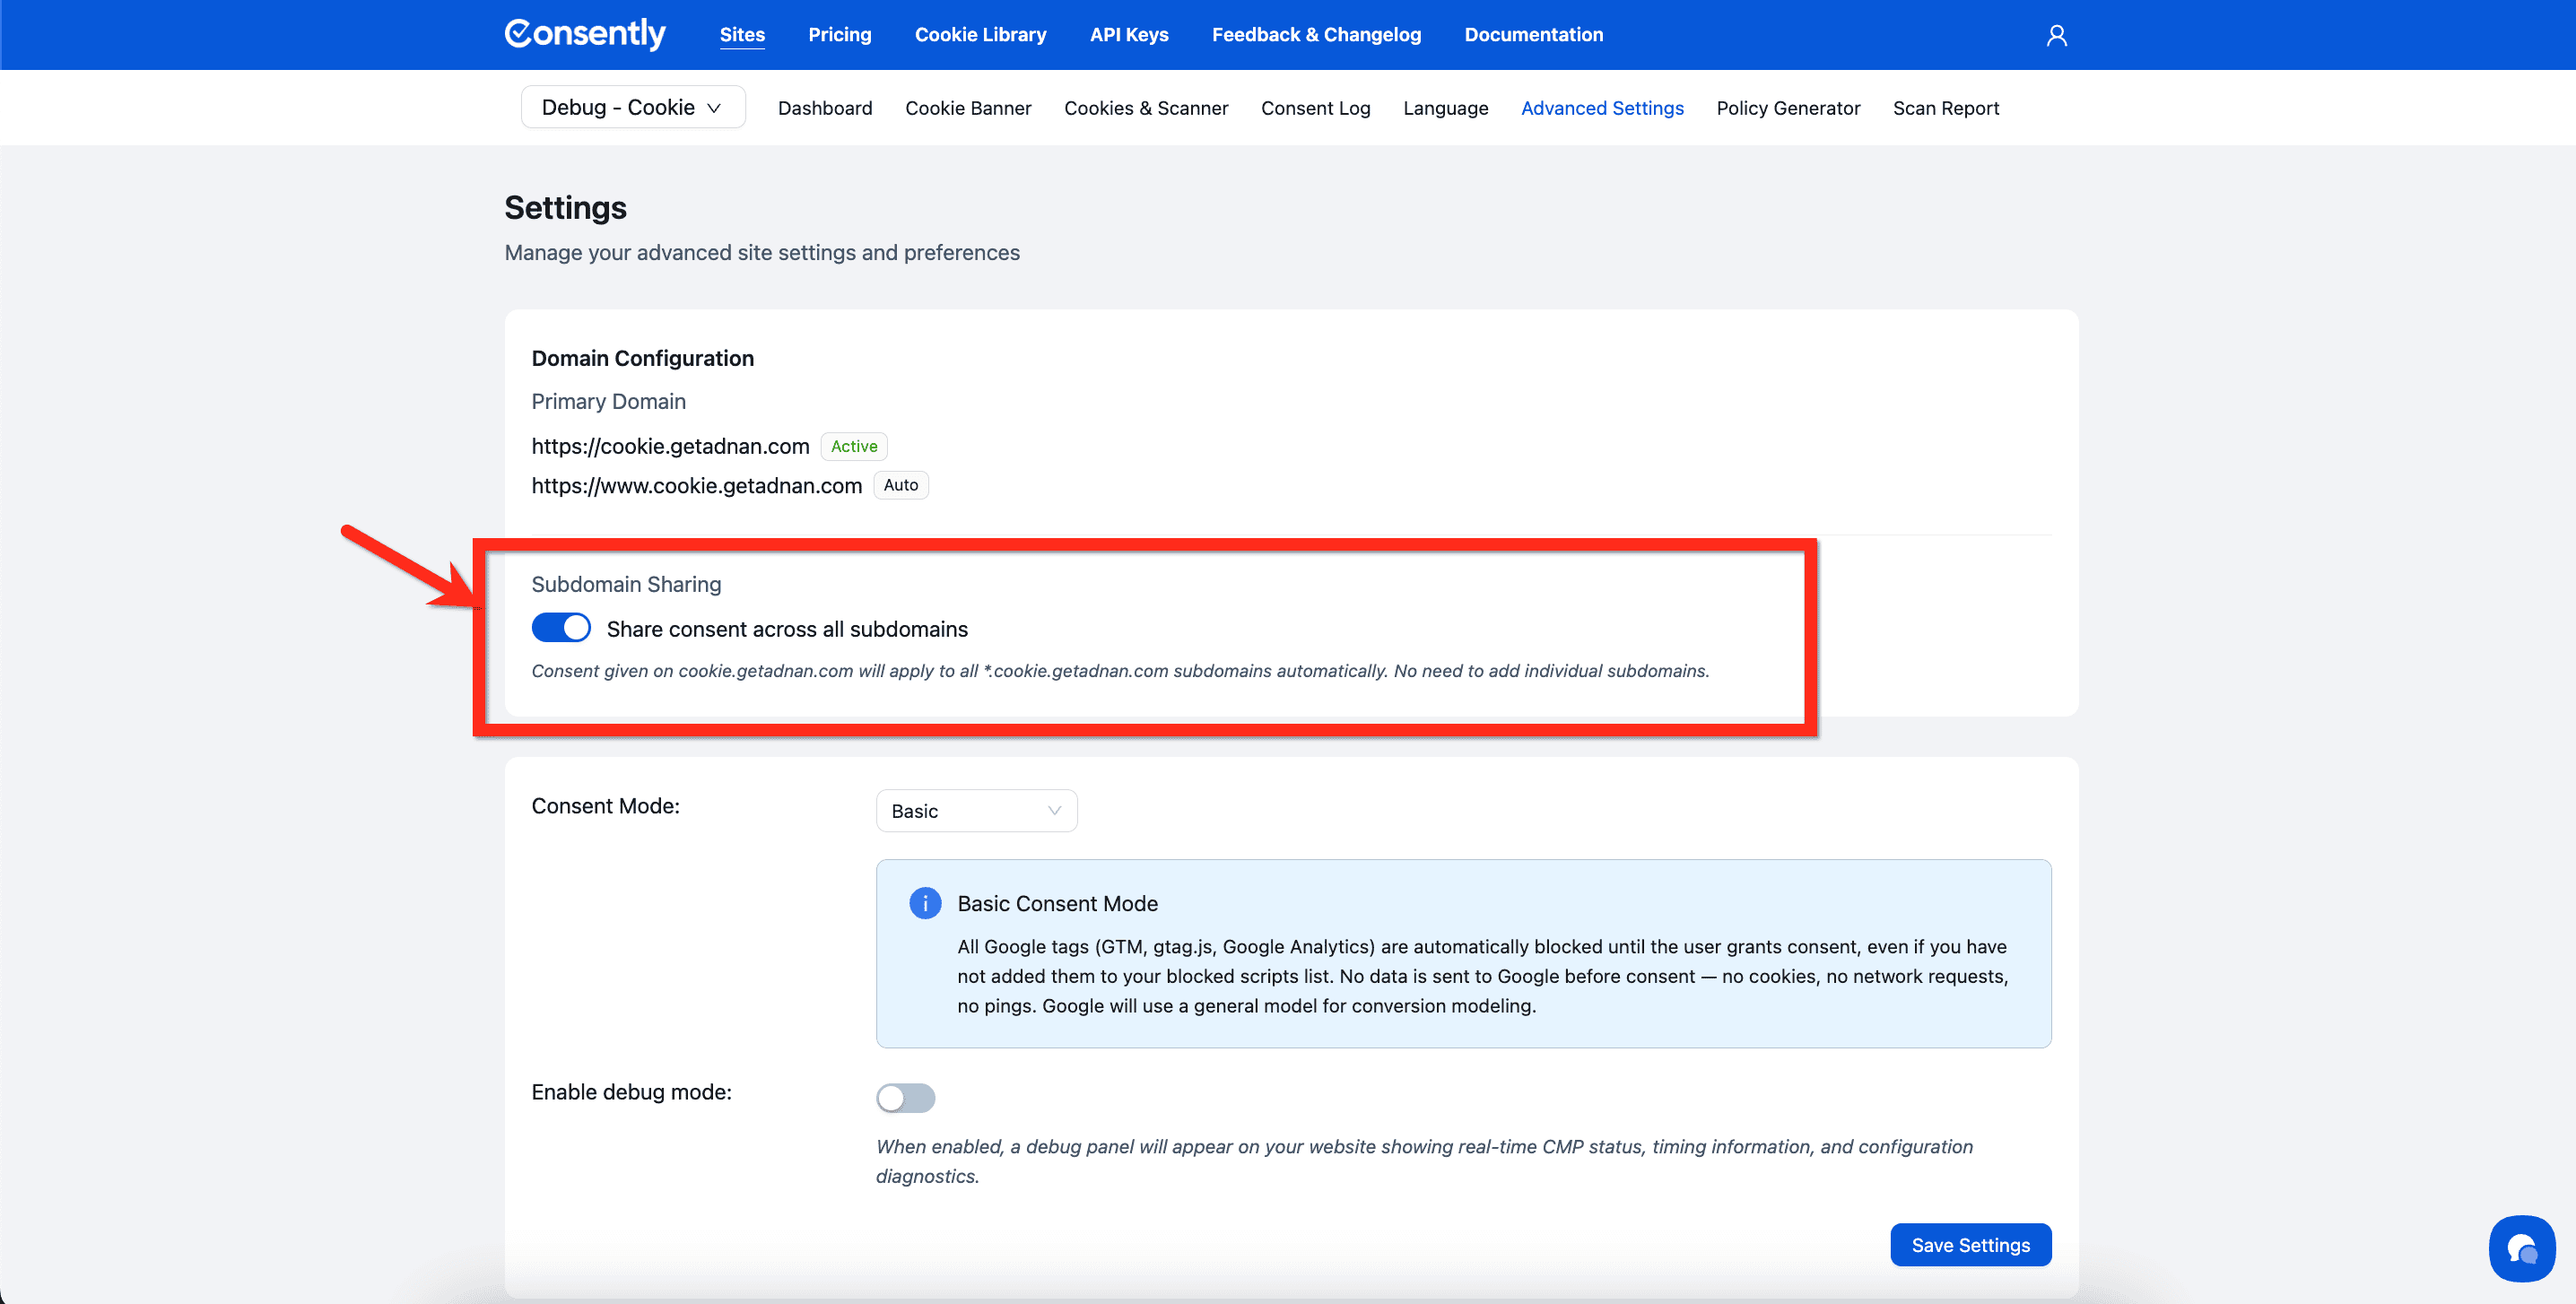
Step 2: Turn on Subdomain Sharing
Under Domain Configuration, find the Subdomain Sharing section and toggle on Share consent across all subdomains.

Done!
Consent given on your primary domain now applies to all subdomains automatically.
✅ Success indicator: The page updates to show "Adding subdomains is optional when sharing is on."
Using Connected Subdomains Instead (Selective Sharing)
This is the default behavior — subdomain sharing is off, and consent only works on your primary domain and any subdomains you add here. Your www subdomain is already included automatically. Add any other subdomains you need individually.
⚠️ Important: You can only add subdomains of your primary domain. A maximum of 20 subdomains can be connected per website.
How to Add a Connected Subdomain
Step 1: Confirm Subdomain Sharing is off
The Share consent across all subdomains toggle is disabled by default. The Connected Subdomains input field is active and ready to use.

Step 2: Enter the subdomain
In the input field, type the subdomain prefix (e.g., blog) — the primary domain suffix is added automatically. Click + Add.

Step 3: Confirm the addition
The subdomain appears in the Domain URL list below the input field.
✅ Success indicator: A "Alias successfully added!" confirmation toast appears at the bottom of the screen.

Removing a Connected Subdomain
Click the delete icon (trash icon) next to the subdomain you want to remove. A confirmation dialog appears — click Yes to confirm removal.

⚠️ Important: Removing a subdomain means consent will no longer be recognized on that subdomain. Visitors there will see the consent banner again.
What's Next
After configuring subdomain sharing, you may also want to verify that consent is being recorded correctly:
View your Consent Log to confirm consent is being captured across your domains
Review Cookie Auto-Blocking to ensure cookies are enforced correctly on all subdomains
Troubleshooting
The banner still appears on my subdomain after enabling sharing
Why this happens: The visitor's browser may have a cached consent state from before sharing was enabled, or the Consently script may not be installed on that subdomain.
Solution:
Clear your browser cache and cookies, then reload the subdomain
Verify that the Consently embed script is installed on all subdomains where you want consent to be recognized
Confirm that the primary domain in Consently matches the root domain of your subdomains exactly
I can't add a subdomain — the Add button doesn't work
Why this happens: The subdomain may not belong to your primary domain, or you may have reached the 20-subdomain limit.
Solution:
Check that you are entering only the subdomain prefix (e.g.,
blog), not the full URLConfirm the subdomain belongs to your registered primary domain
If you have 20 or more connected subdomains, remove unused ones before adding new ones — or enable Subdomain Sharing to cover all subdomains without individual entries